Workspace Setup
MODULE 1
SETTING UP DEVLEOPMENT ENVIRONMENT IN MACBOOK
Introduction
This module helps to set up the development environment for NIMBUS framework.
Audience
Programmers who needs to do the initial development enviornment set up to work with NIMBUS framework
Technical Pre-requisites
Good Understanding of Java Programming
Installables
| Application Name | Version |
|---|---|
Java |
1.8.0_171 |
Maven |
3.5.3 |
Lombok |
1.18.2 |
STS |
3.9.5 RELEASE |
VS Code |
1.14.2 |
Robo 3T |
1.2.1 |
Chrome |
Version 63.0.3239.108 (Official Build) (64-bit) |
Advanced Rest Client |
arc-12.1.4 |
|
Note
|
Above s/w versions are compatible with Nimbus f/w version 1.1.x. The versions are subjected to change. |
Installations
Installation of Homebrew
-
We will install the required softwares using Homebrew
NoteHomebrew (defintion from wikipedia): A free and open-source software package management system that simplifies the installation of software on Apple’s macOS operating system -
Let us begin with the installation of Homebrew
-
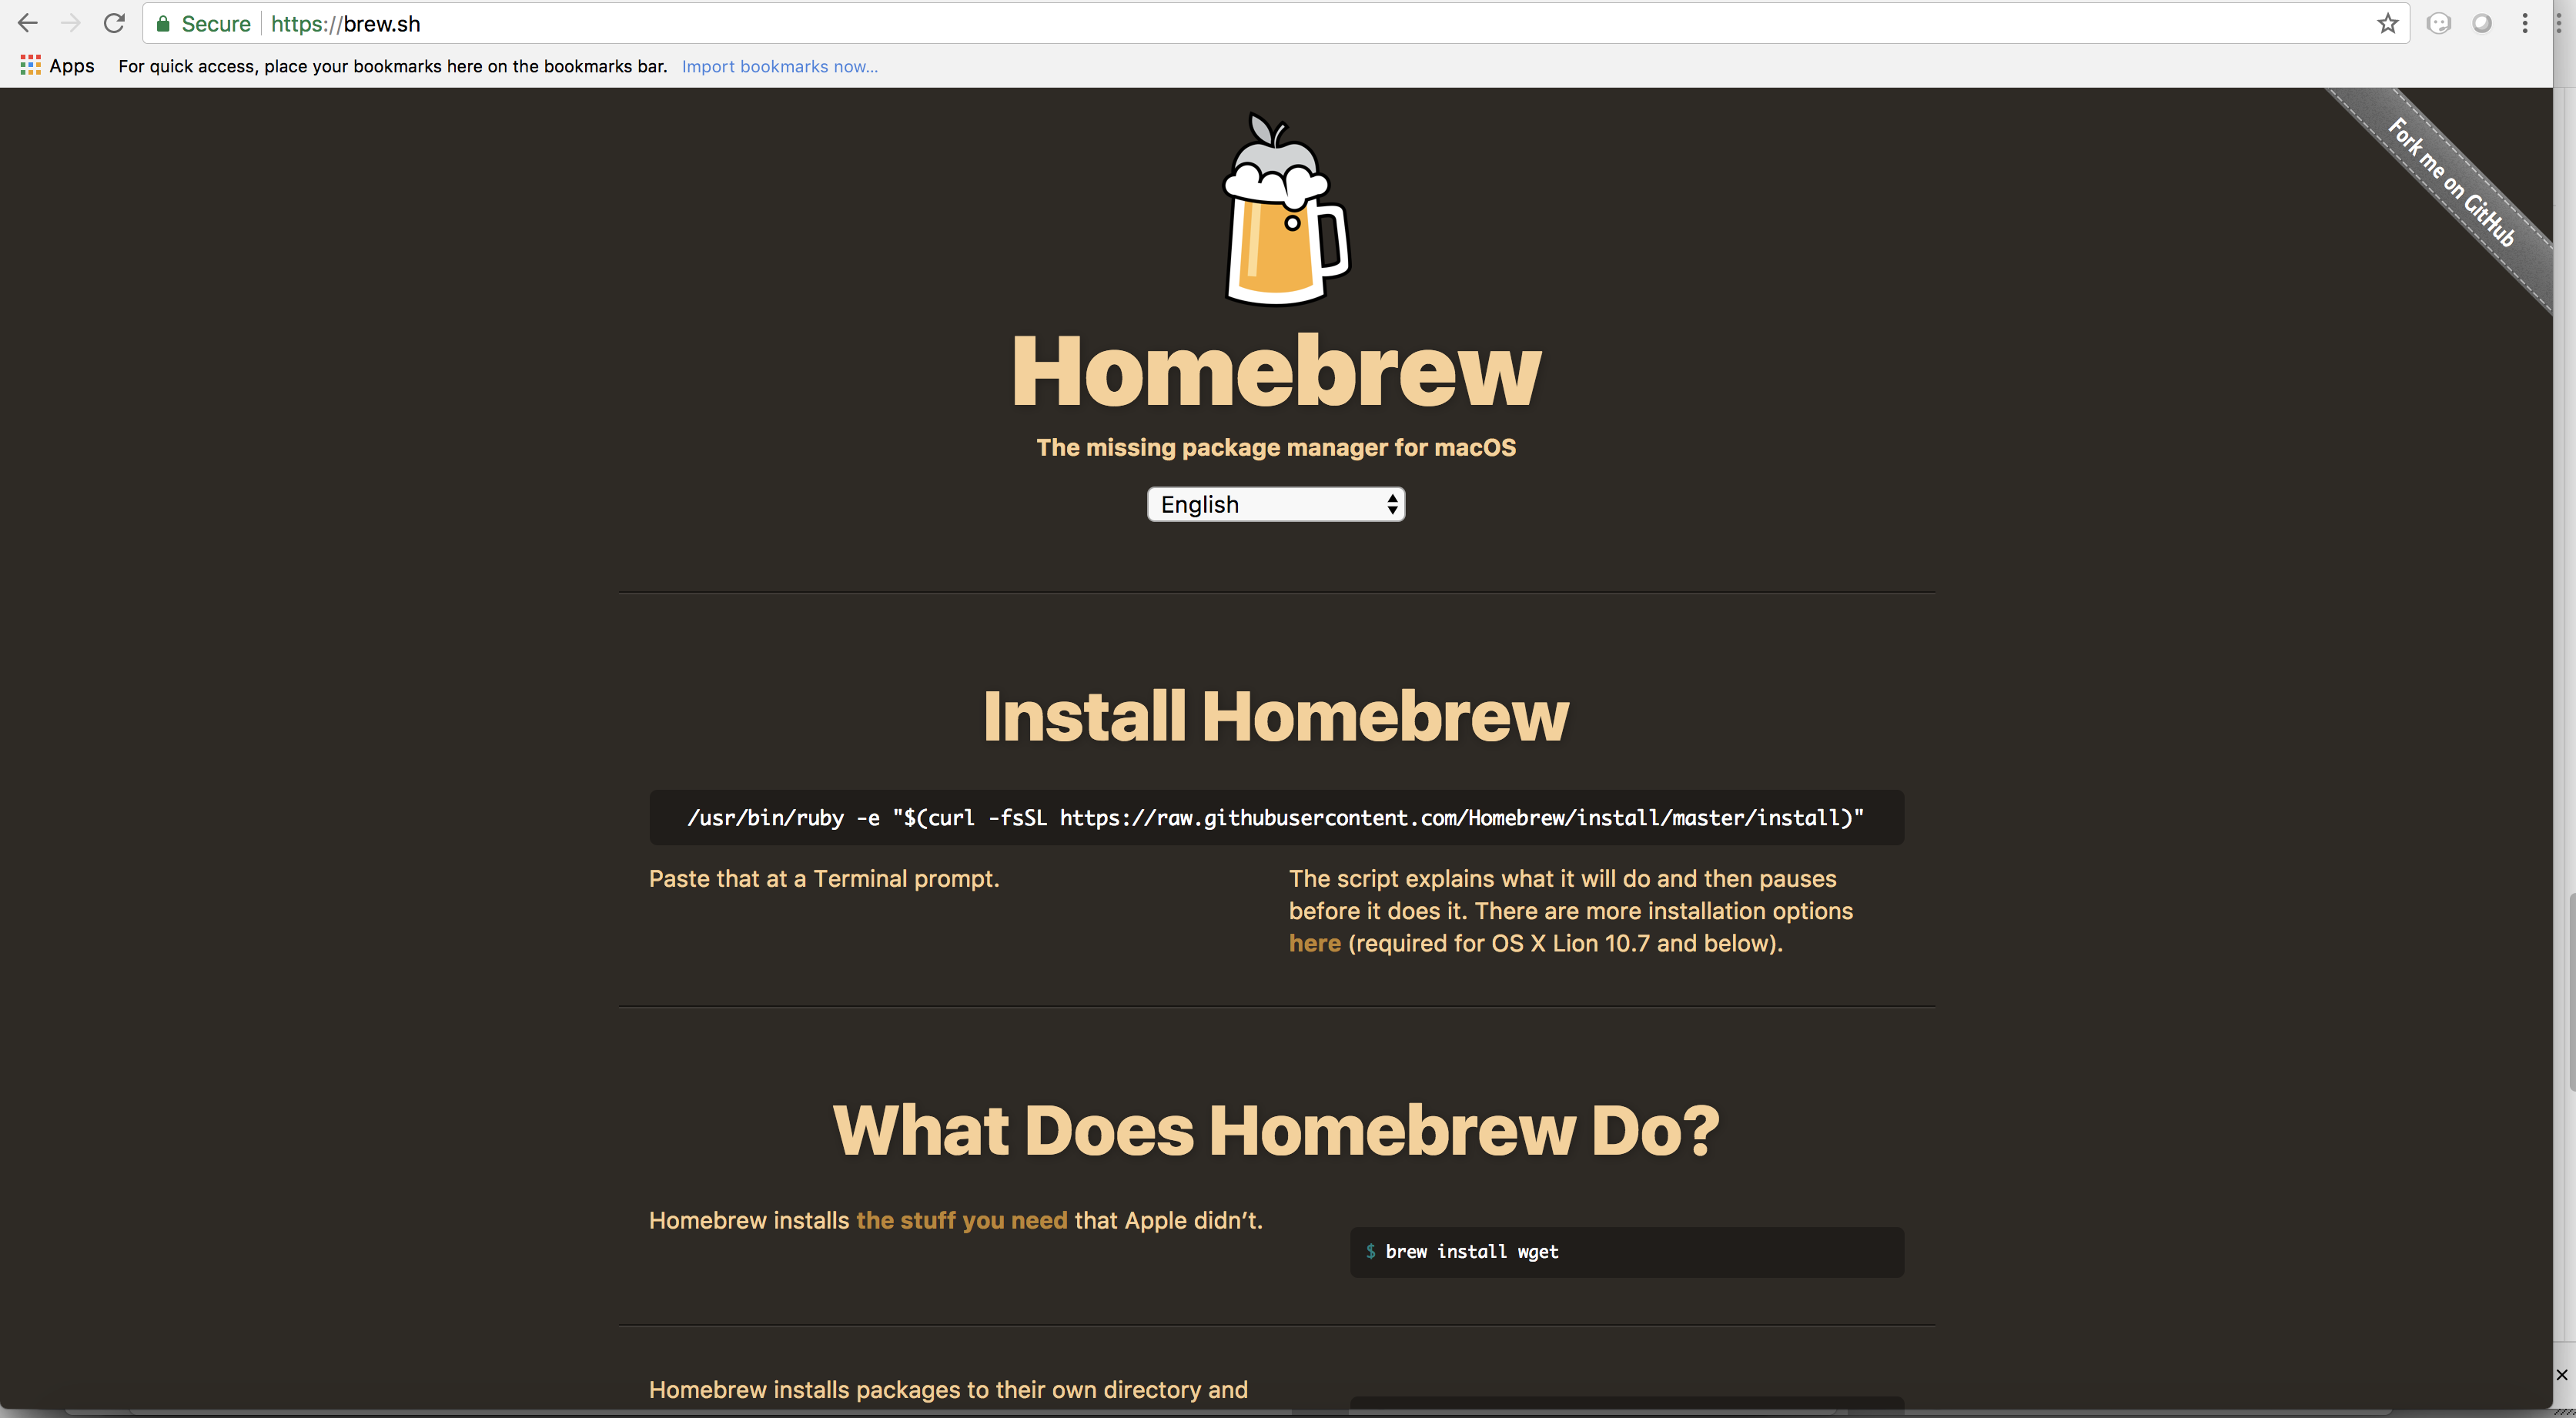
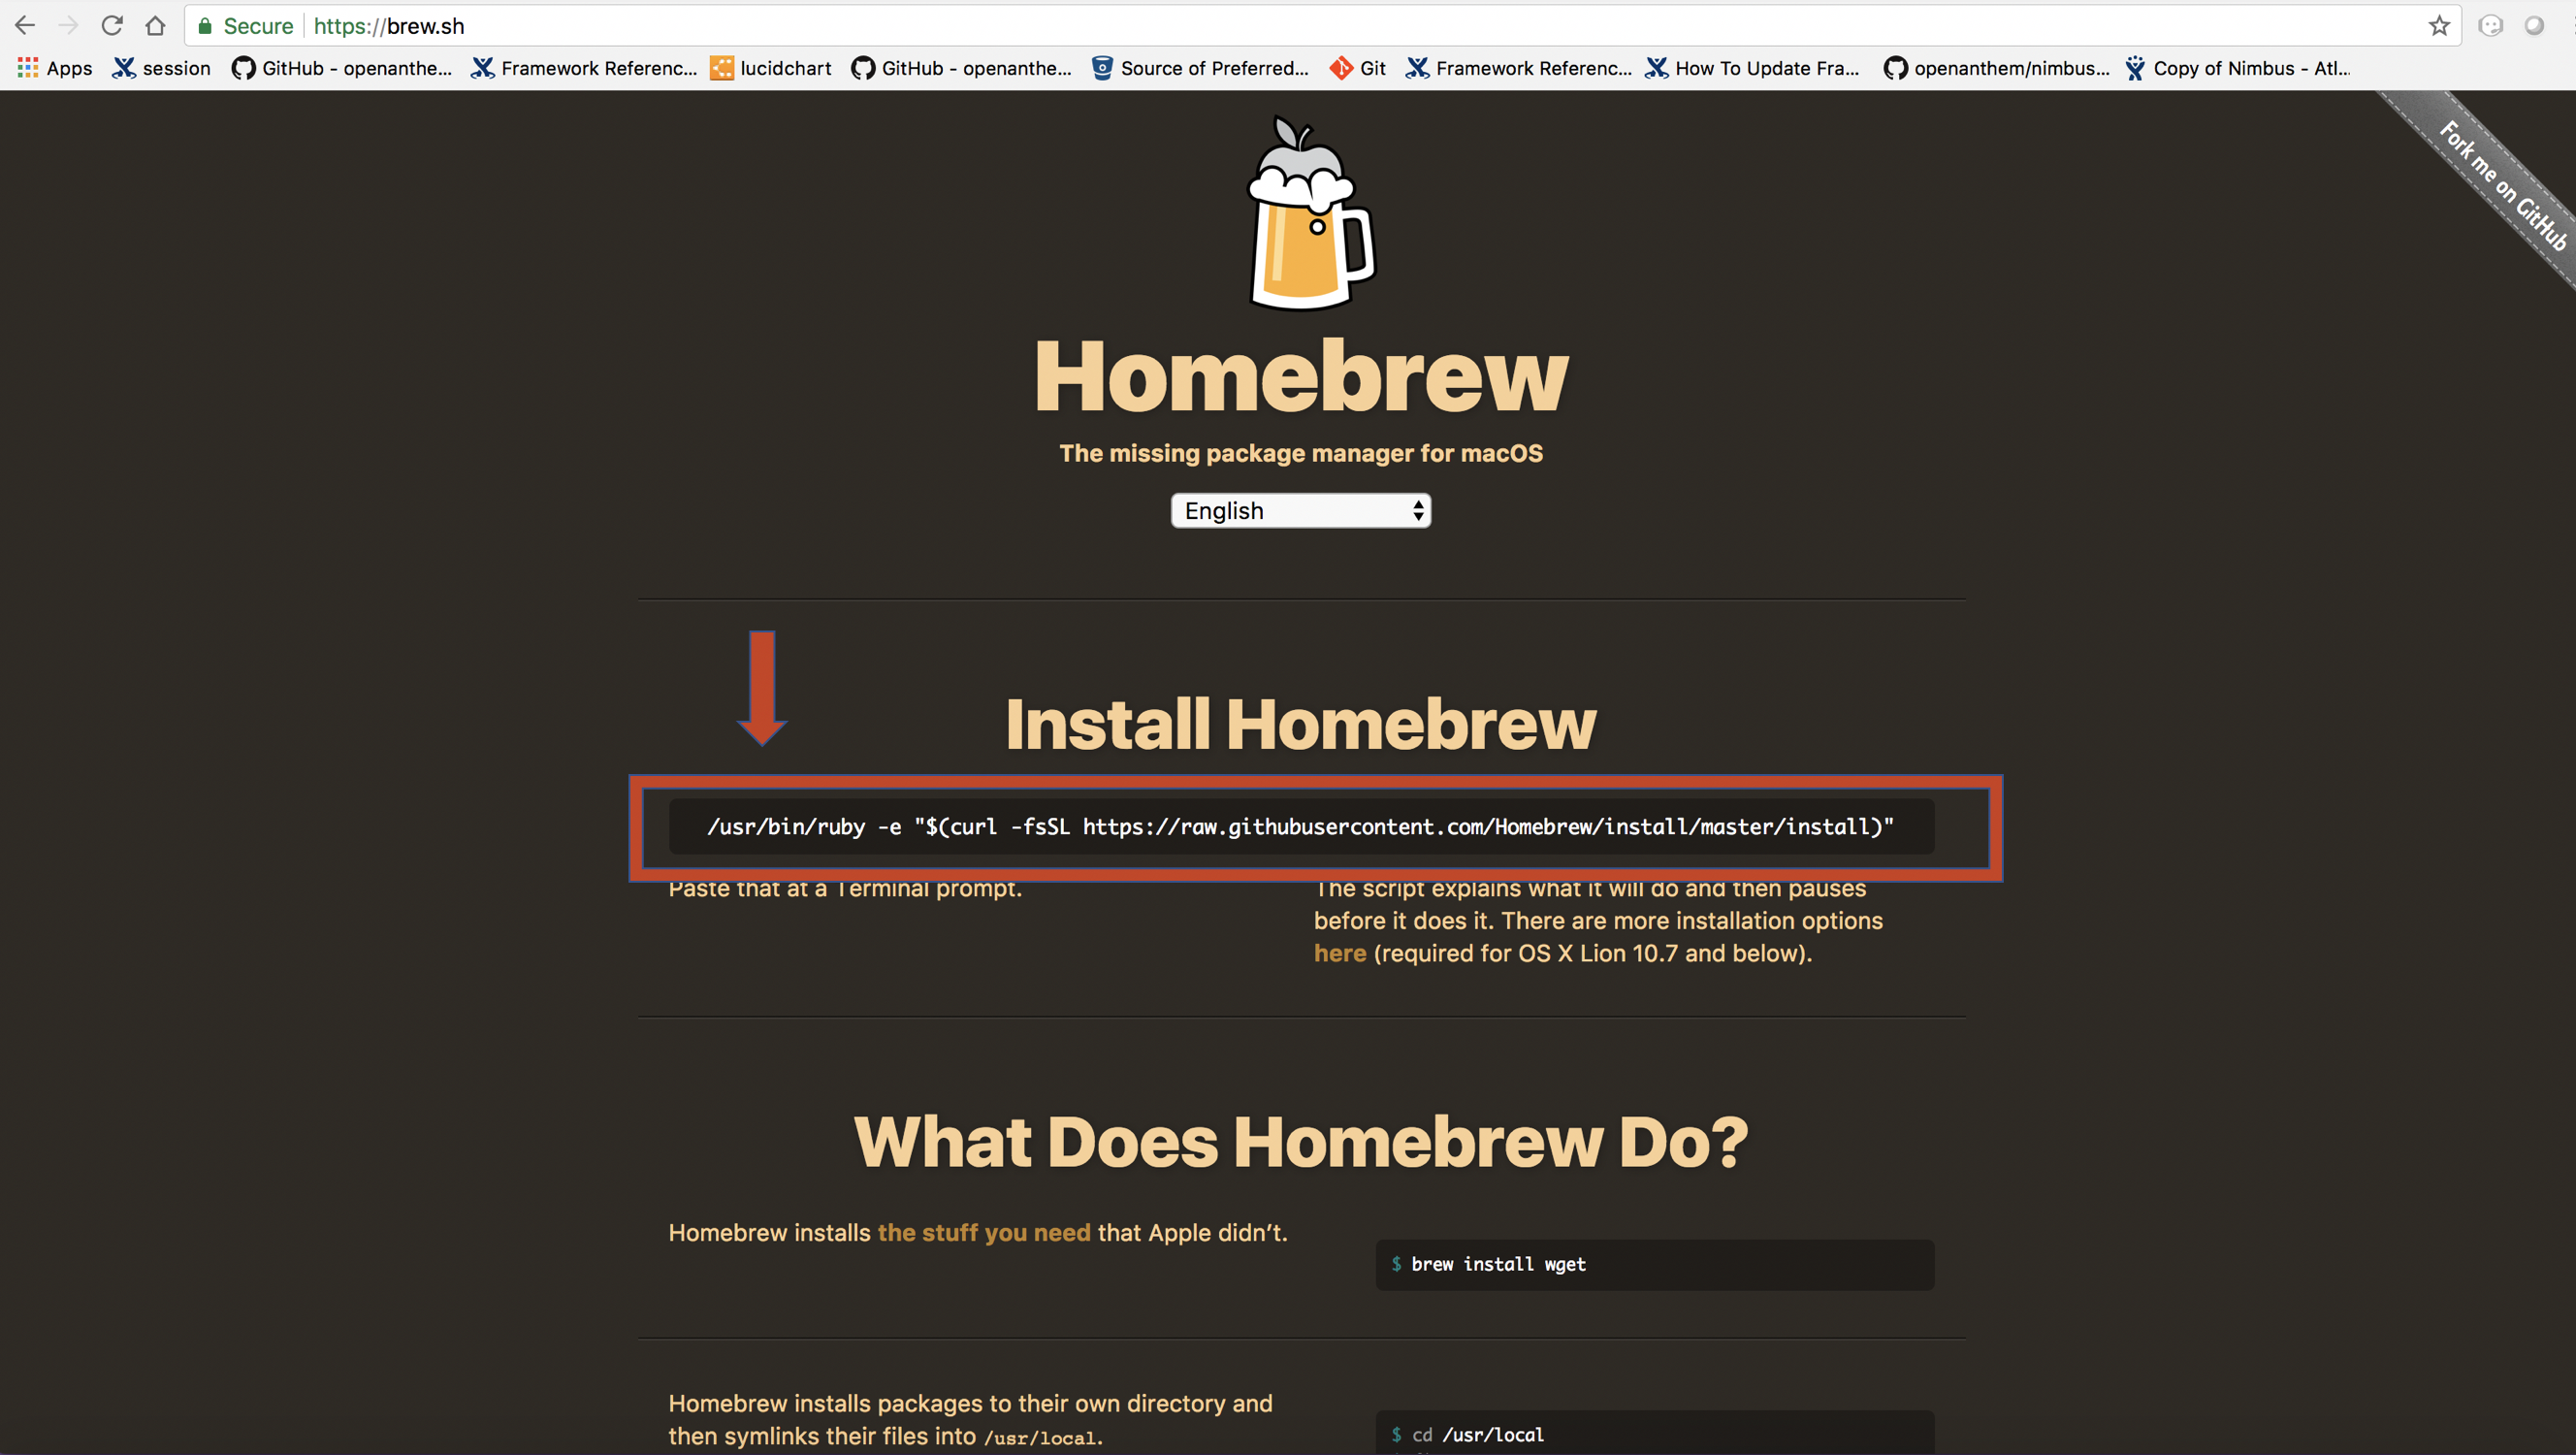
Go to https://brew.sh/
-
Copy the script from the website
-
Open Terminal
-
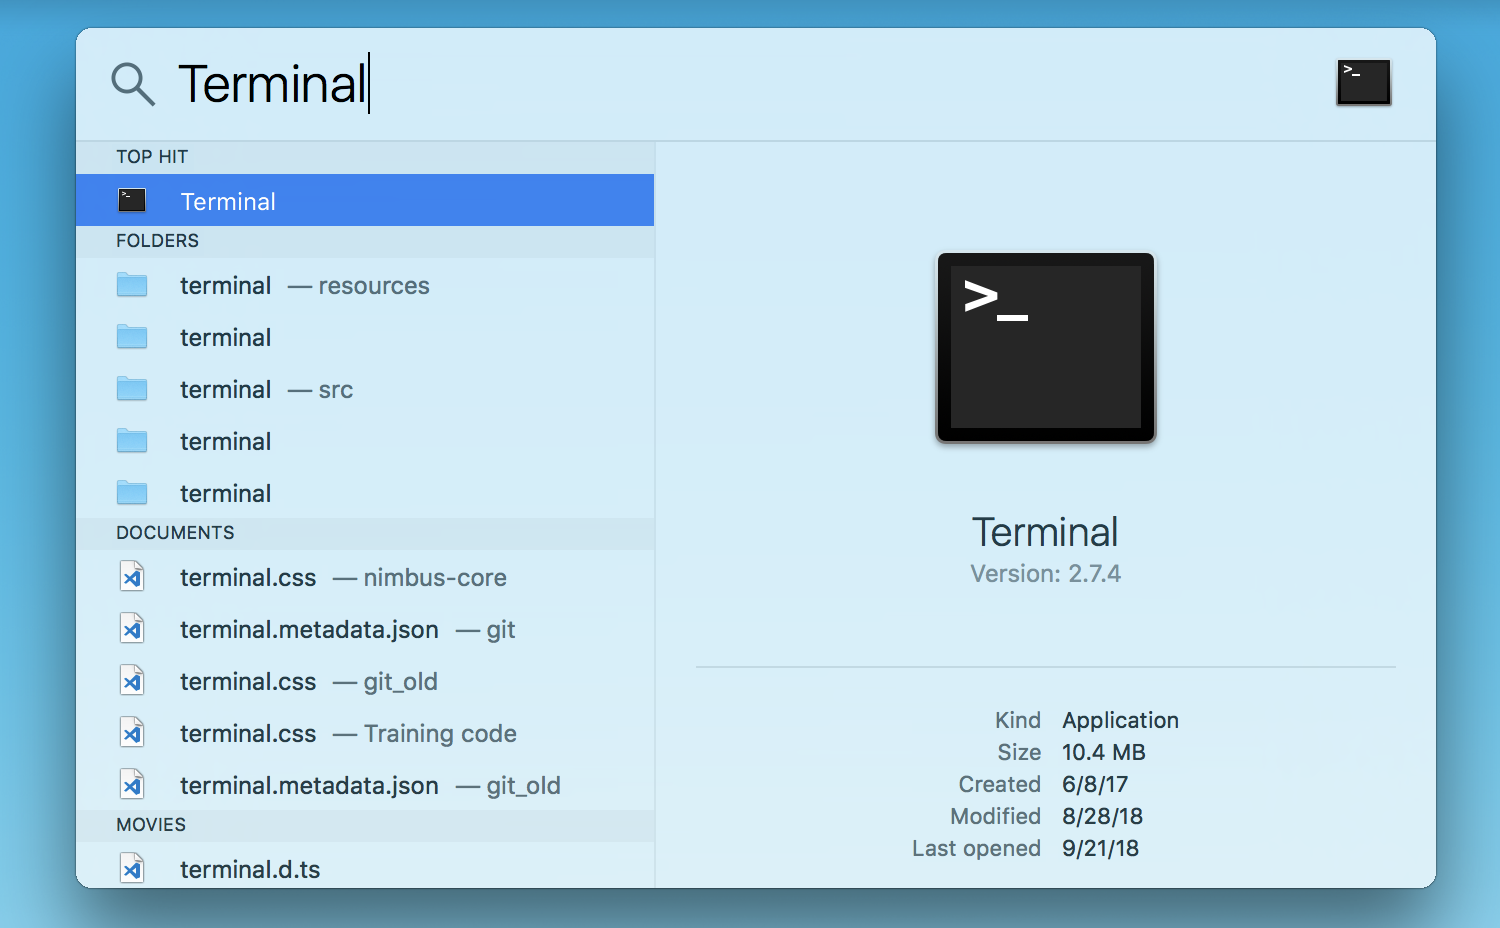
Press command+spacebar to open Spotlight Search.
-
Type
-
Terminal will be opened
-
-
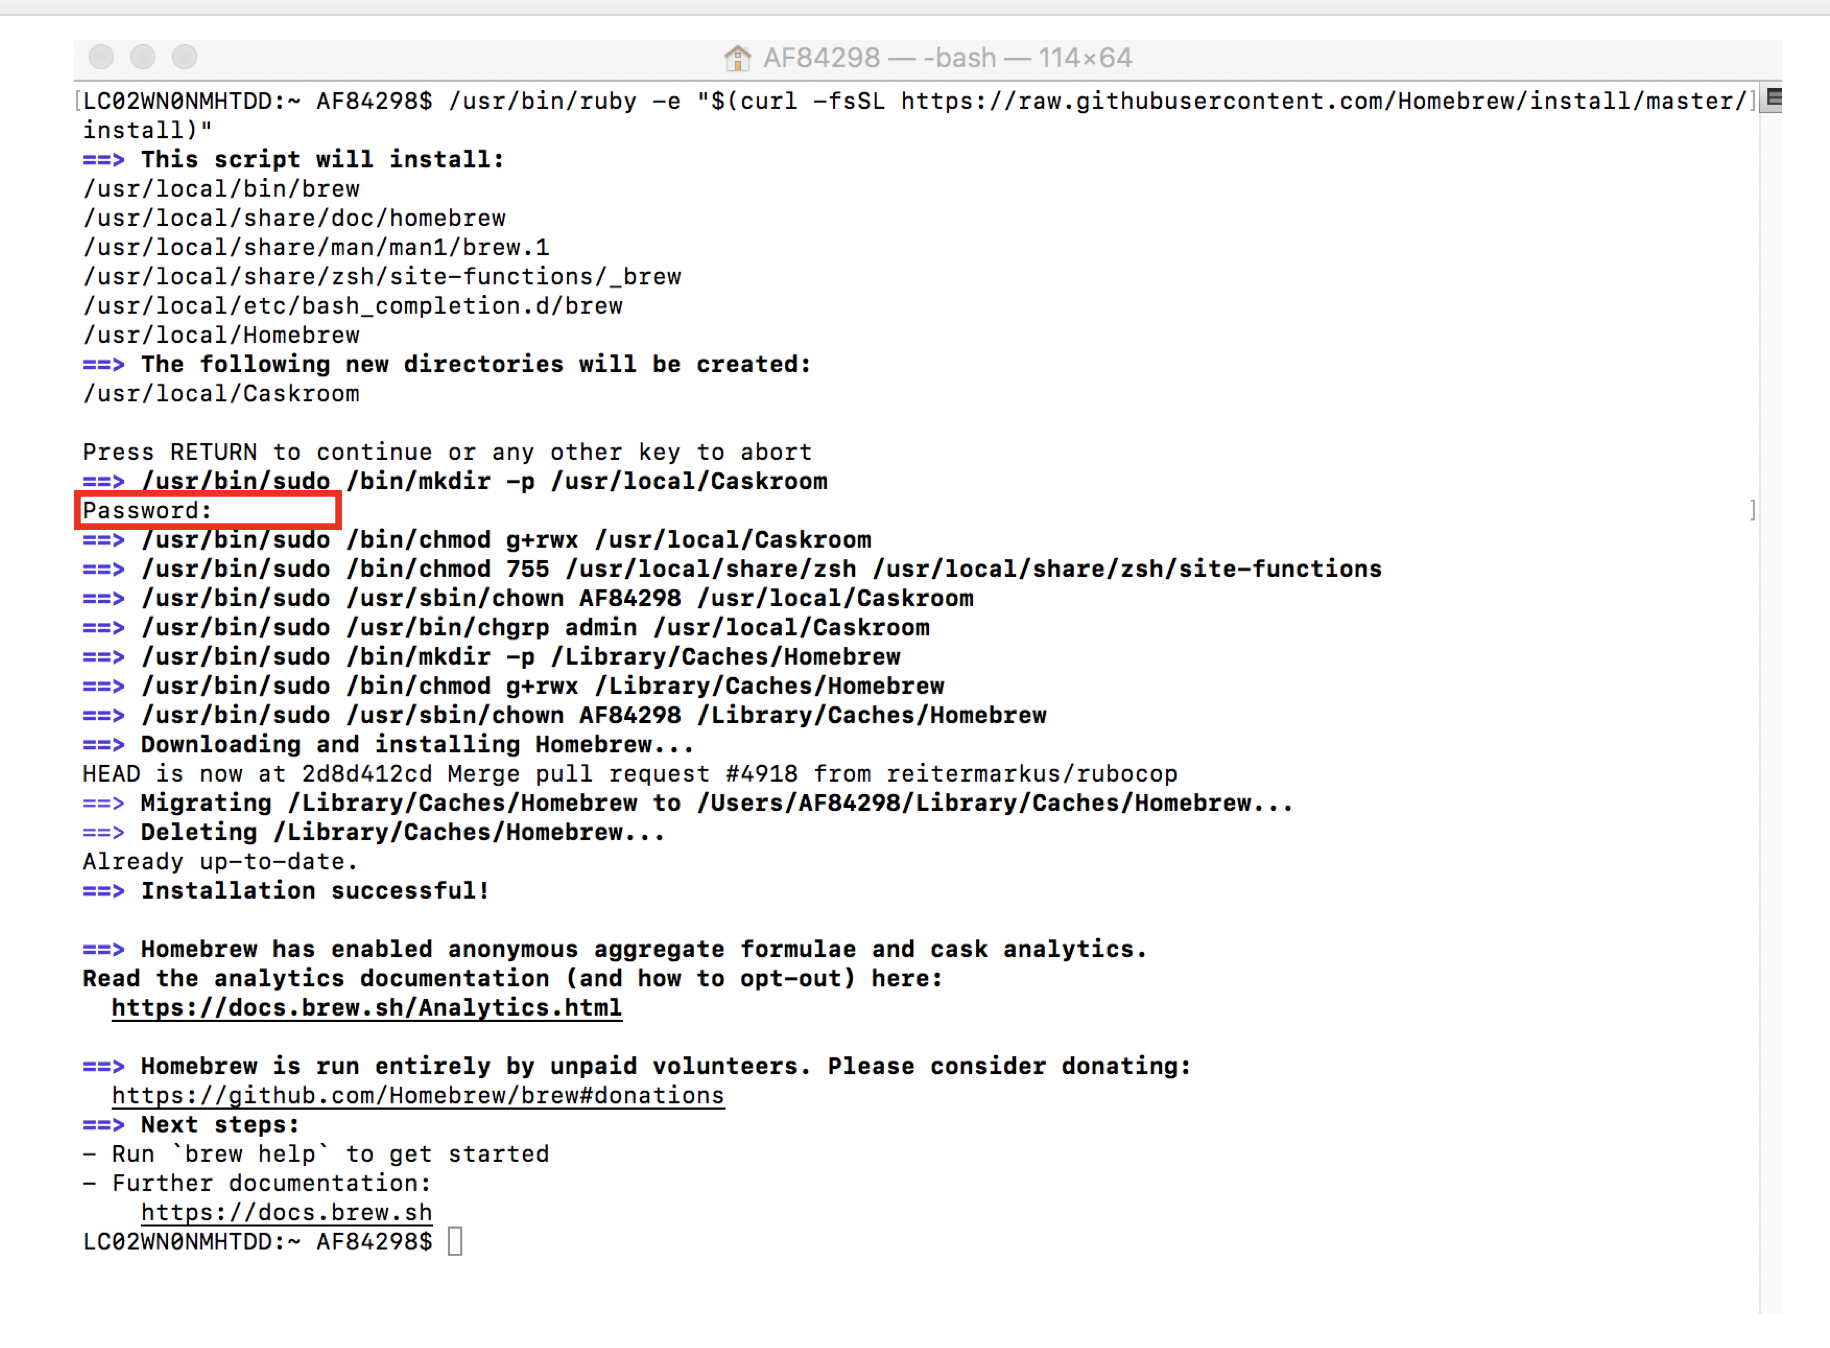
Paste the below script in your terminal and press Enter
-
Terminal will prompt for your password. Enter the password to begin the installation
-
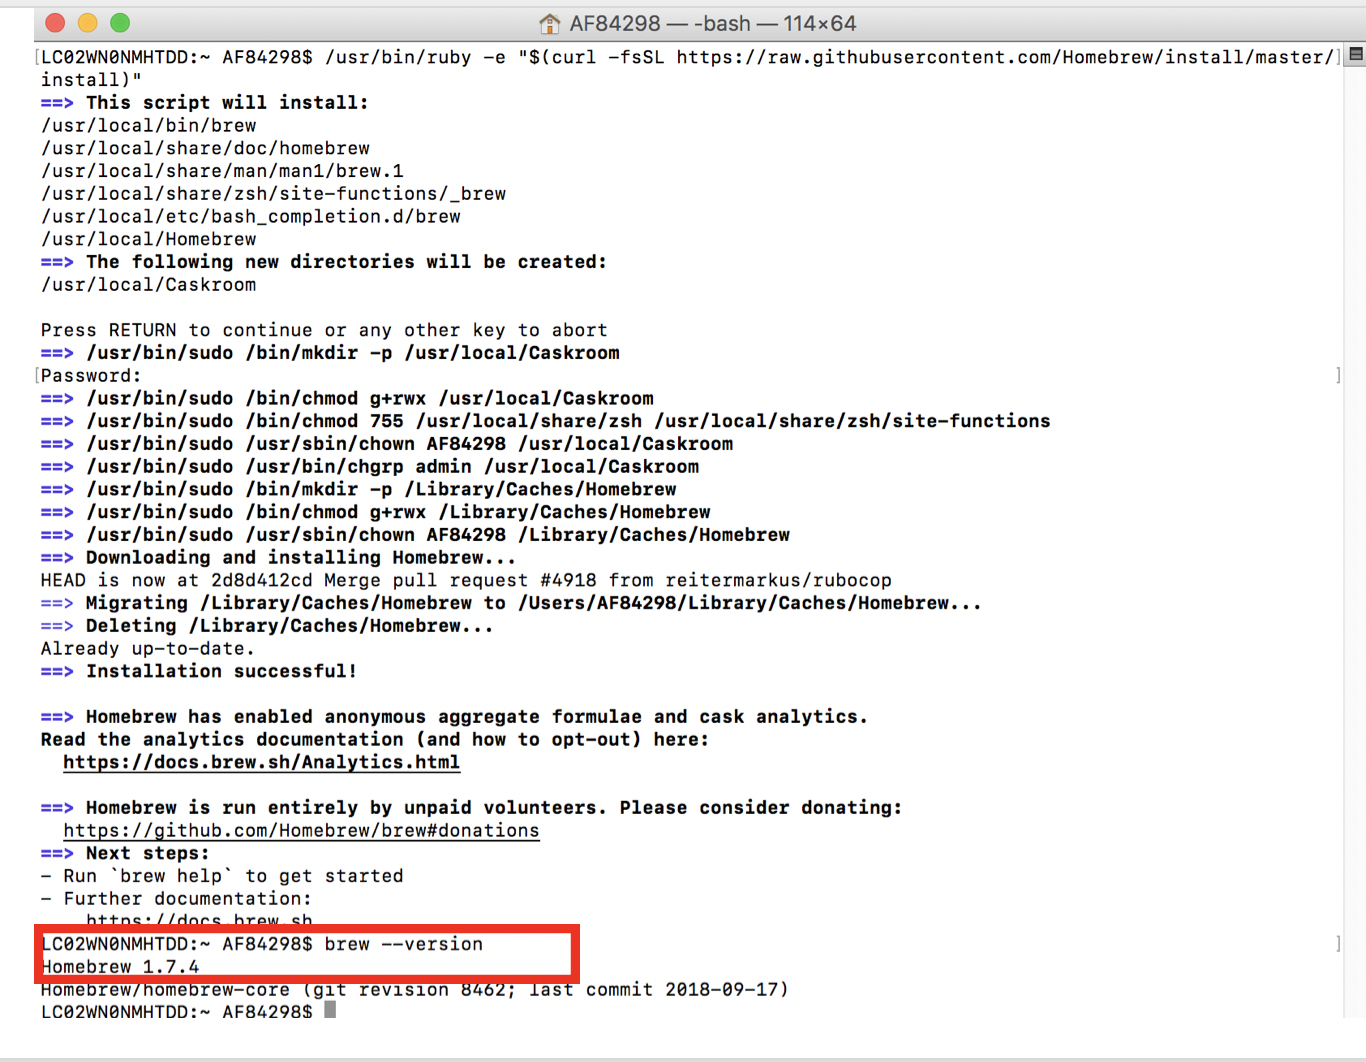
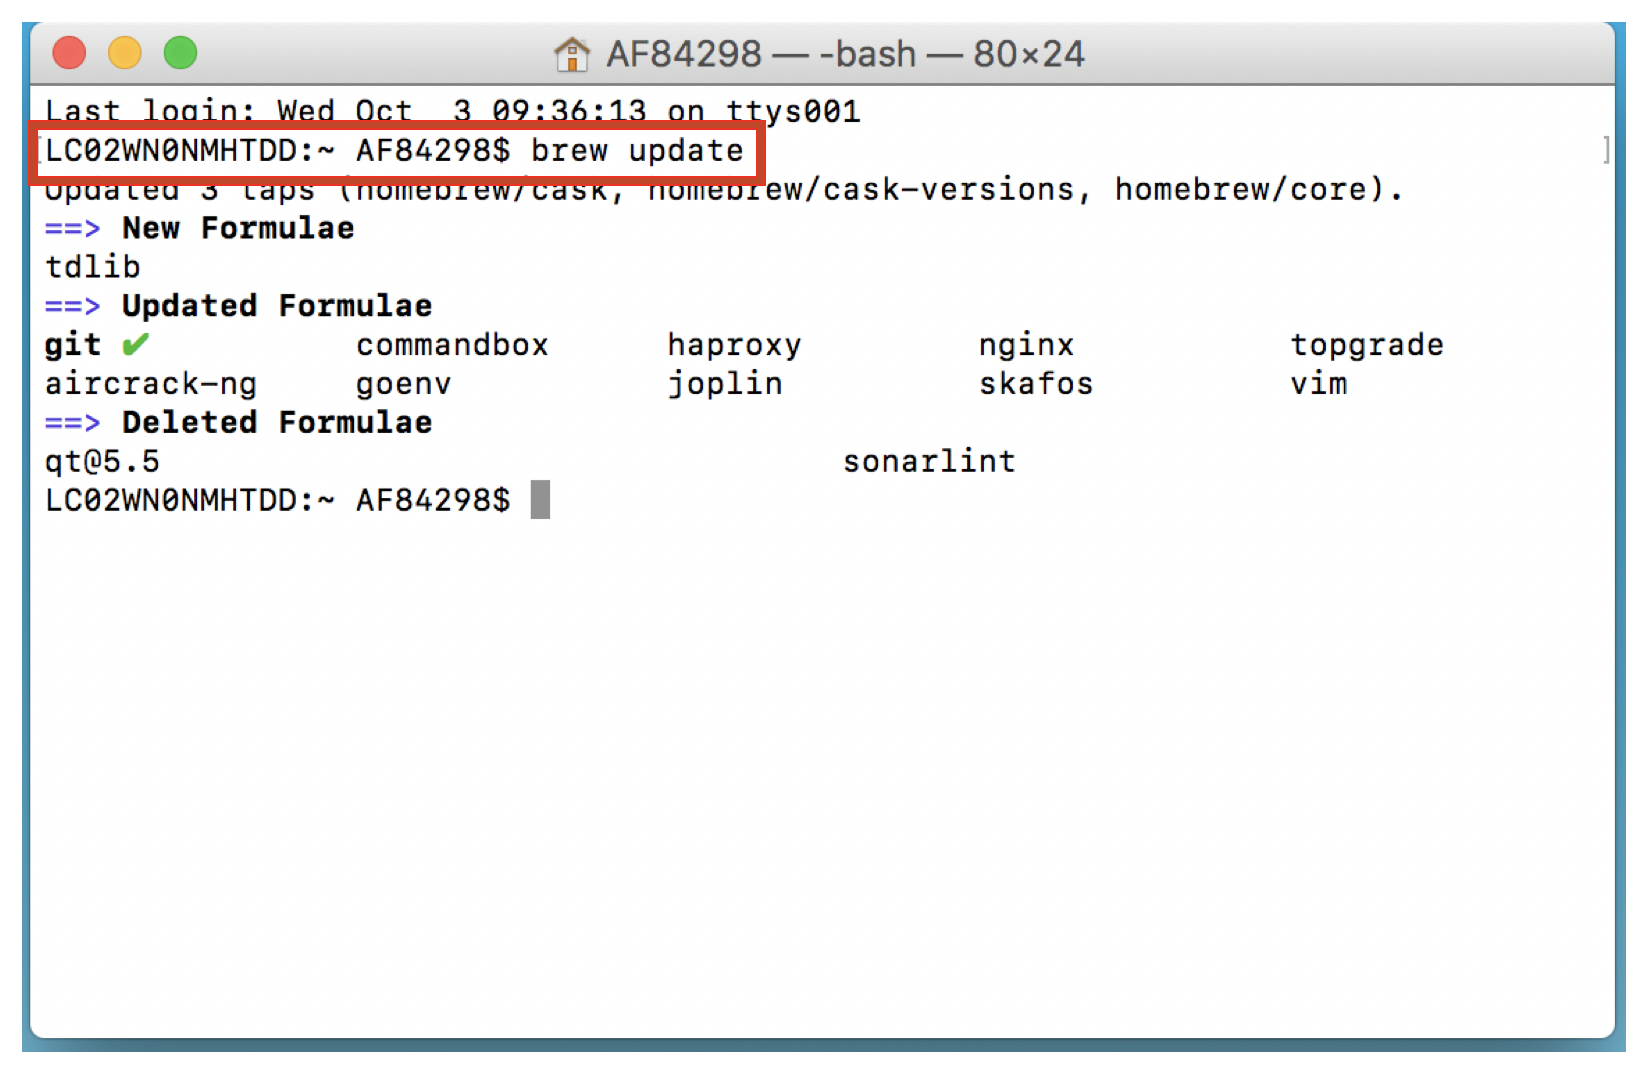
Once installed, let us check the version of by running the following brew formula on your terminal
-
is installed!
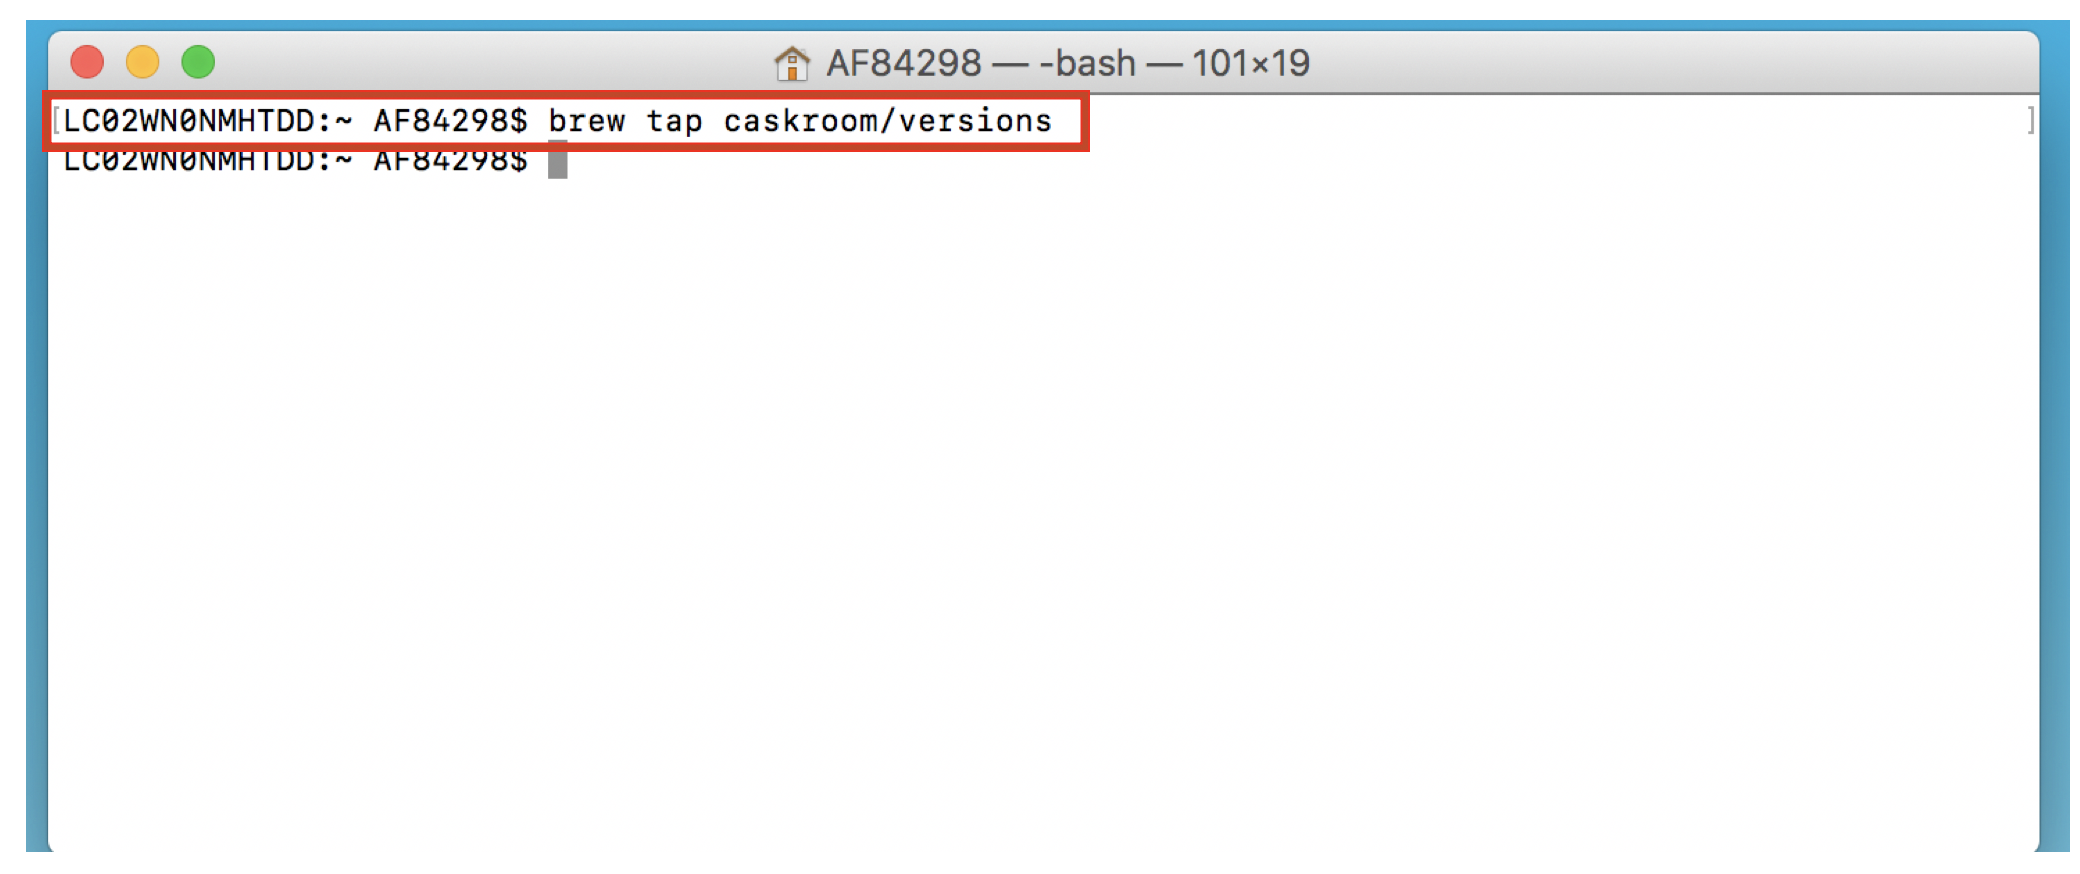
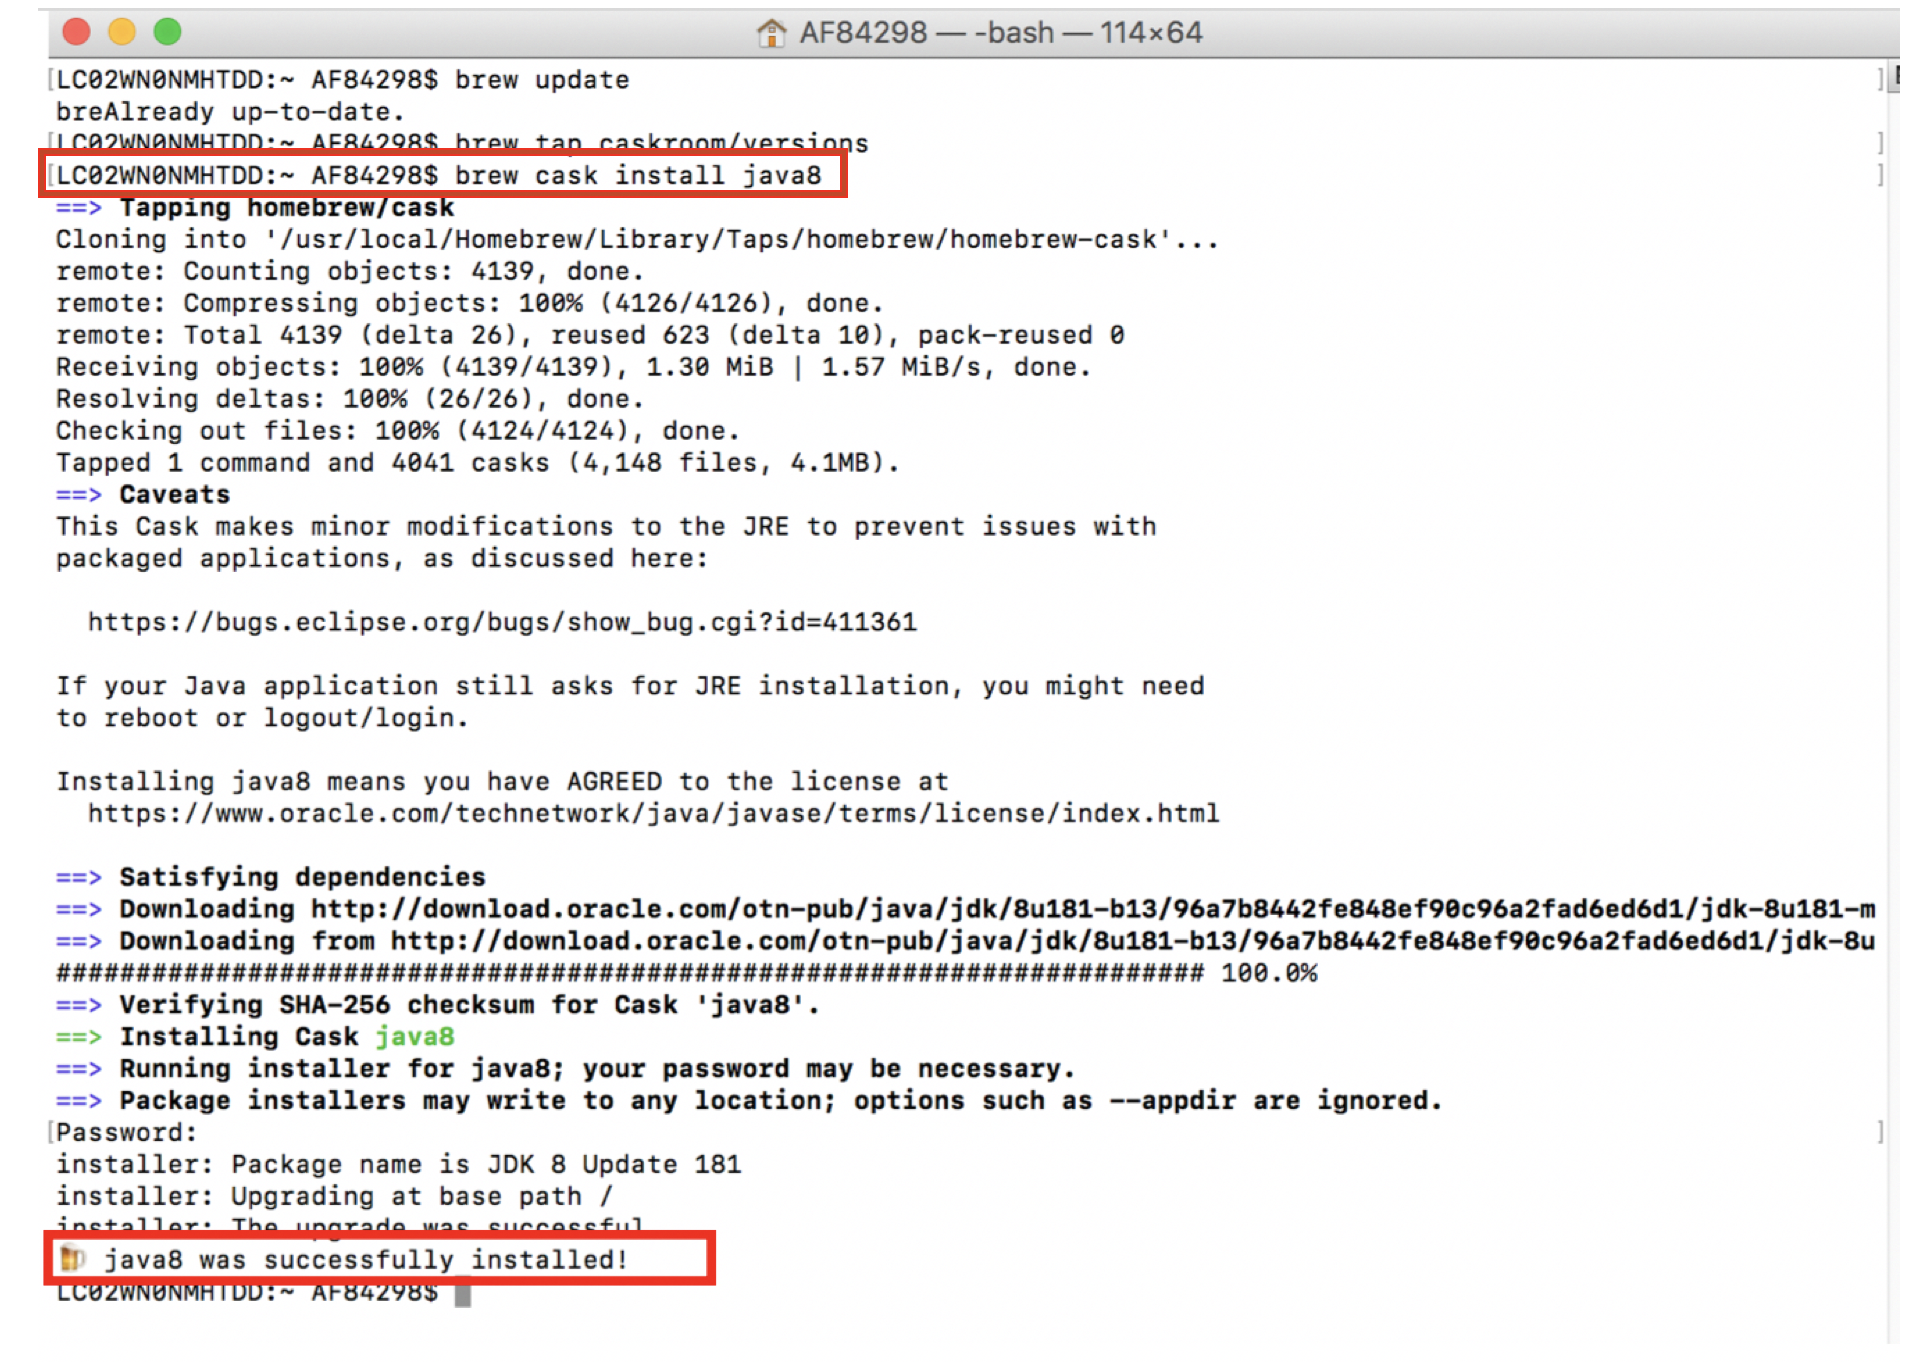
Installation of JDK
-
Run the following brew formula in your terminal in the mentioned order
-
If the terminal will prompt for your password, enter the password to begin the installation
-
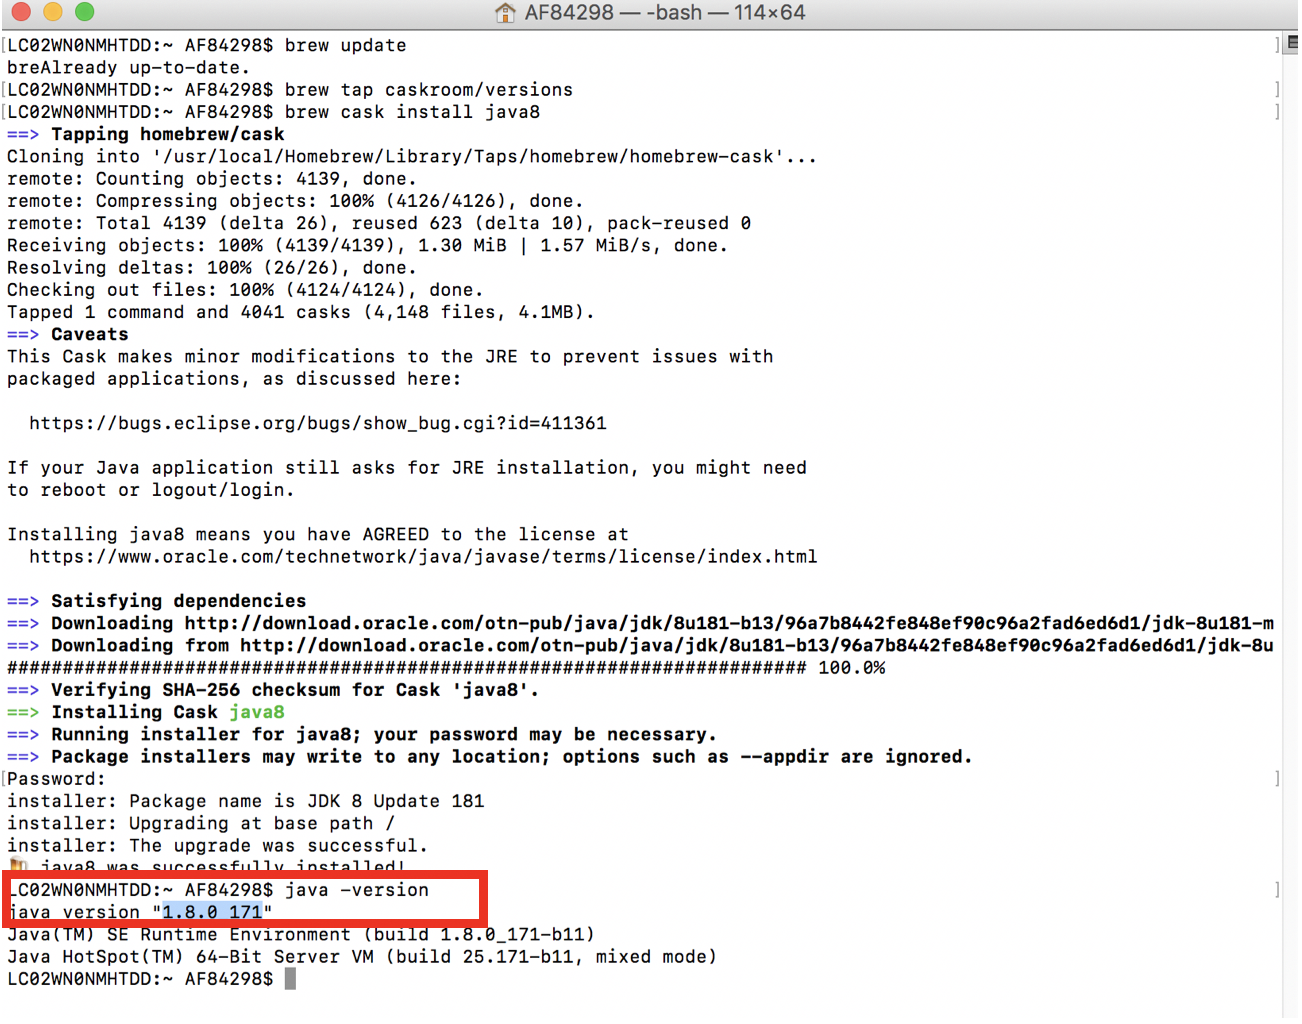
Once installed, let us check the version by running the following brew formula on your terminal
-
is installed!
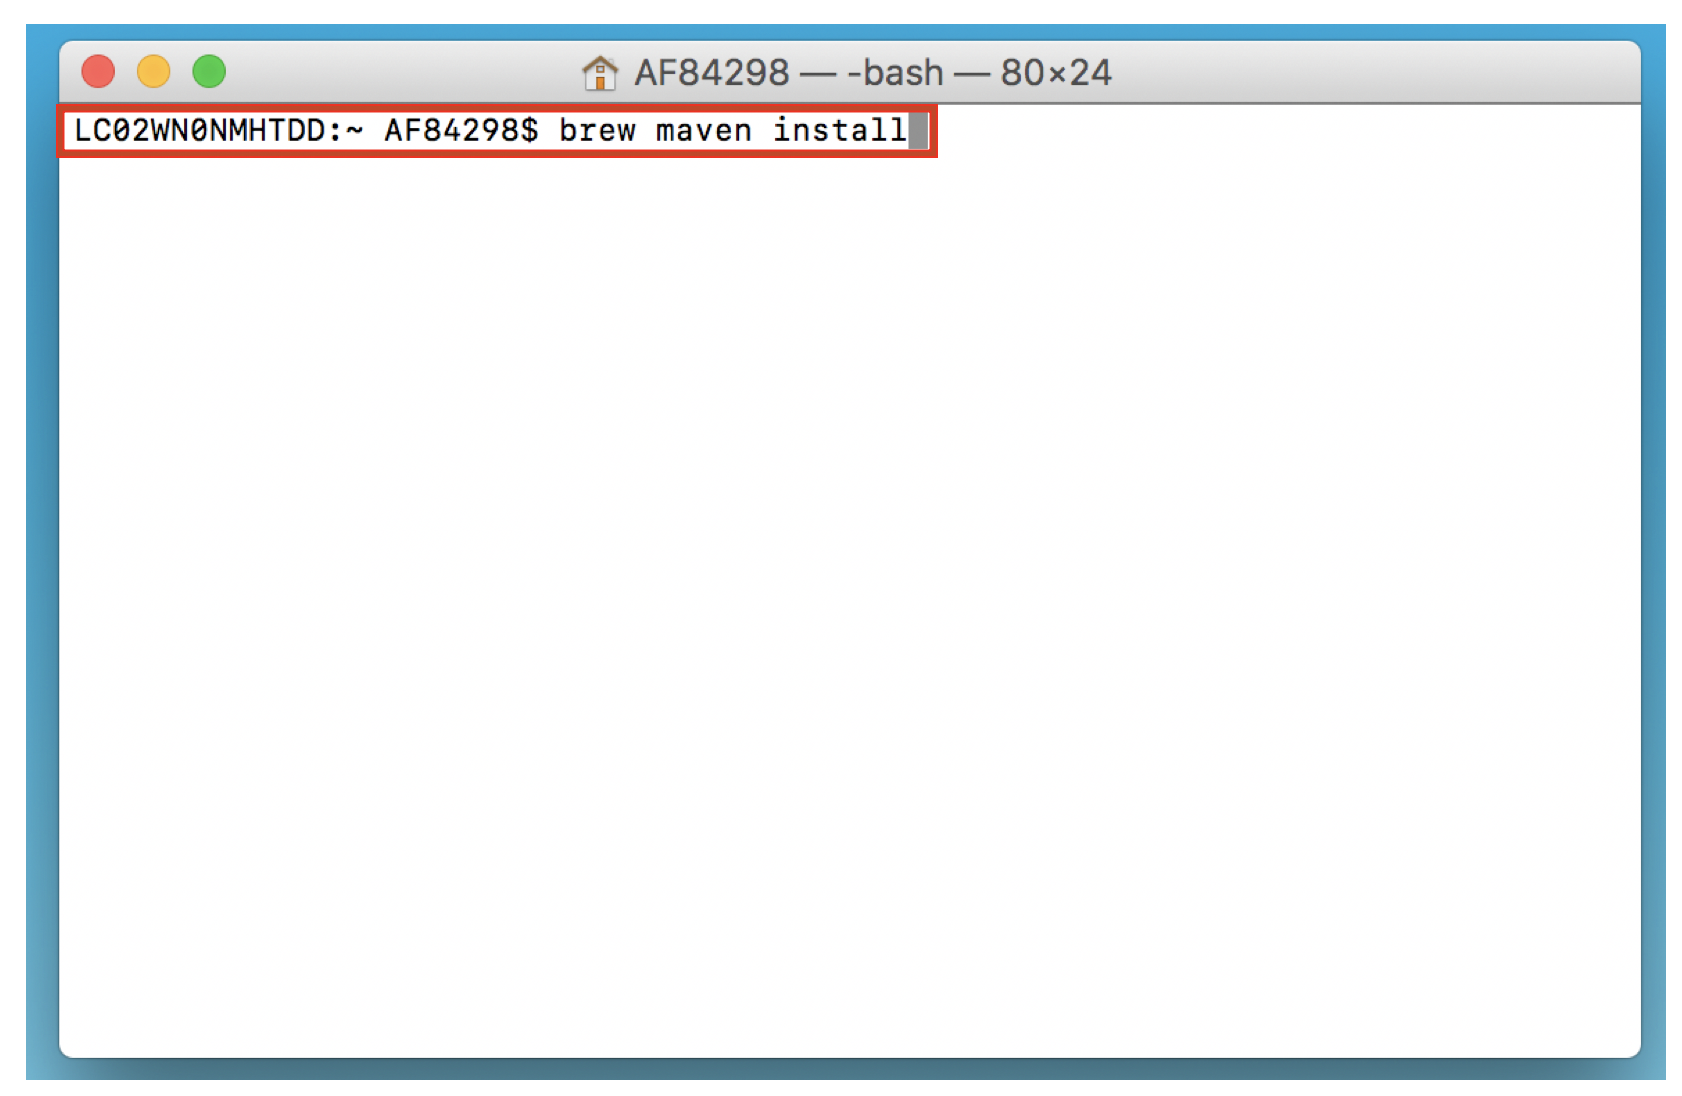
Installation of Maven
-
Run the following brew formula on your terminal.
-
Once installed, let us check the version by running the following brew formula on your terminal
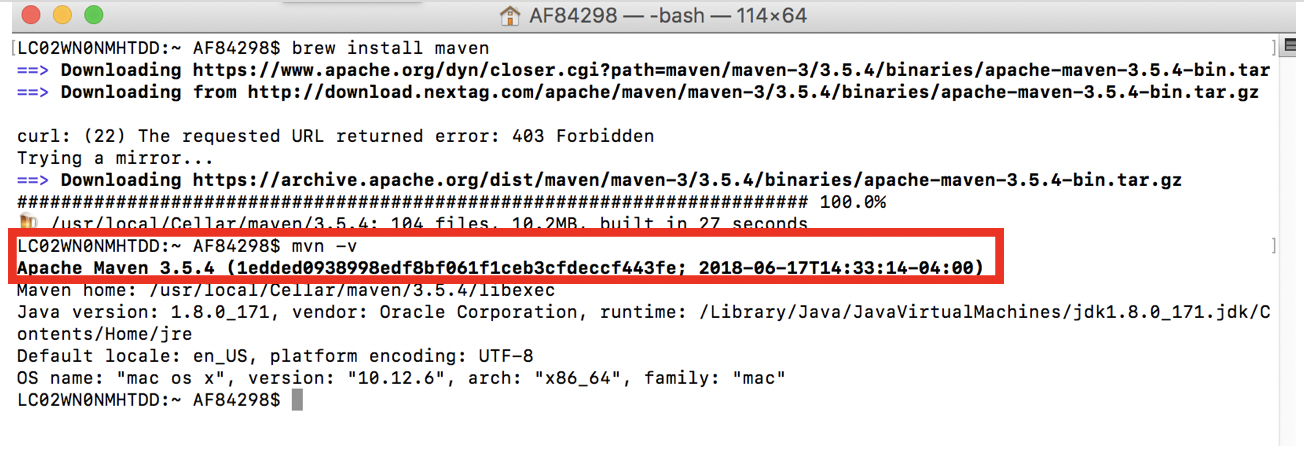
-
is installed!
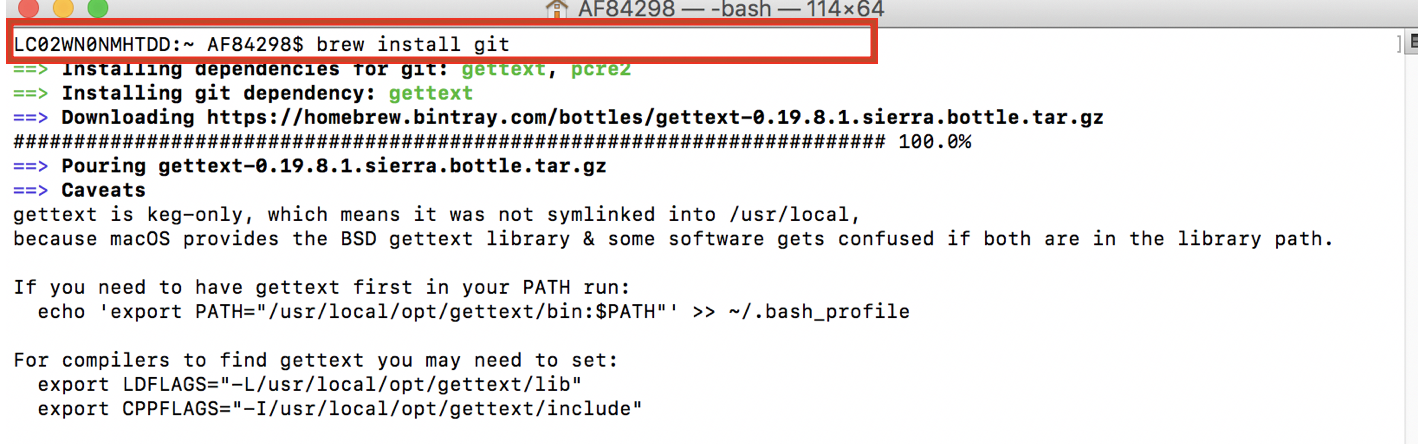
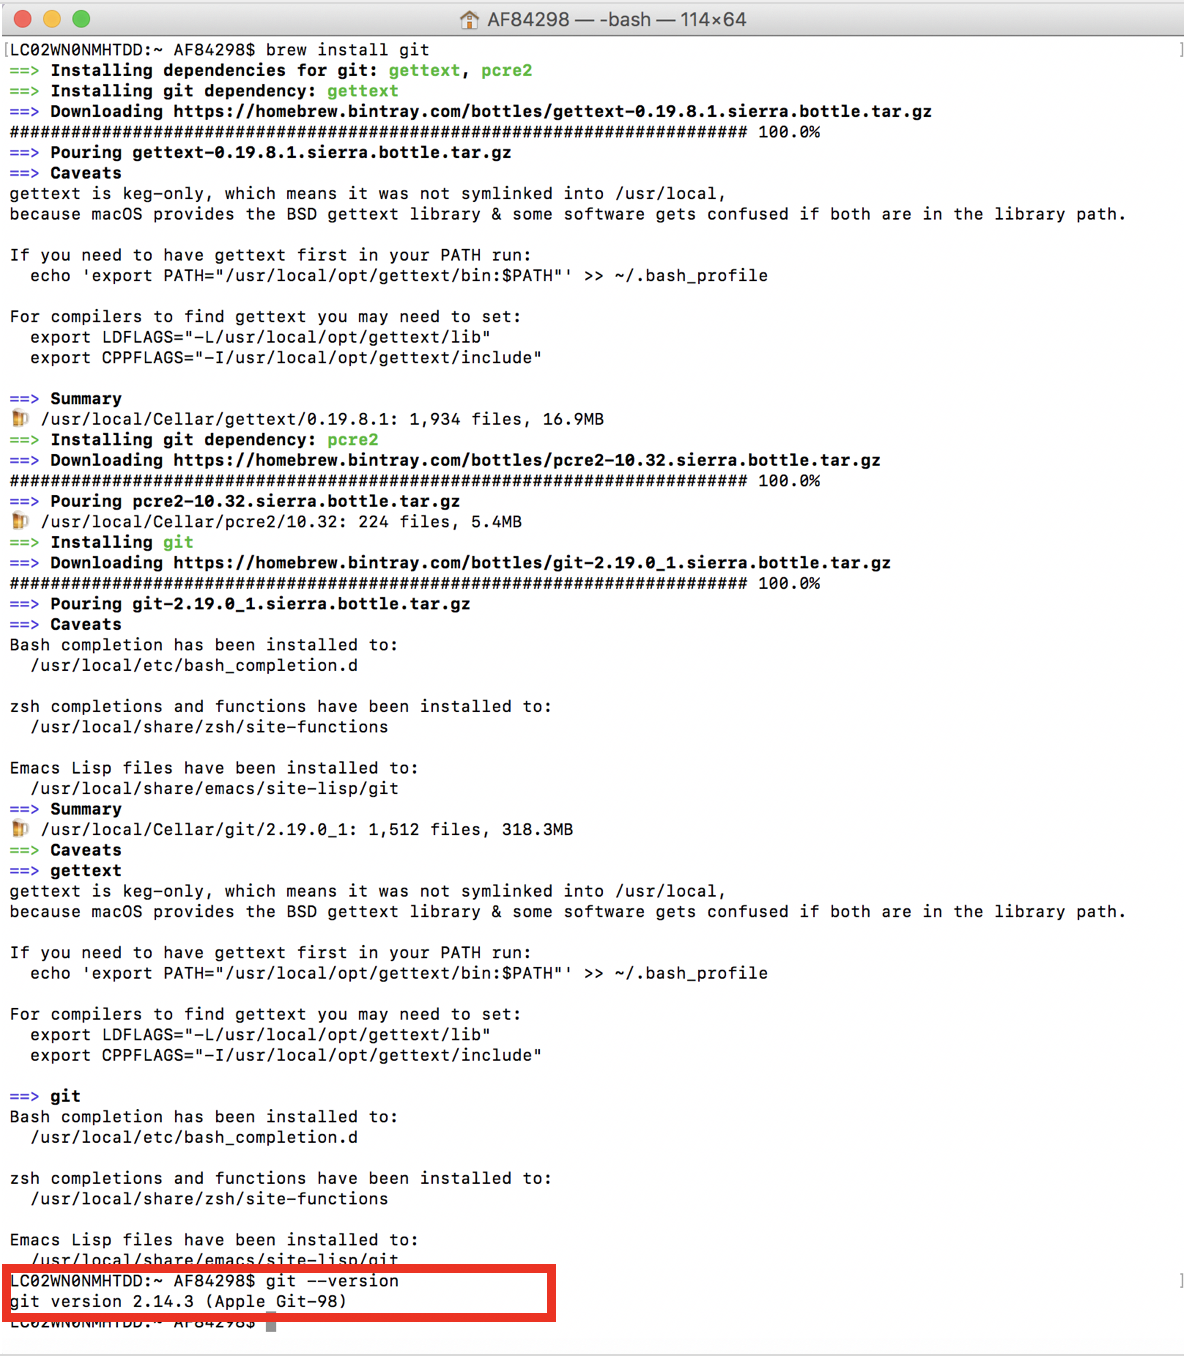
Installation of git
-
Run the following brew formula on your terminal.
-
Once installed, let us check the installation by running the following brew formula on your terminal
-
is installed!
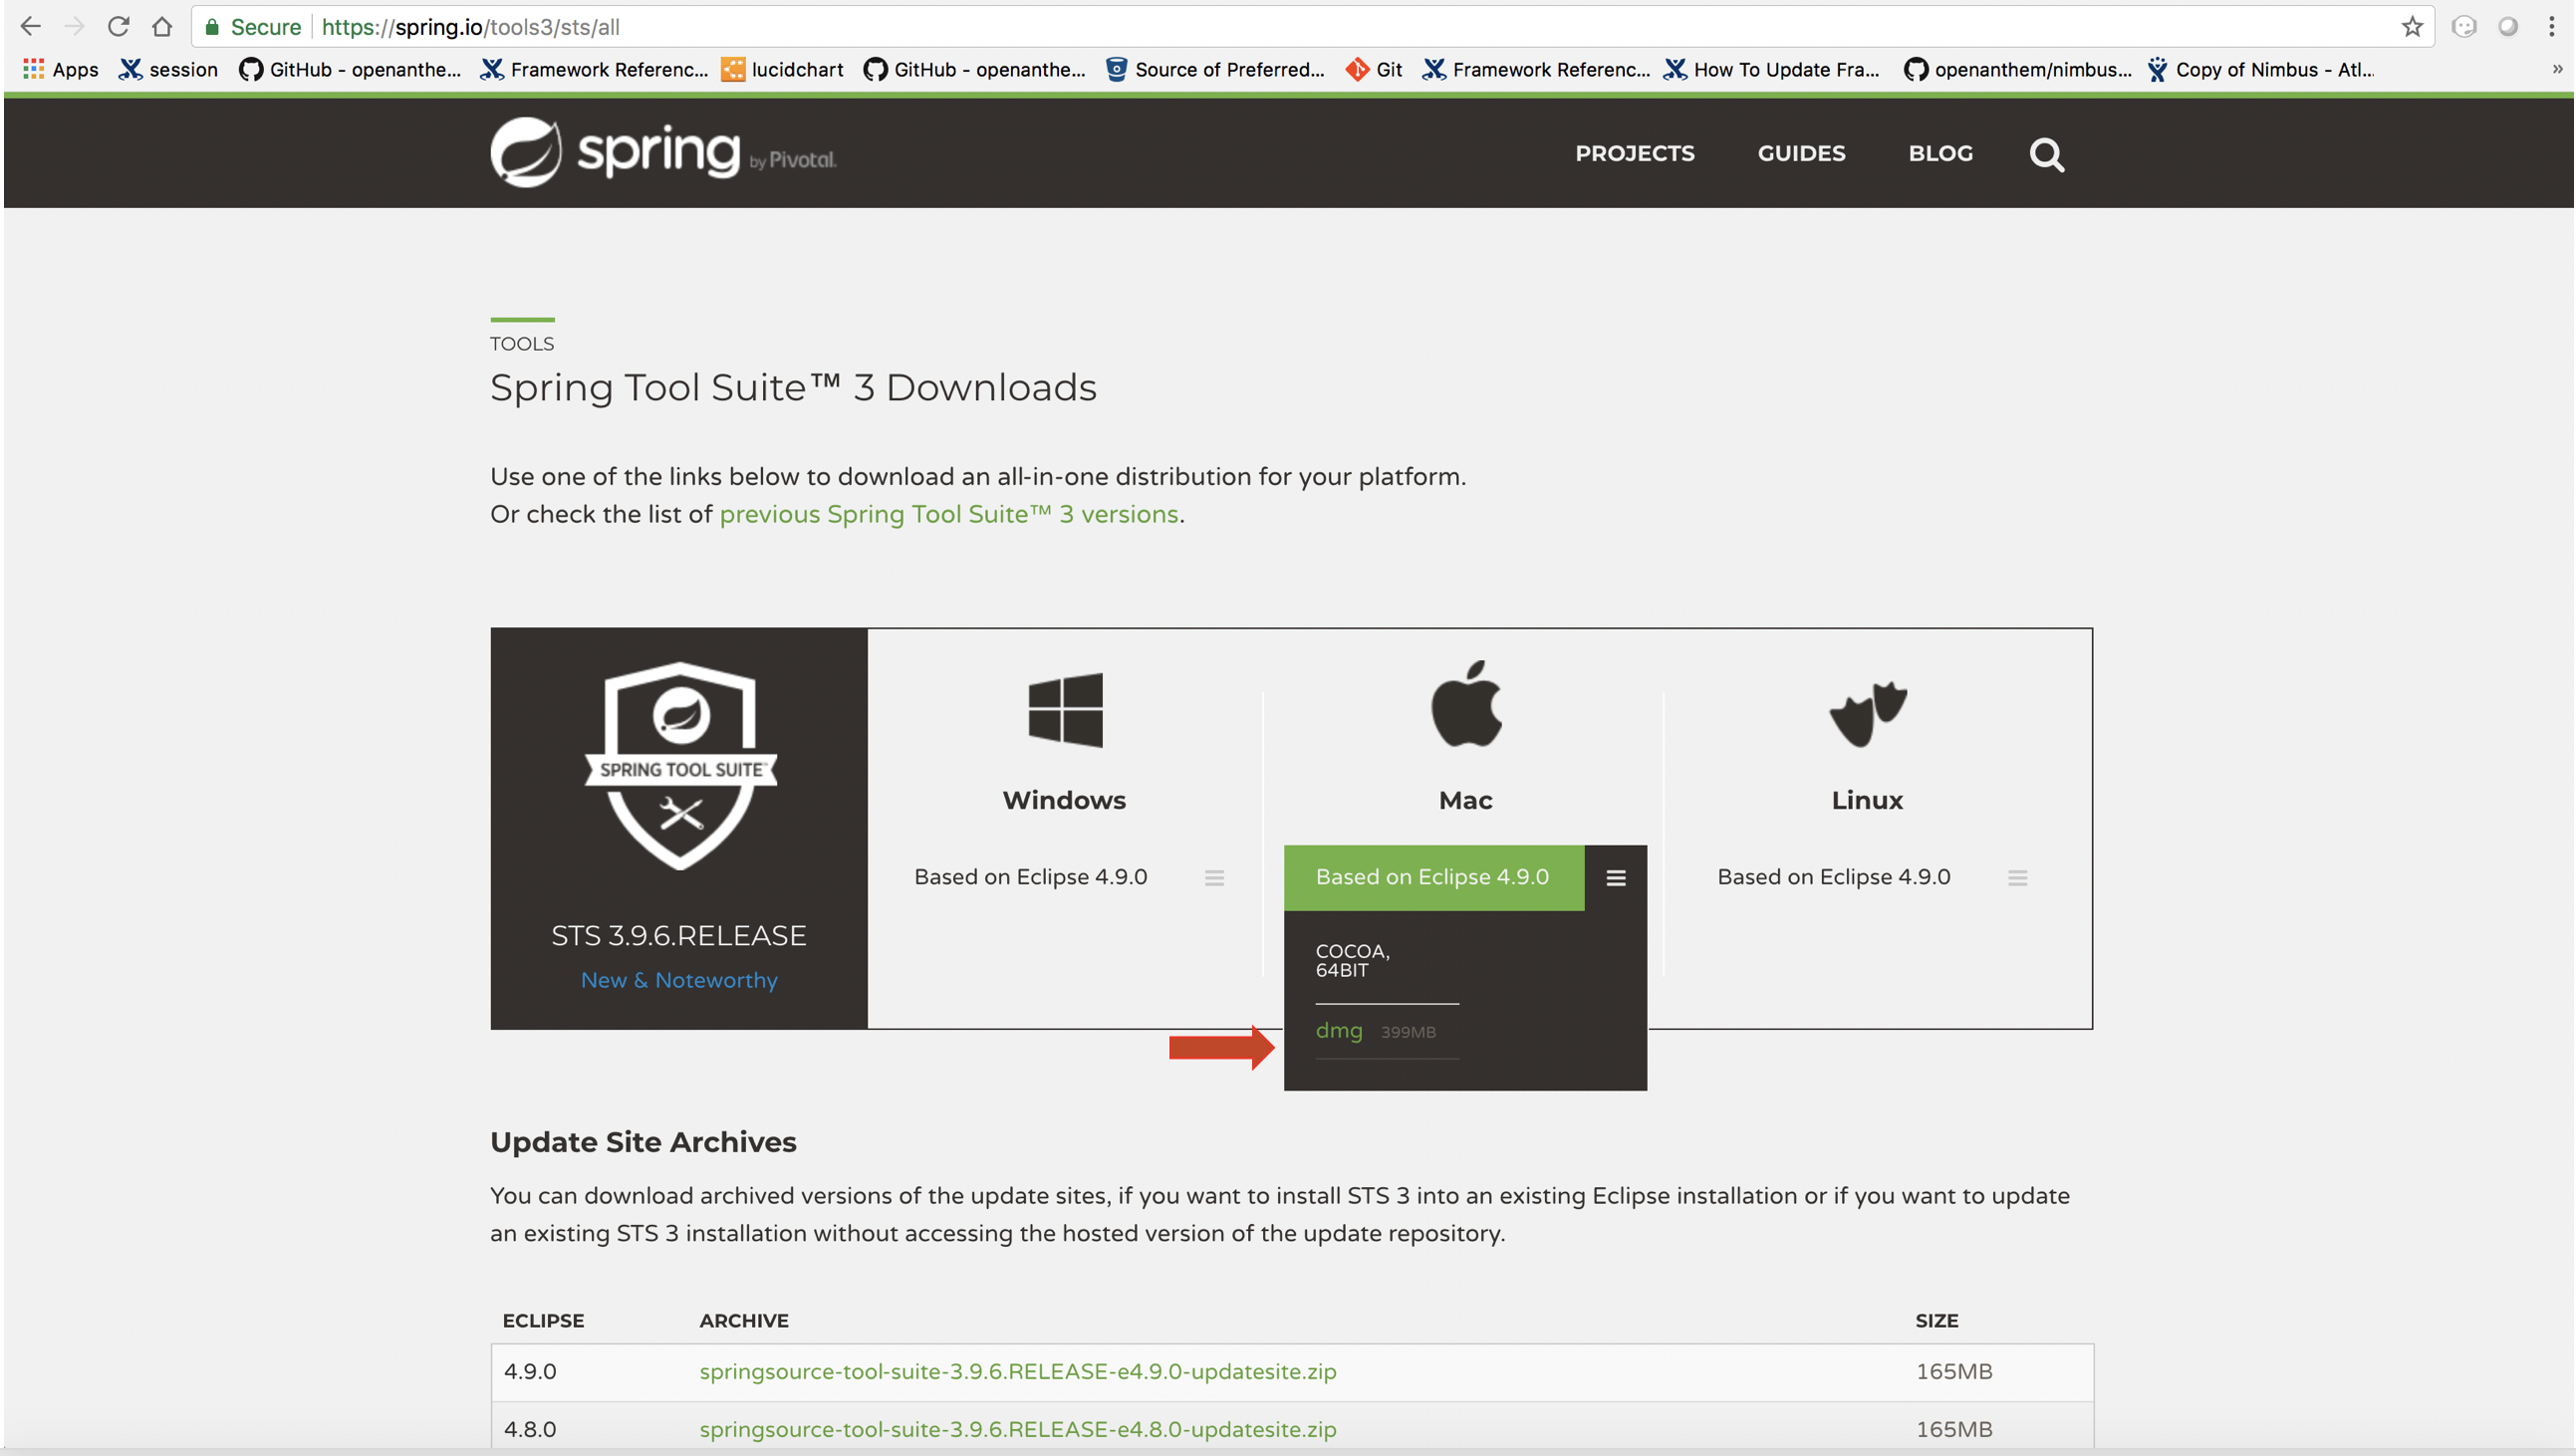
Installation of Spring Tool Suite
-
Click the appropriate dmg file for mac
-
You can see the file inside your "/Downloads" folder
-
Open the dmg file
-
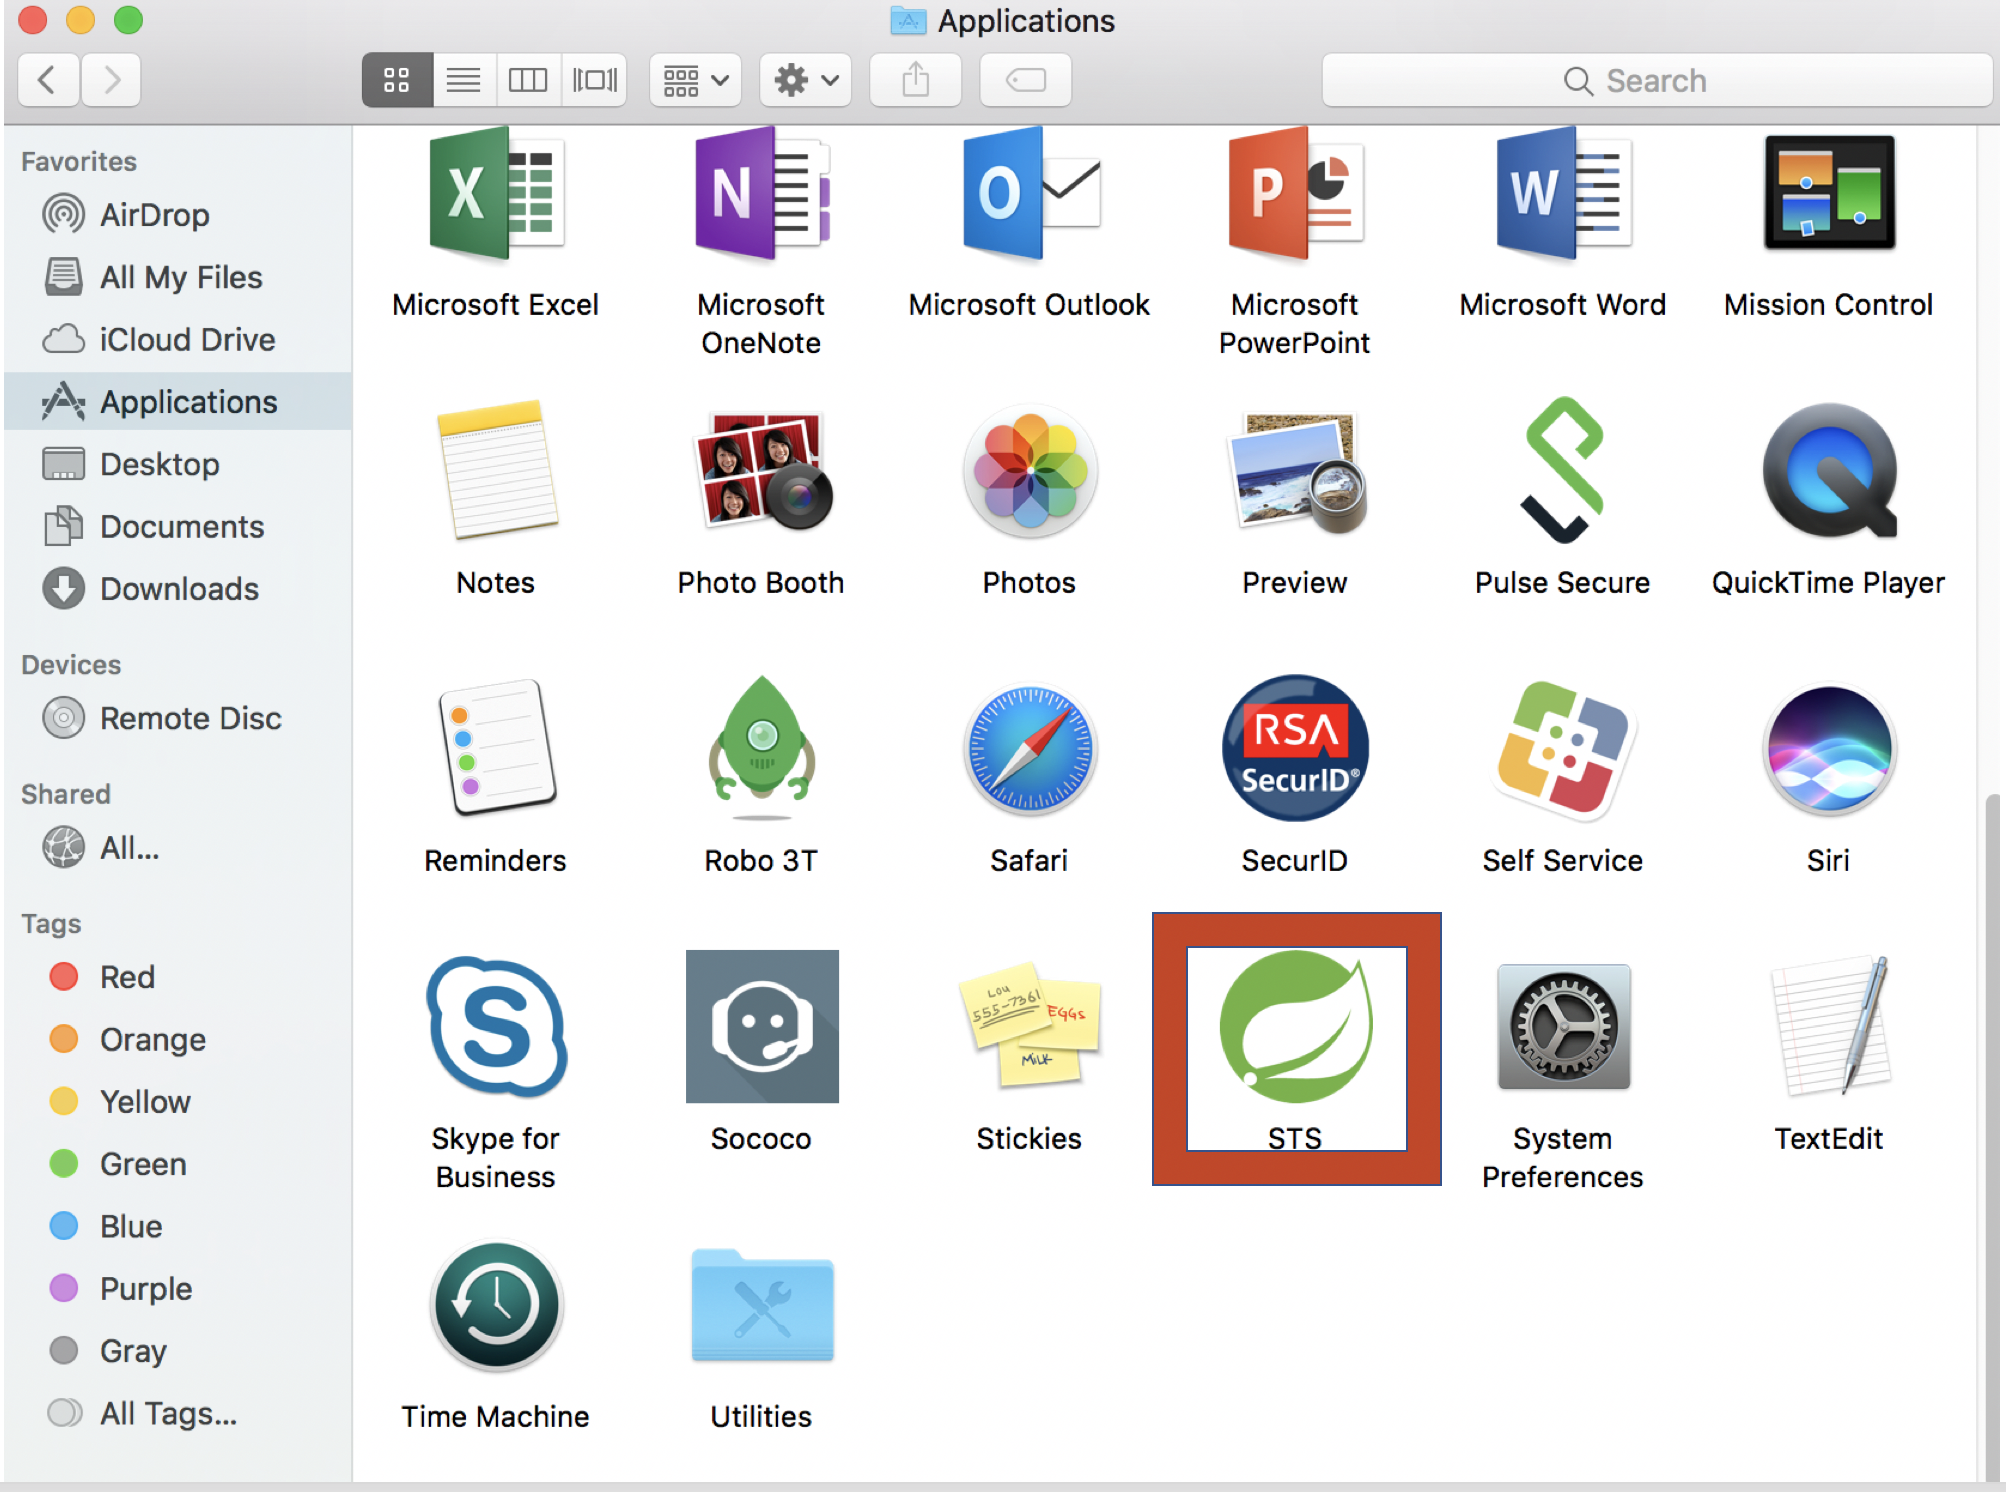
Drag and drop STS to your "/Applications" folder
-
is installed in your "/Applications" folder
-
To run , open the "/Applications" folder and click on the "STS" icon. Click in the alert window
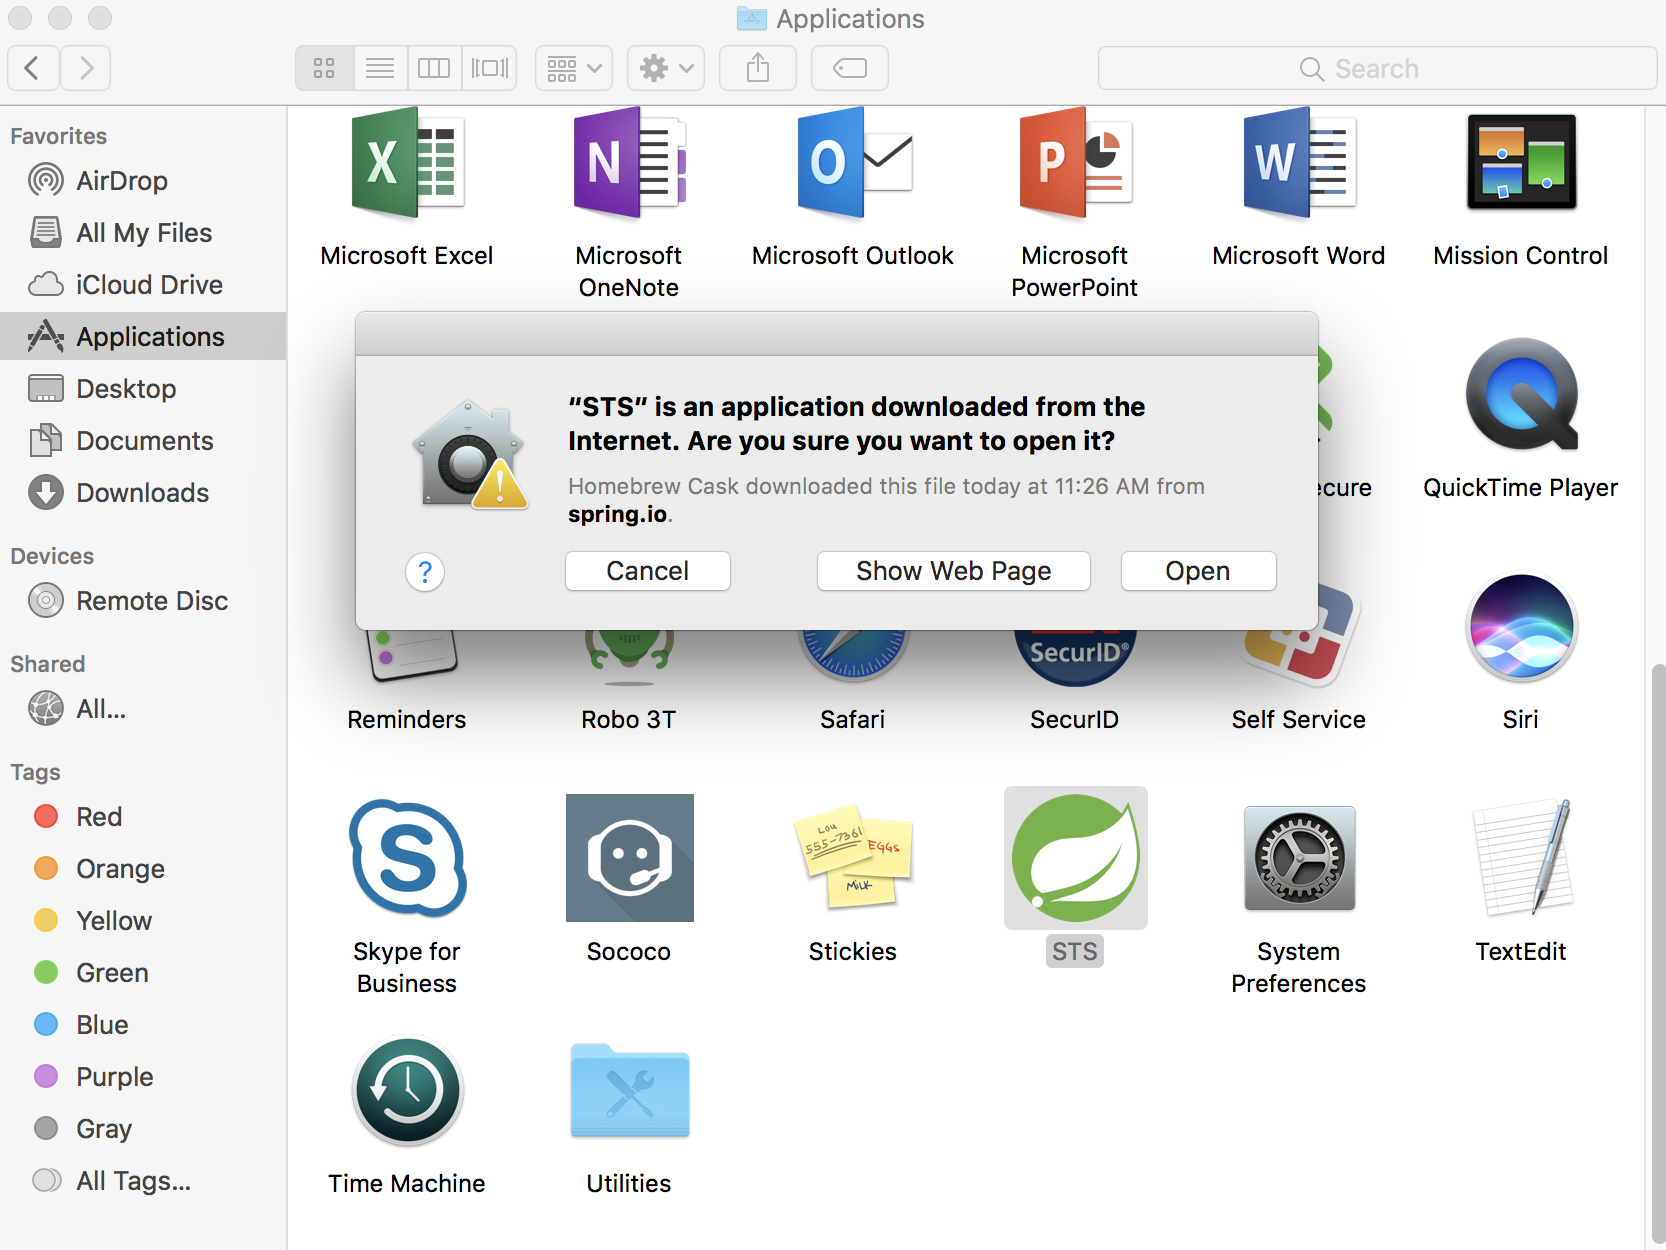
-
Choose a directory as workspace and Launch
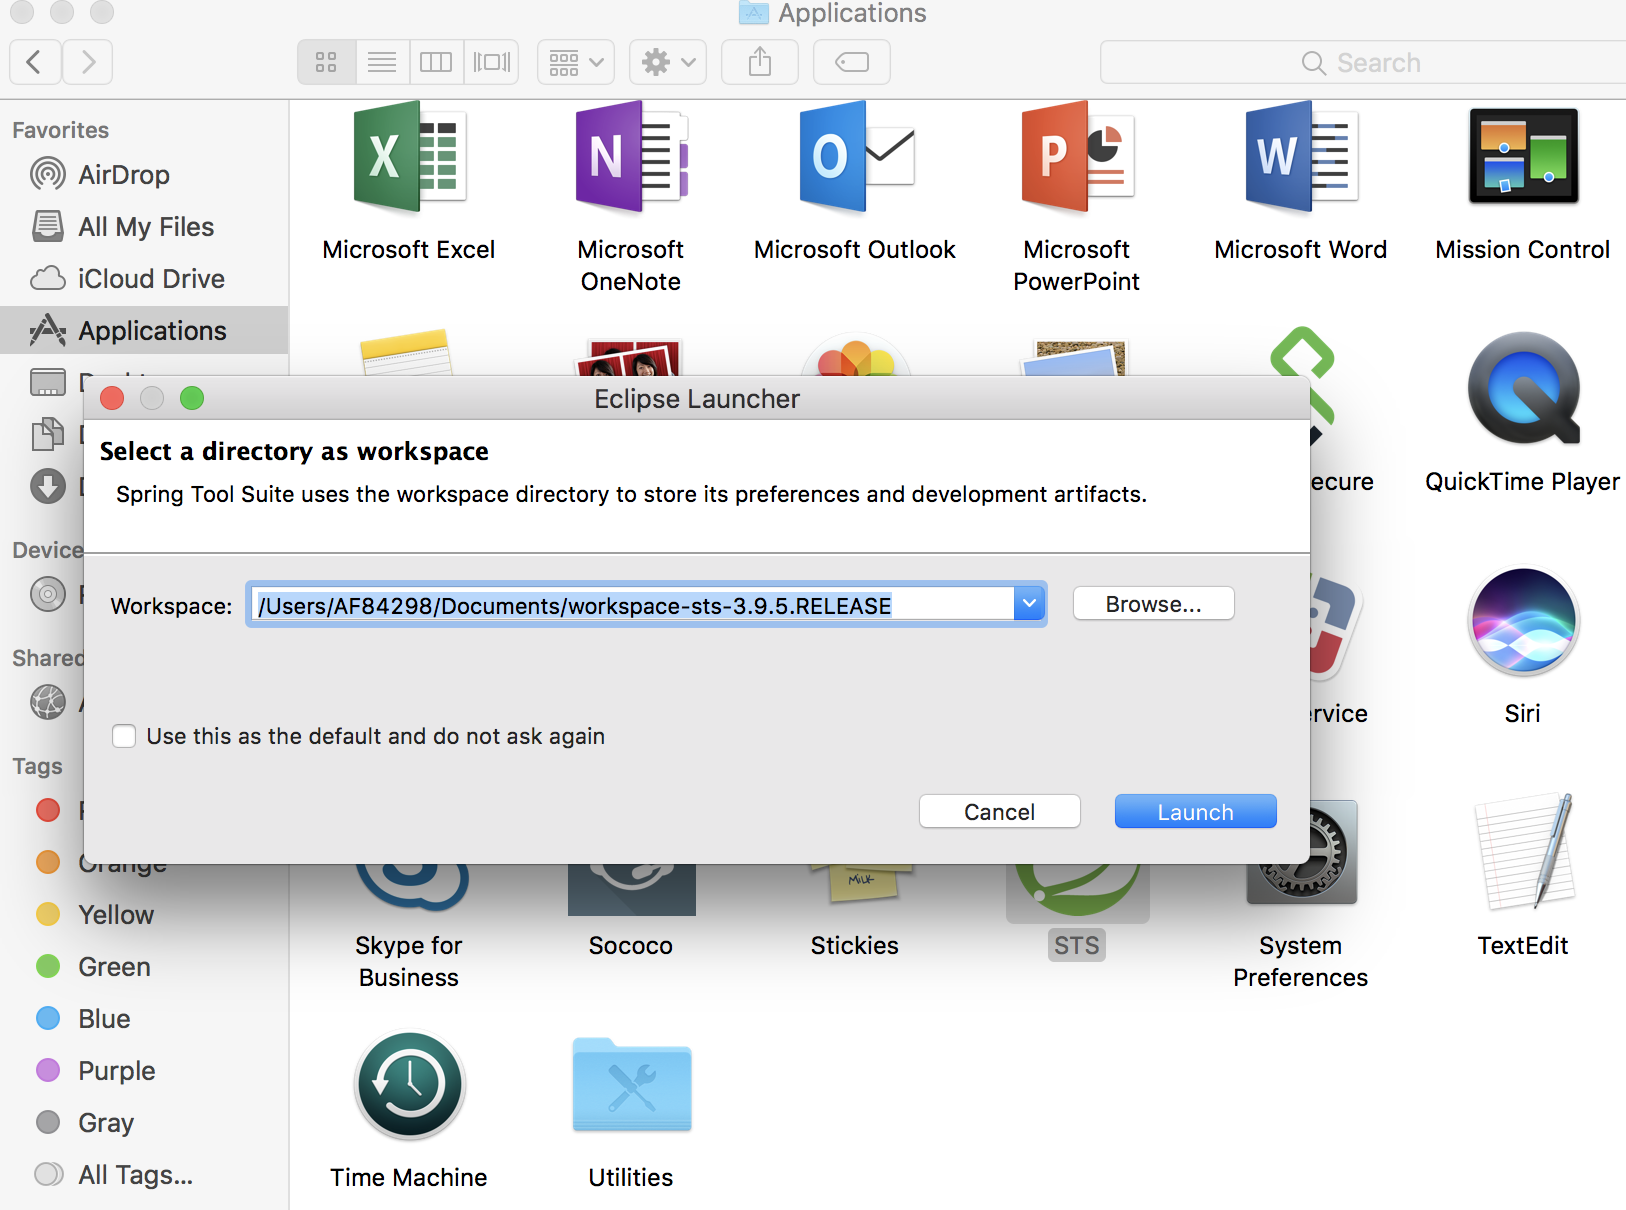
-
will be opened
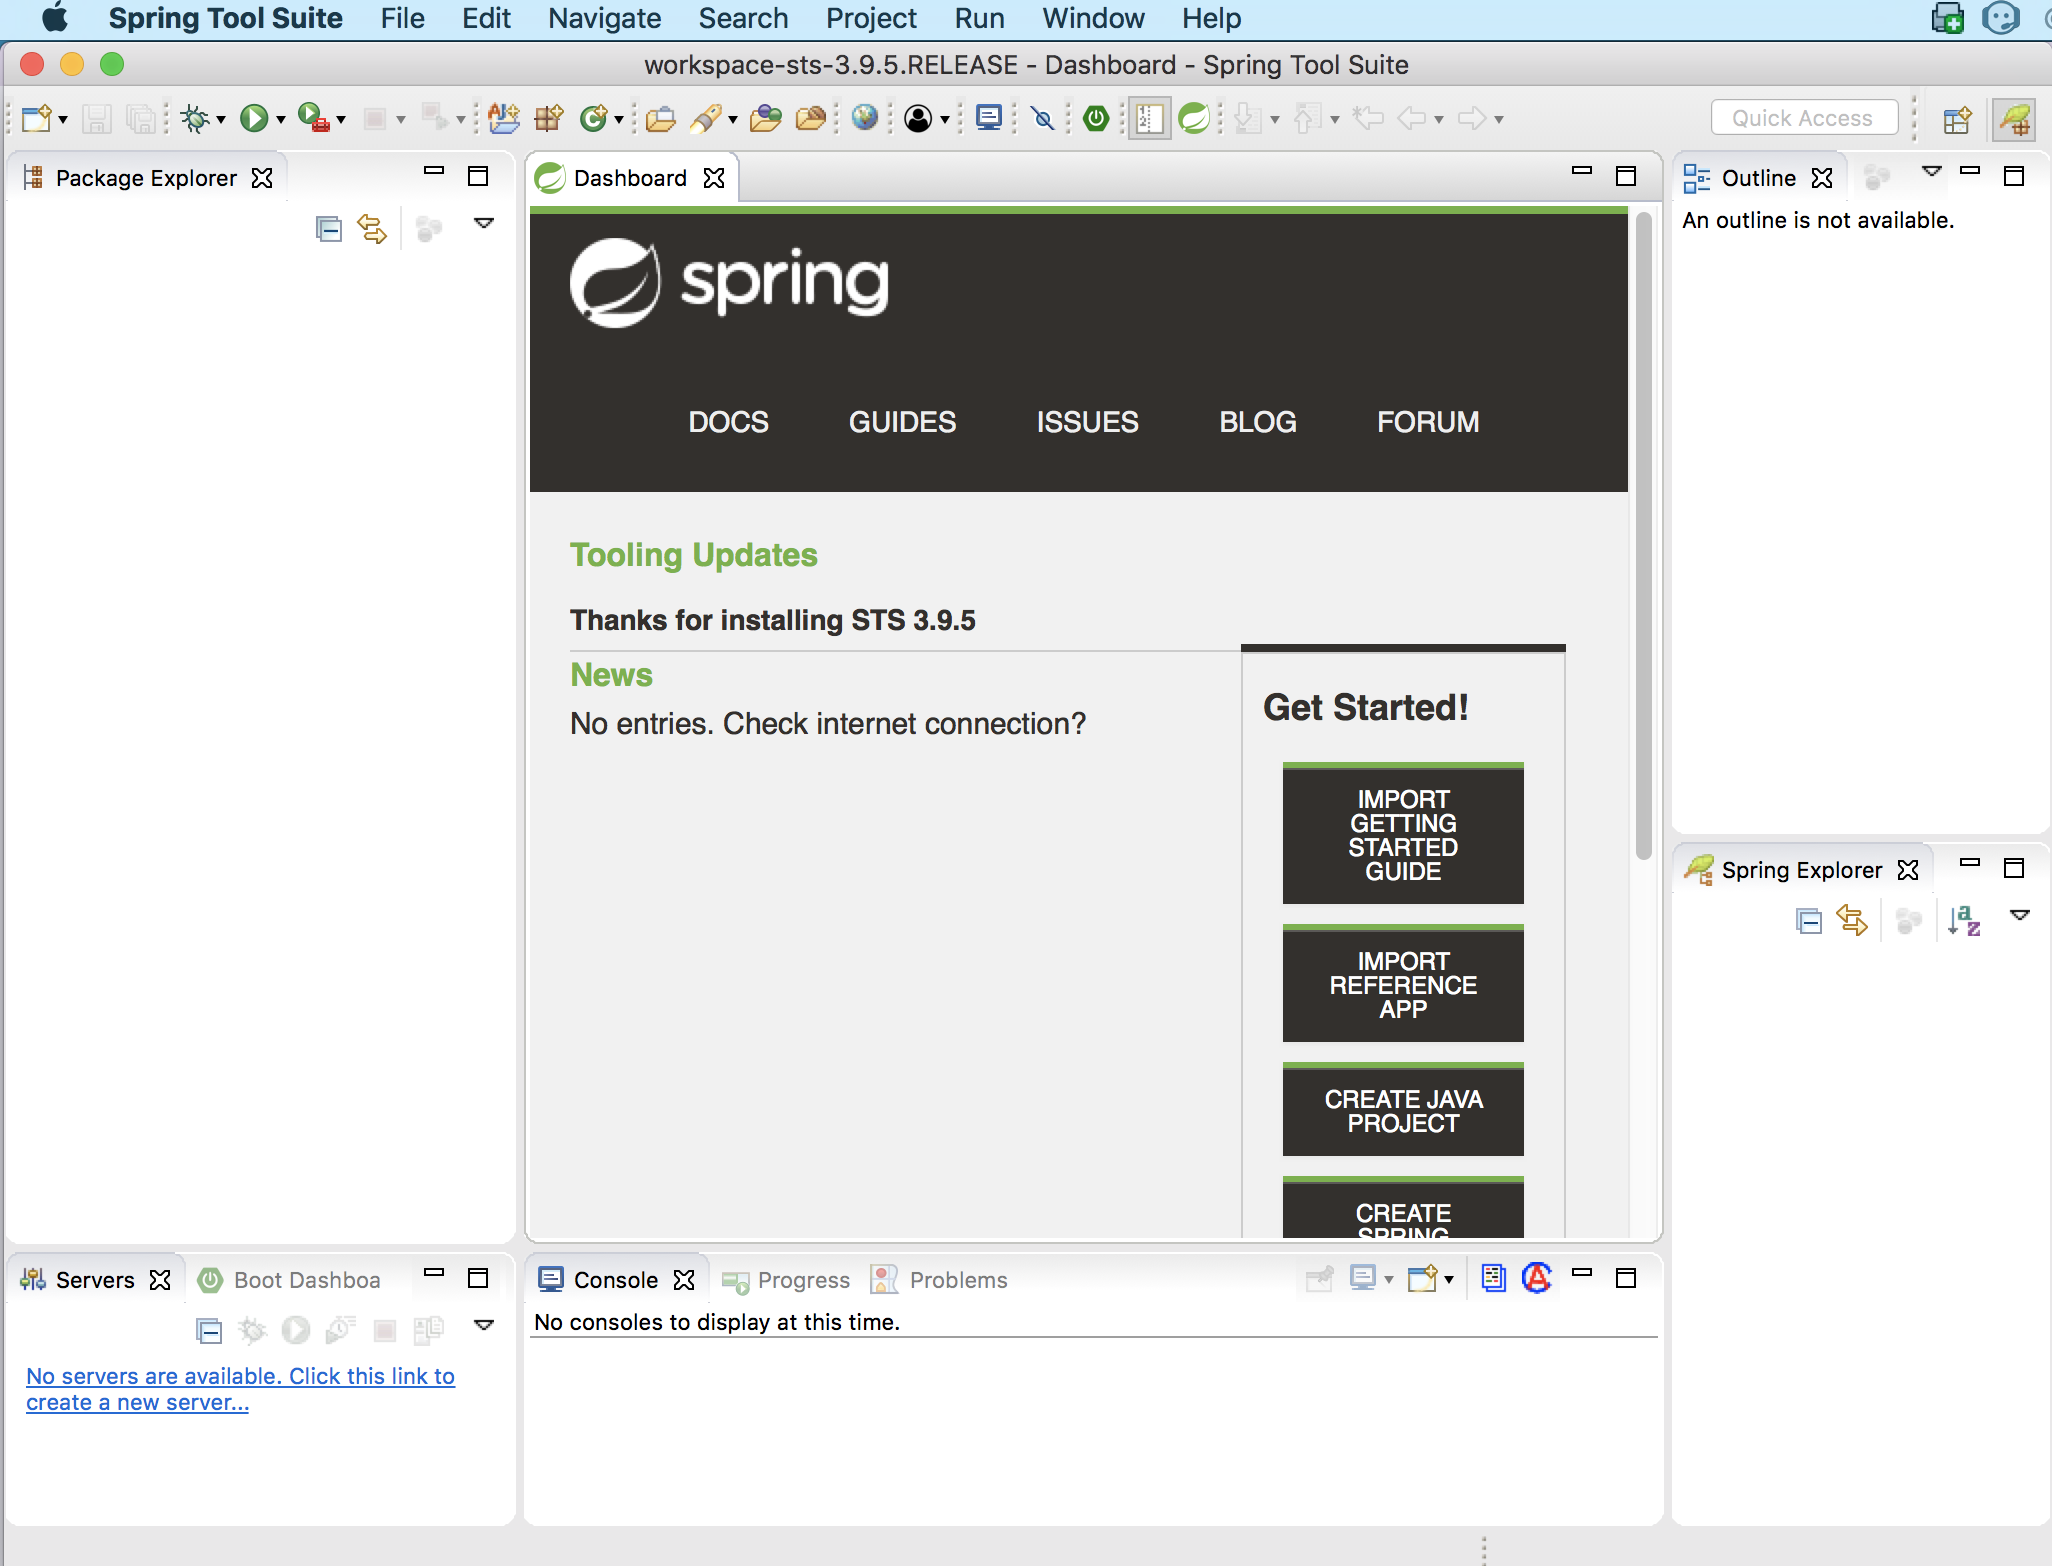
-
is installed!
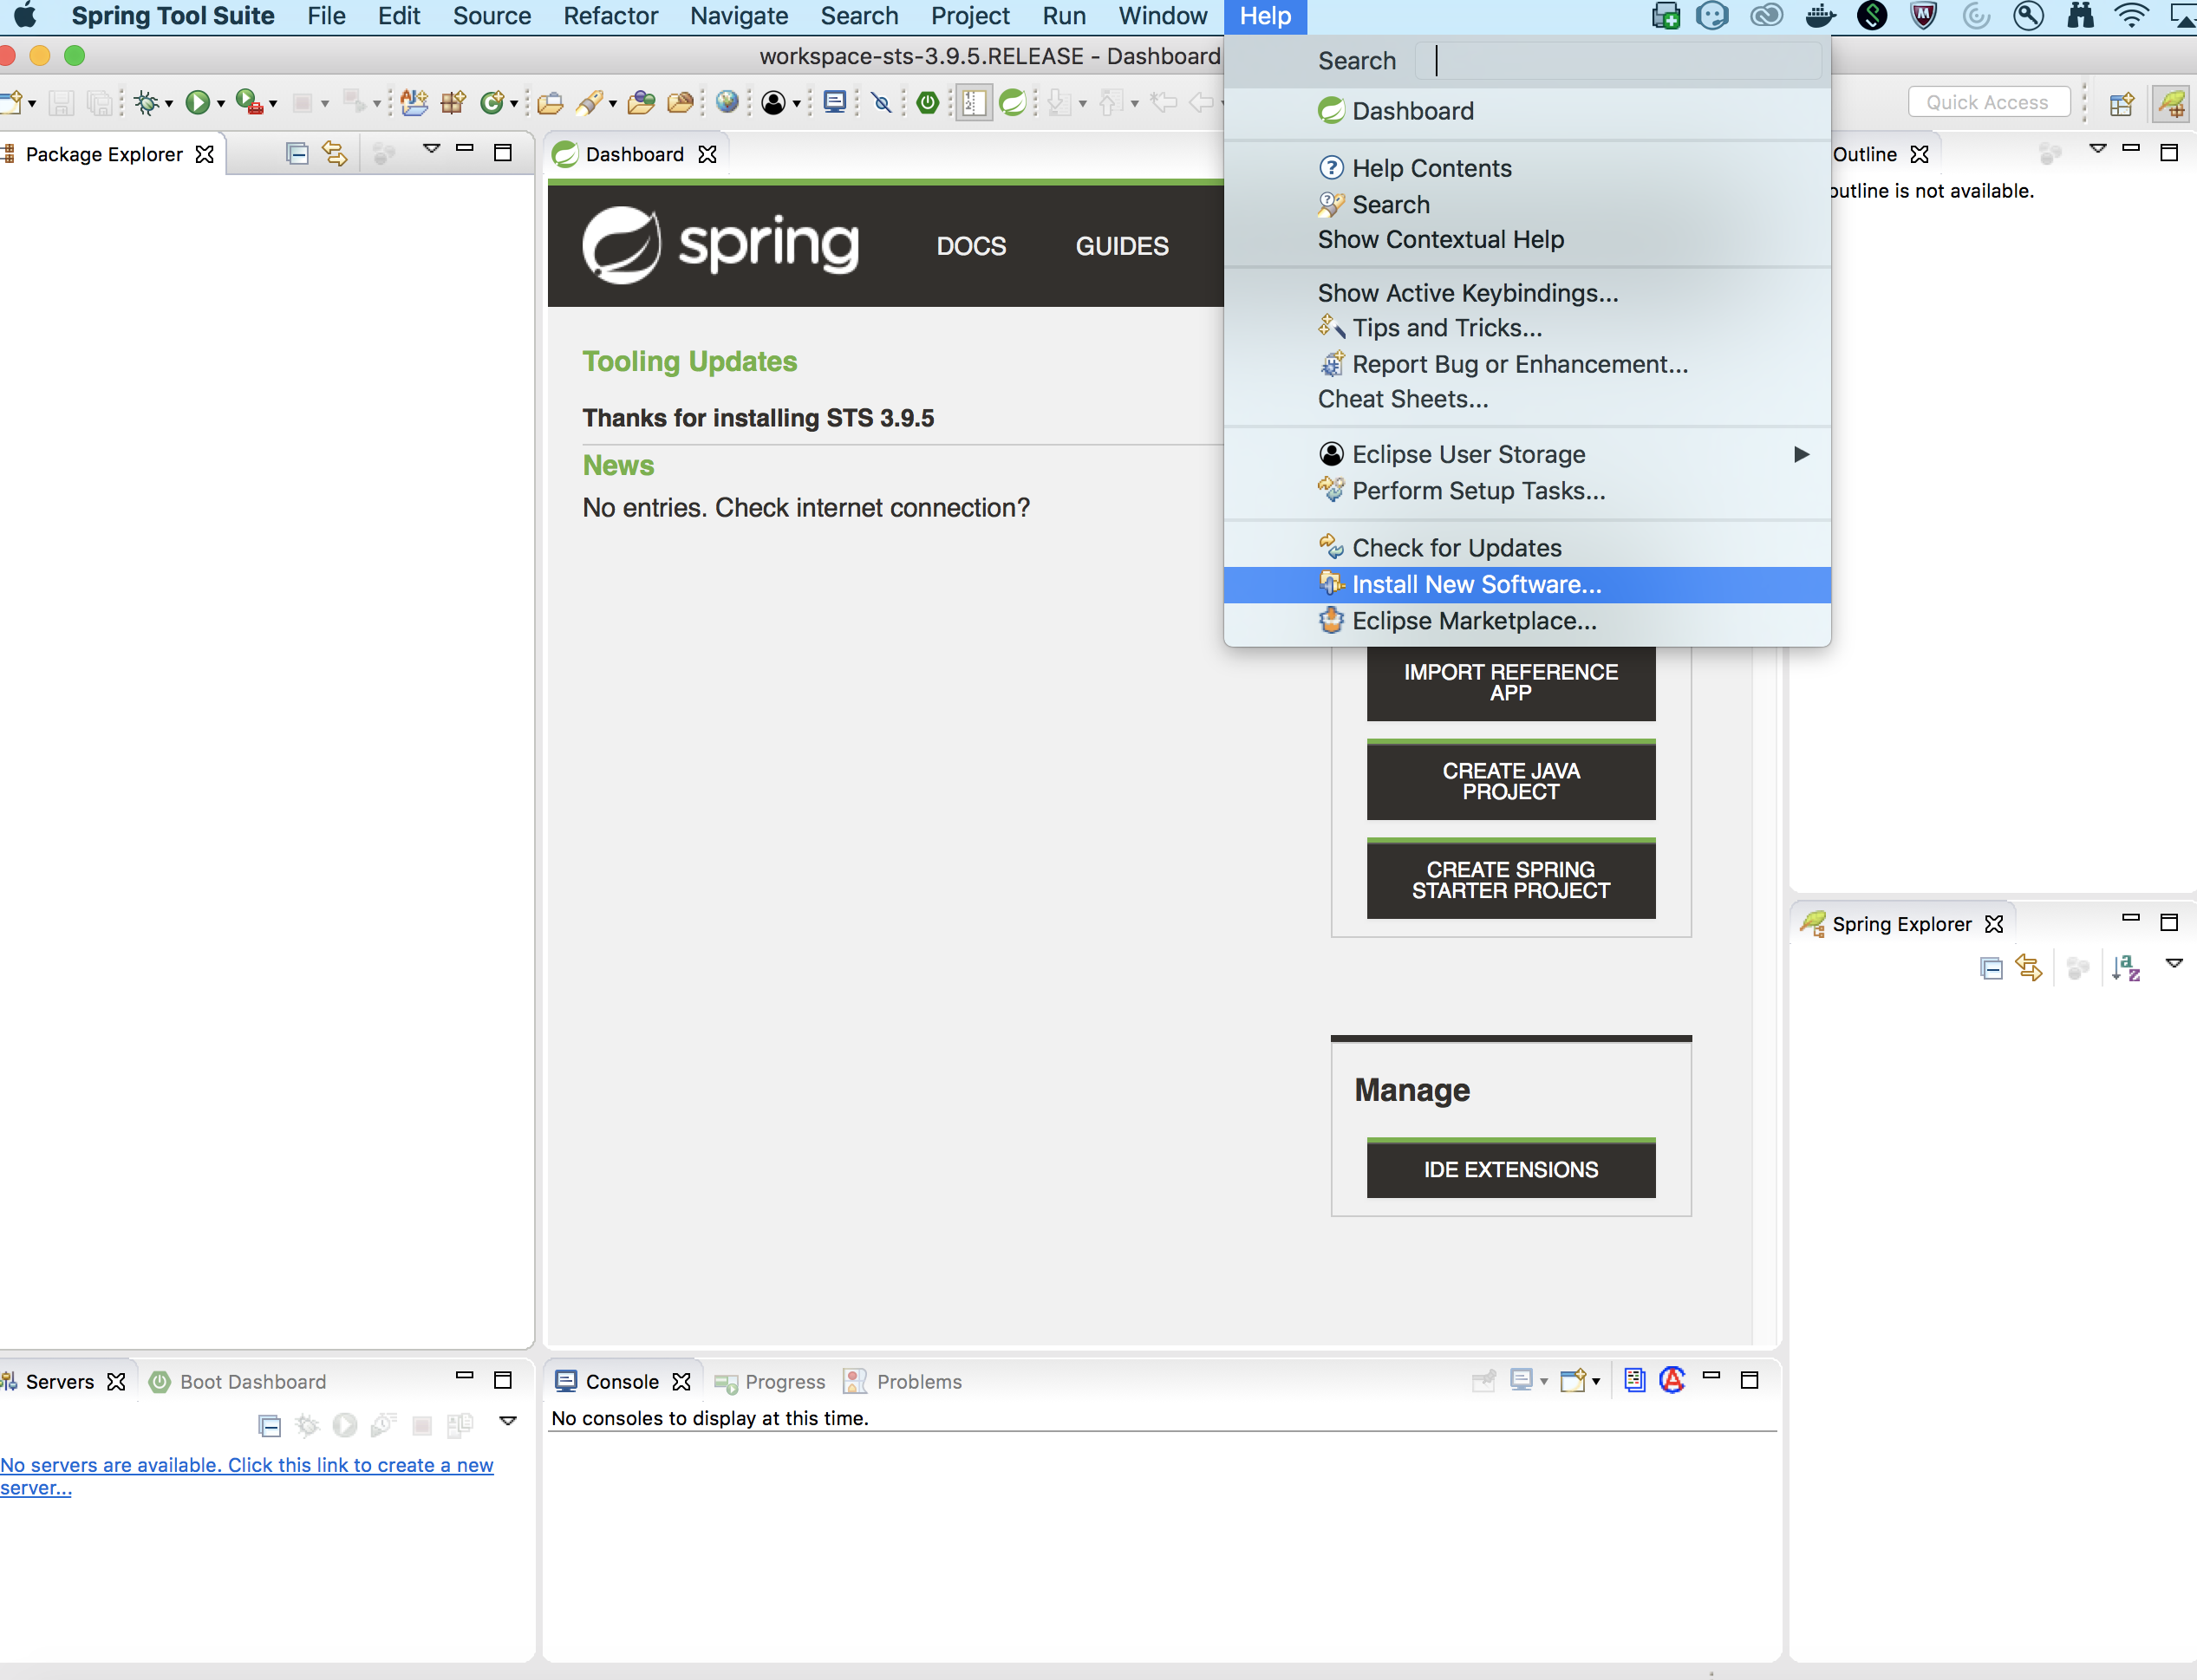
Installation of Drools Plugin
-
Open from "/Applications"
-
Click
-
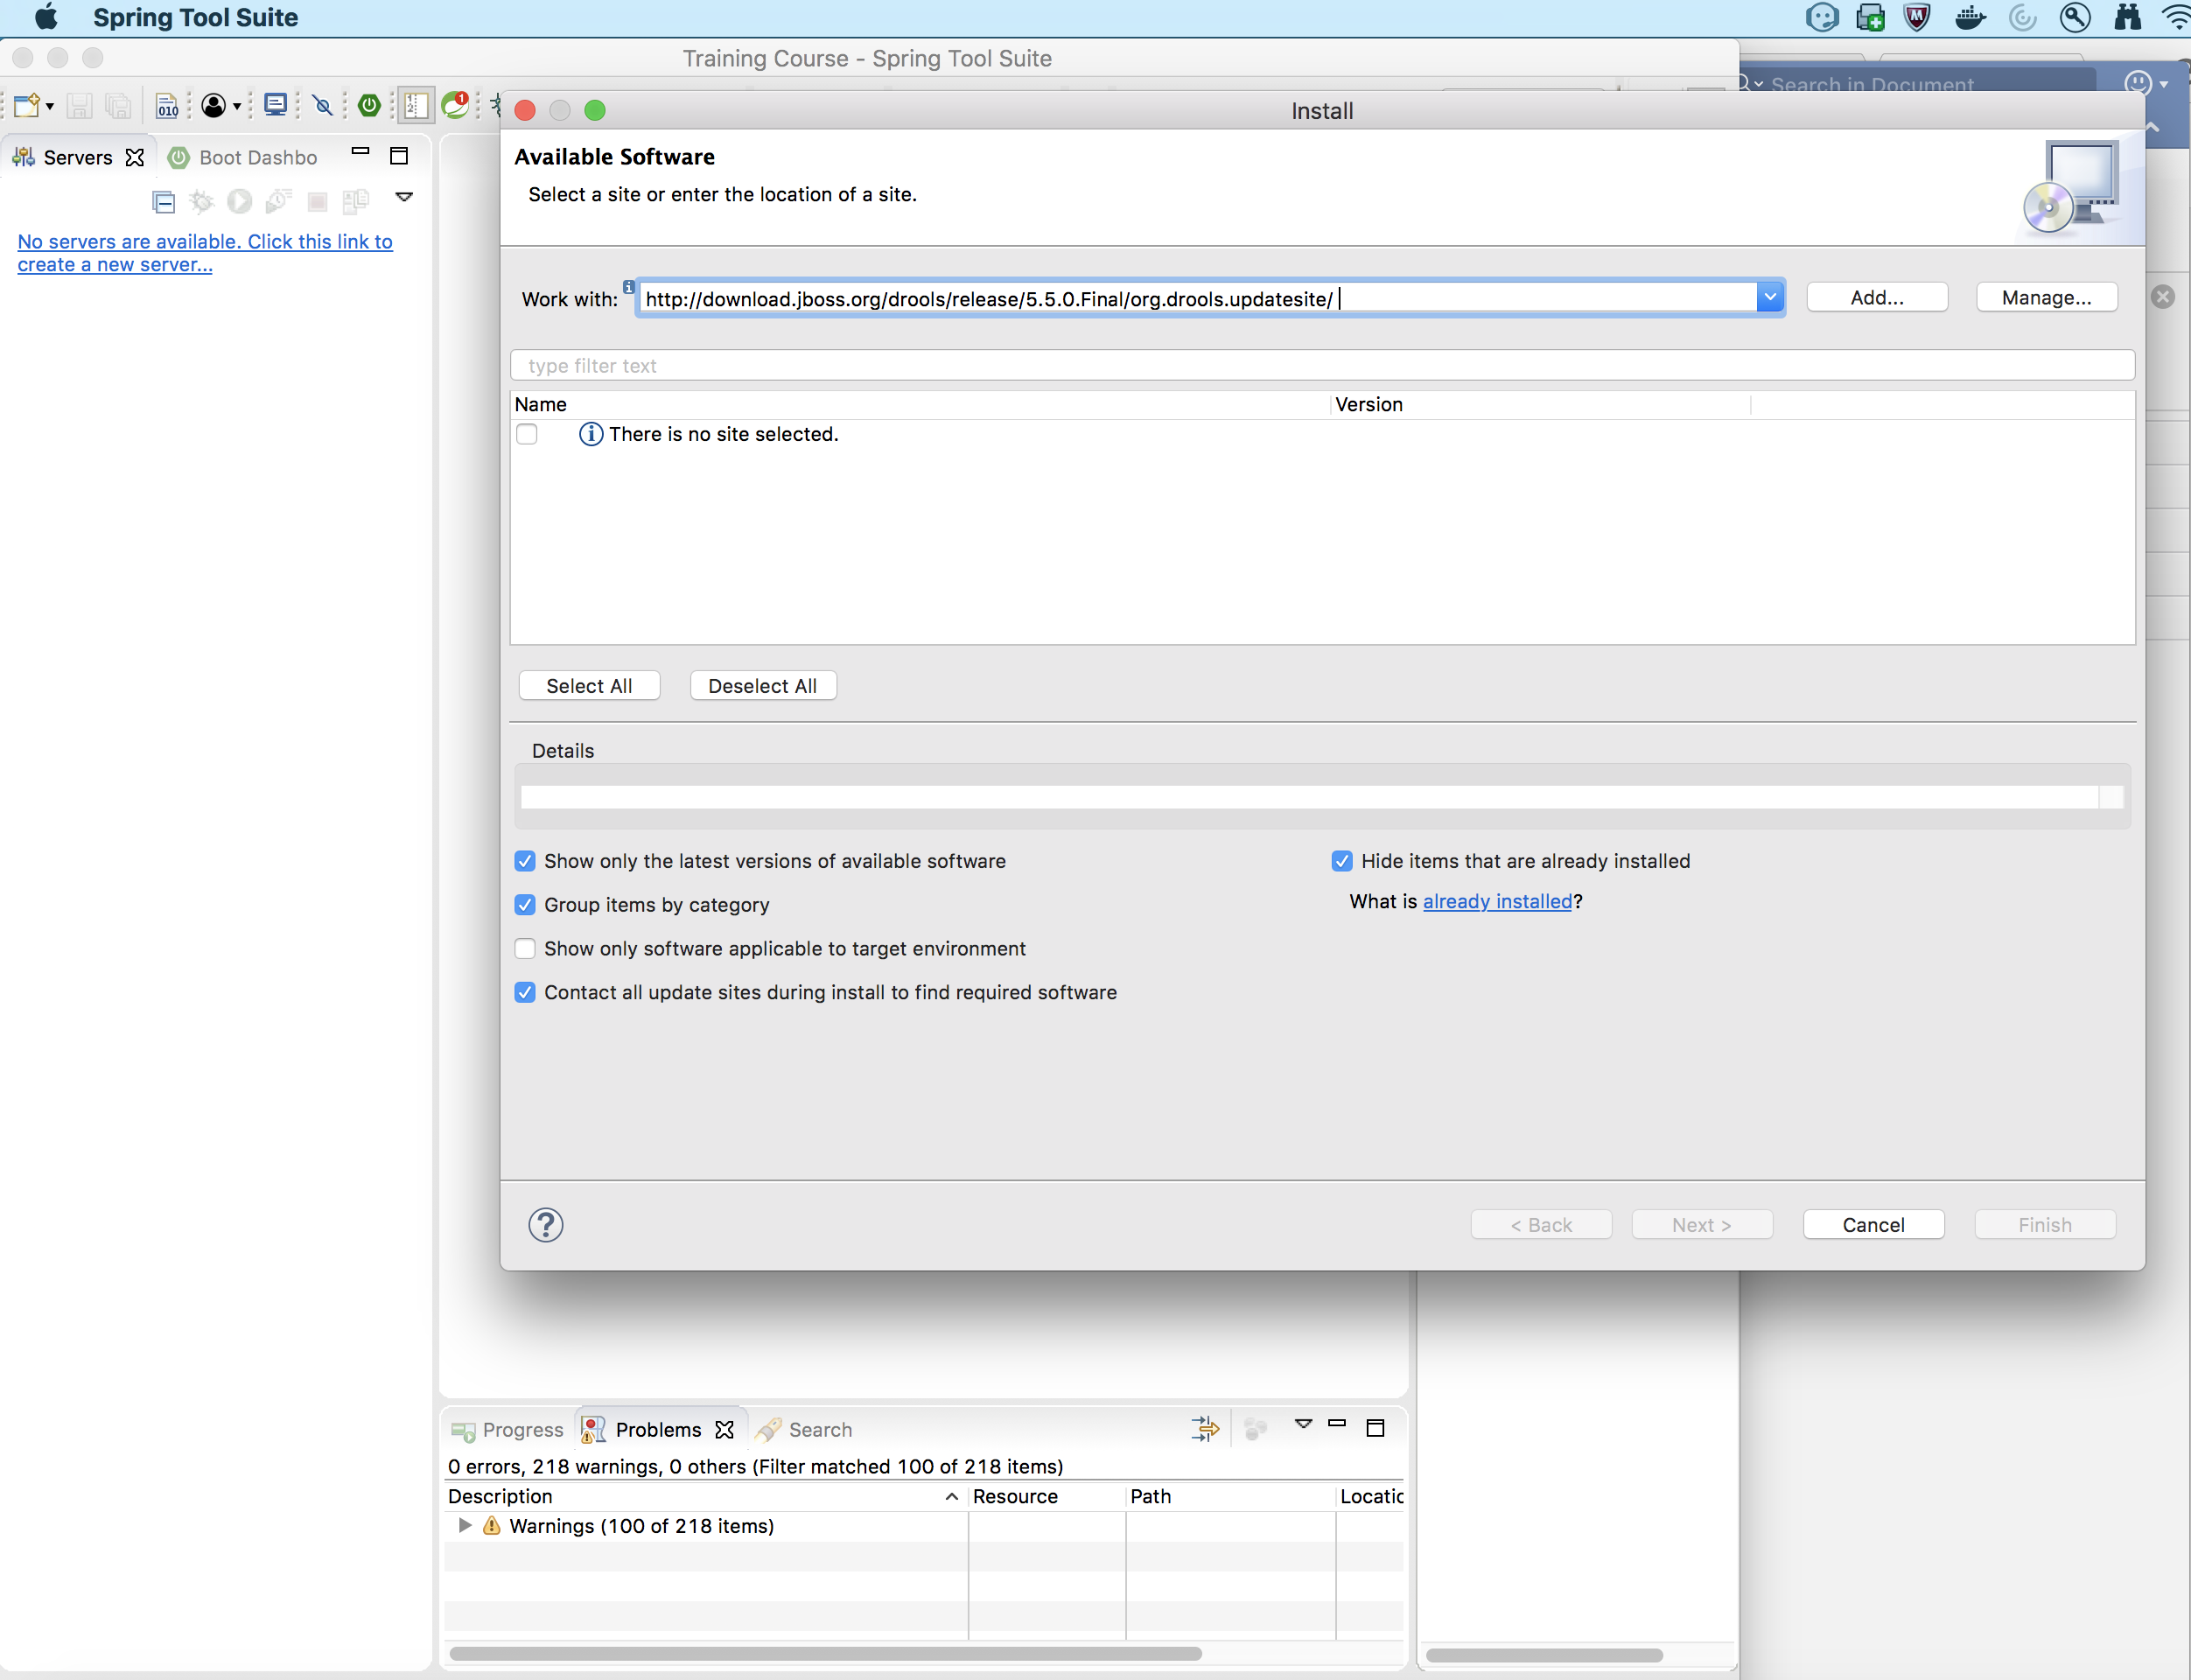
Enter as http://download.jboss.org/drools/release/5.5.0.Final/org.drools.updatesite/ and click
-
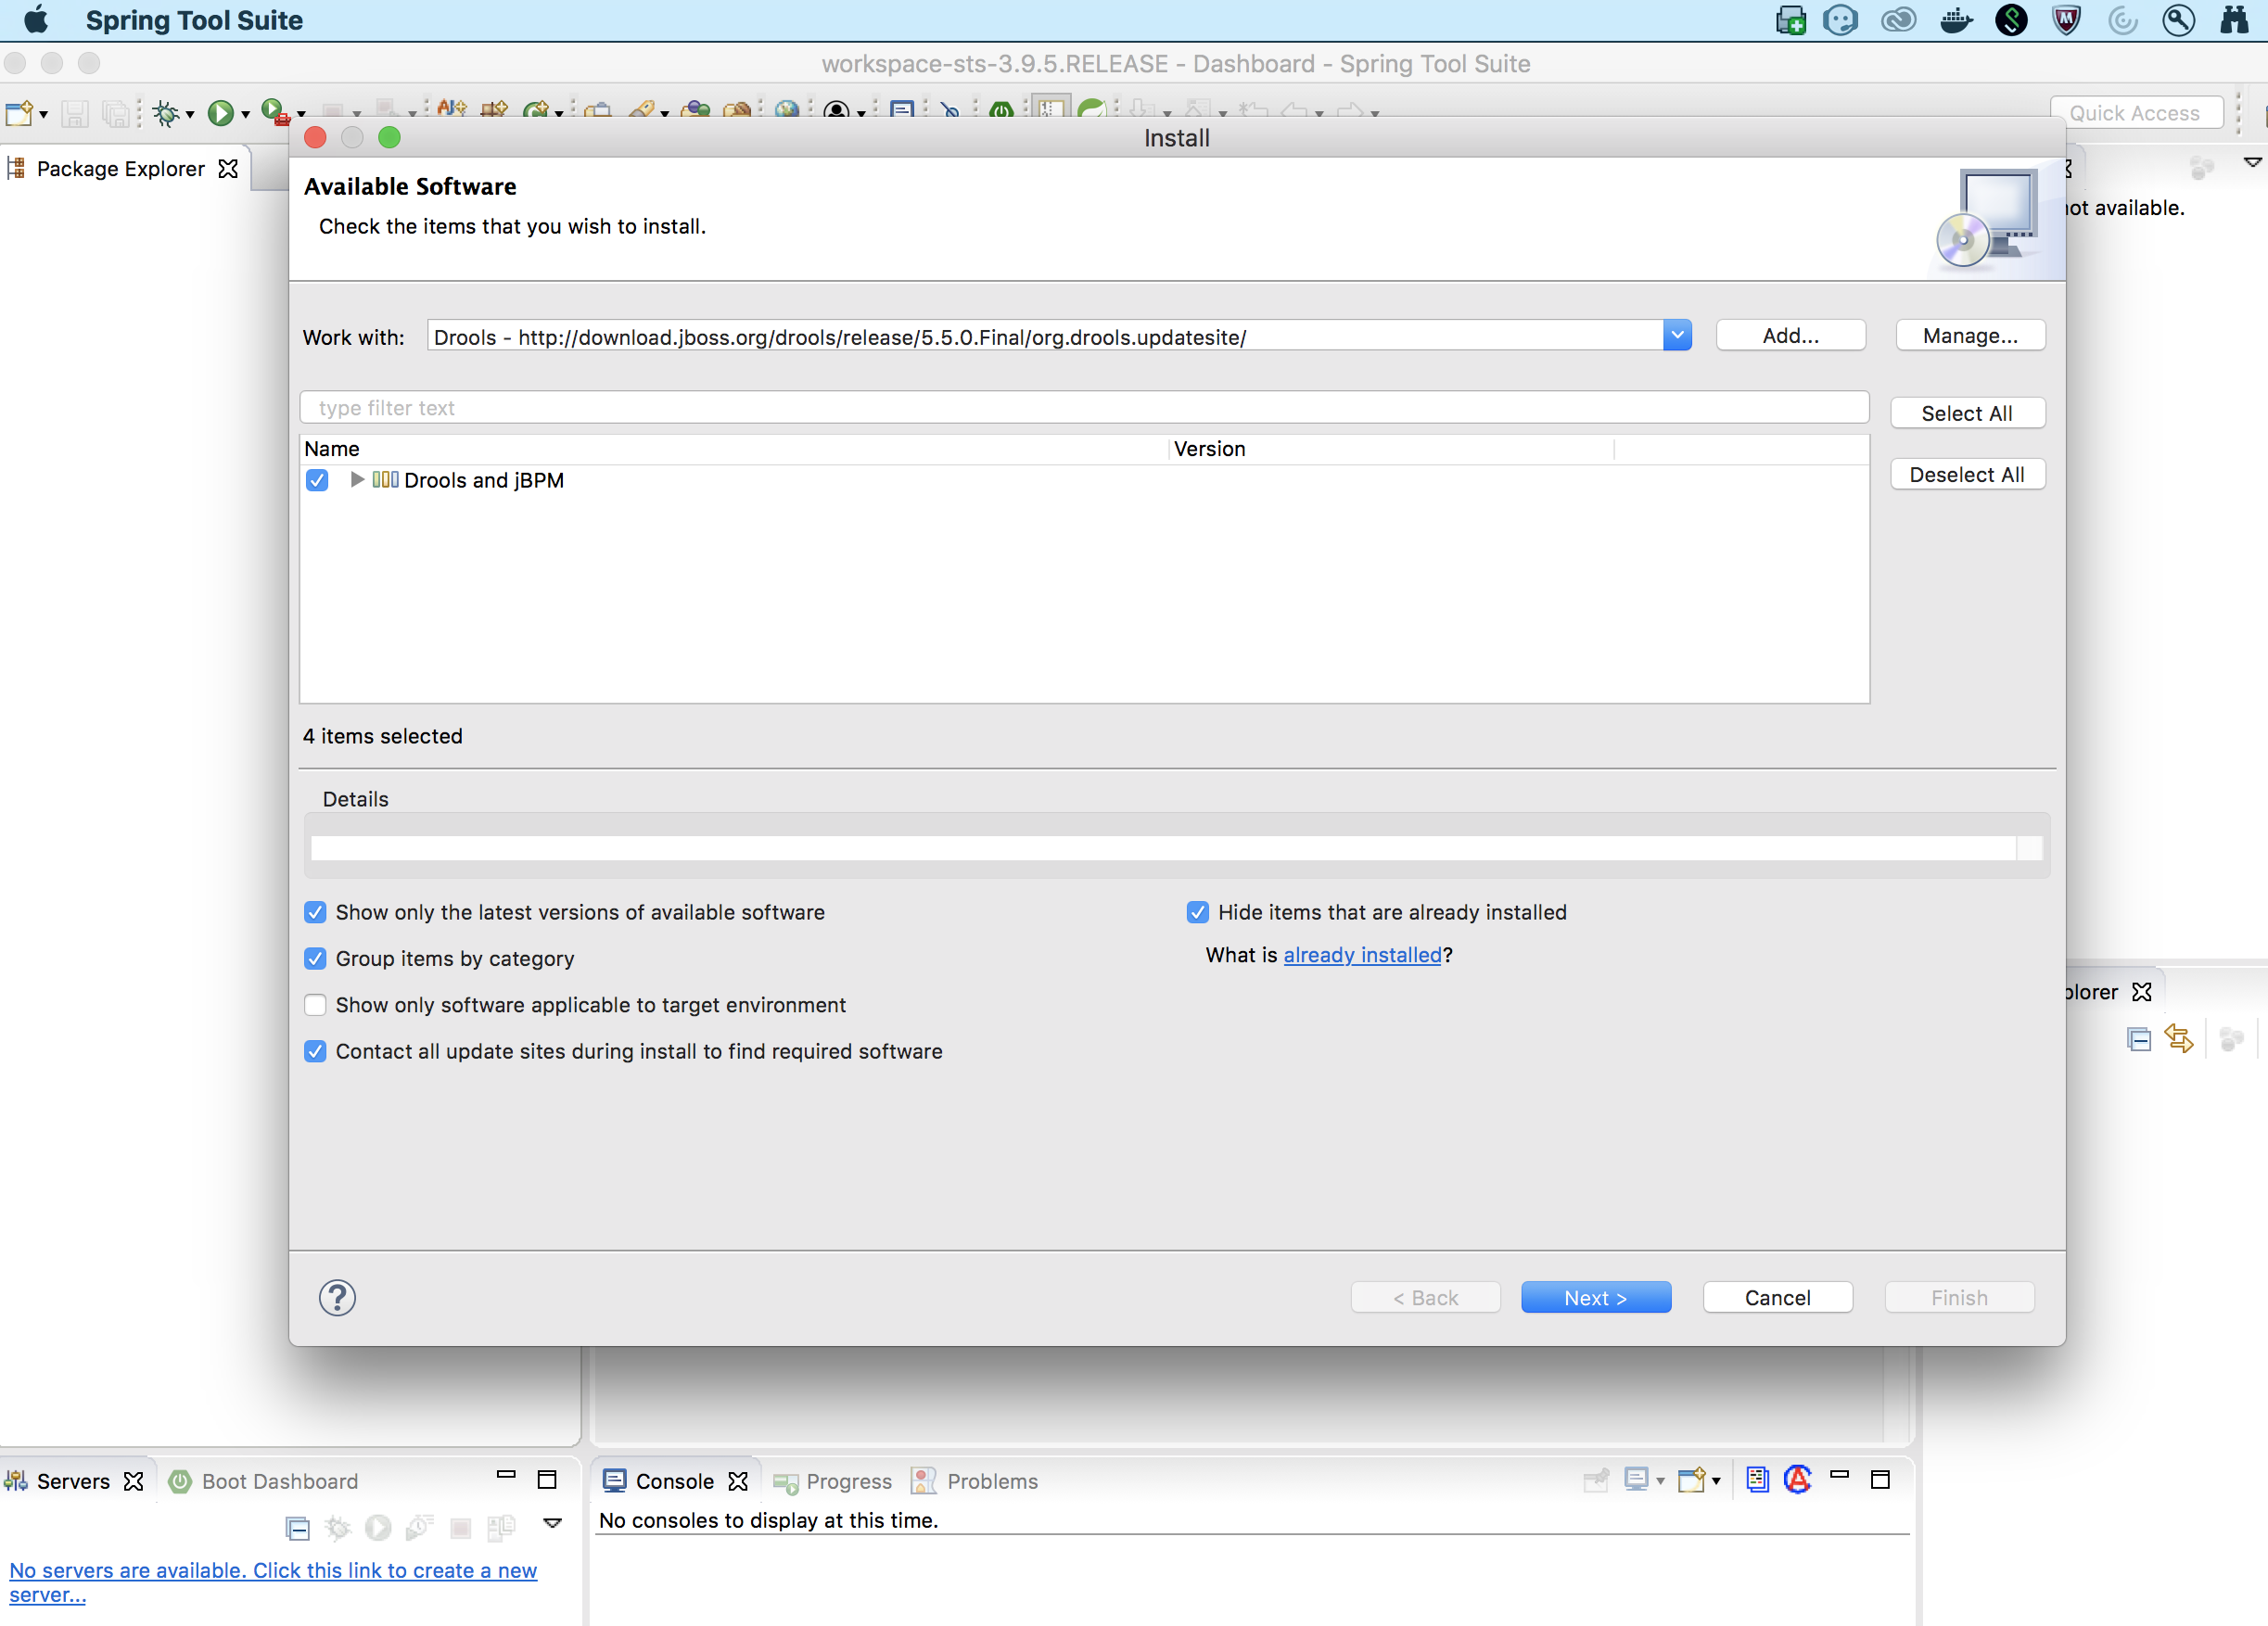
Enter as Drools and as http://download.jboss.org/drools/release/5.5.0.Final/org.drools.updatesite/

-
Select and click
-
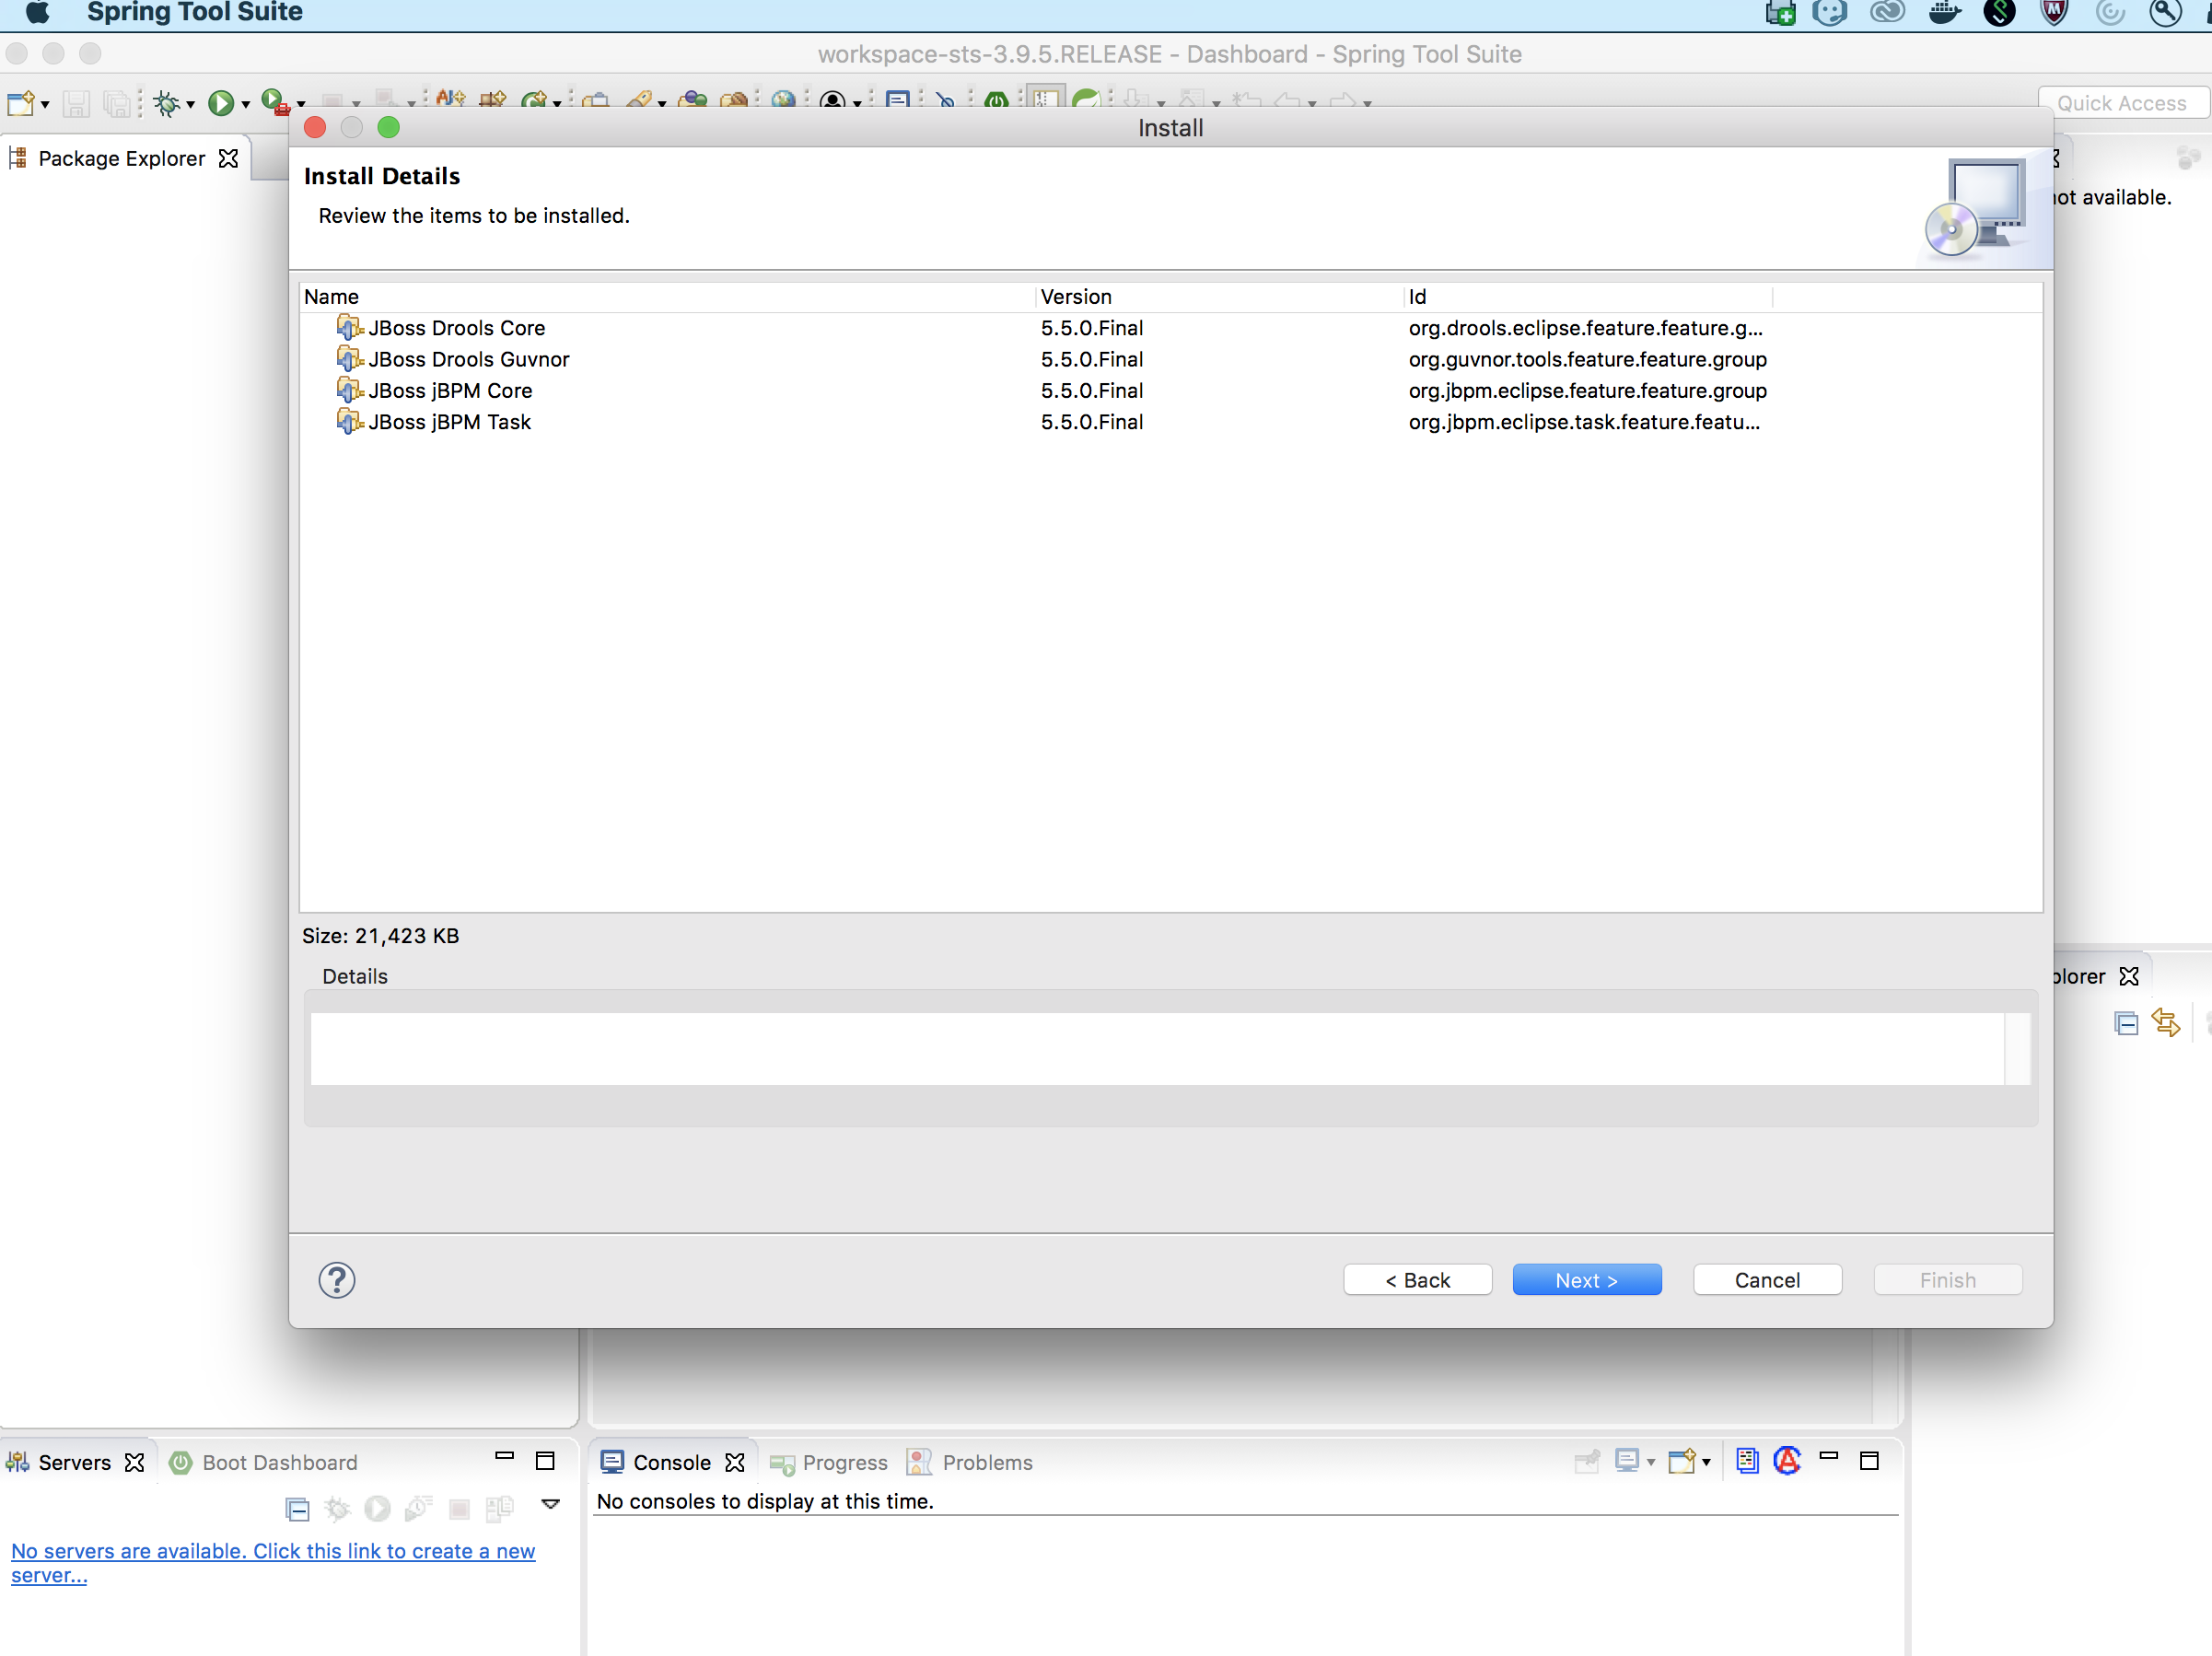
Click
-
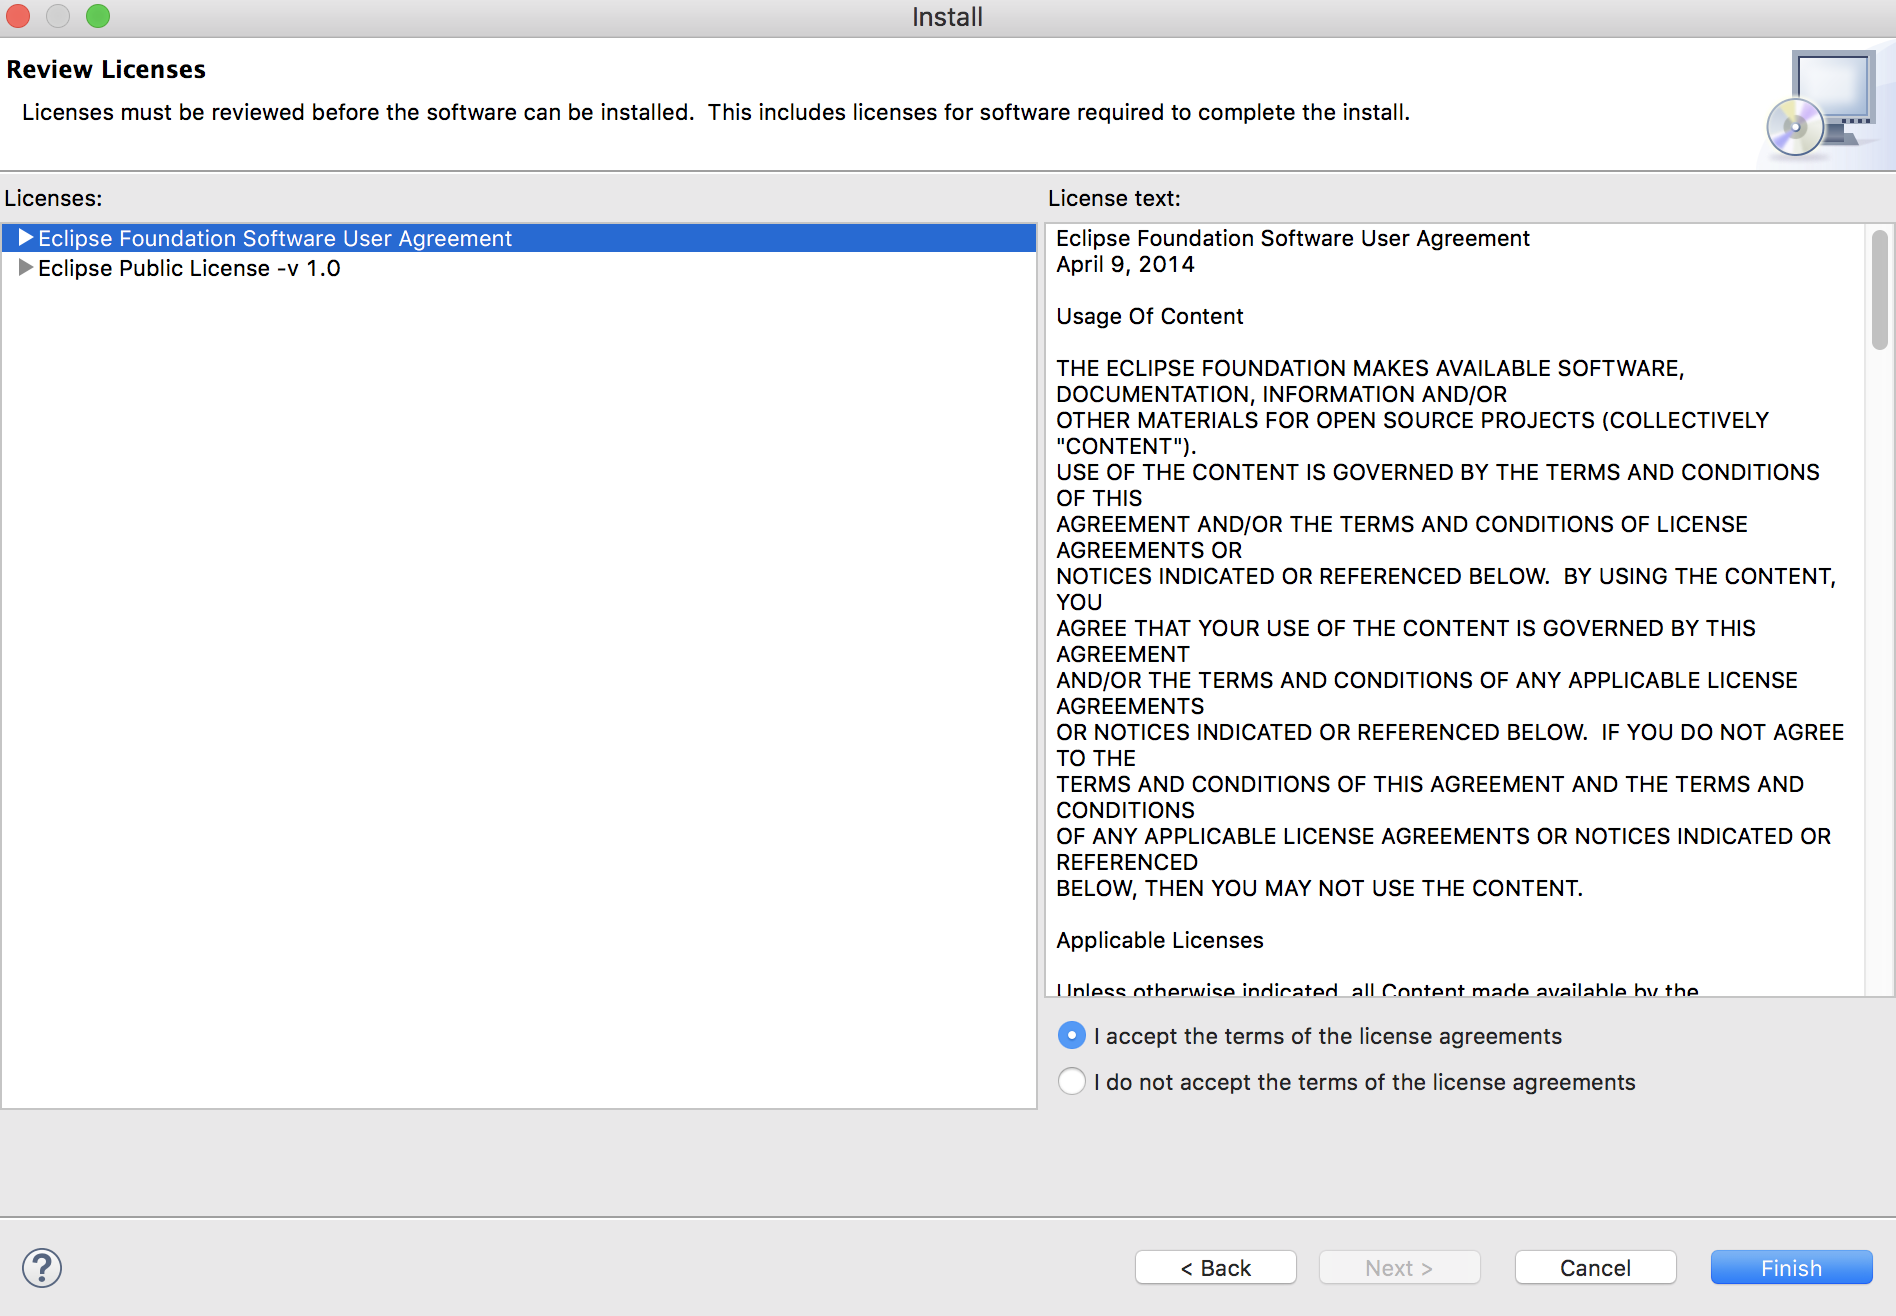
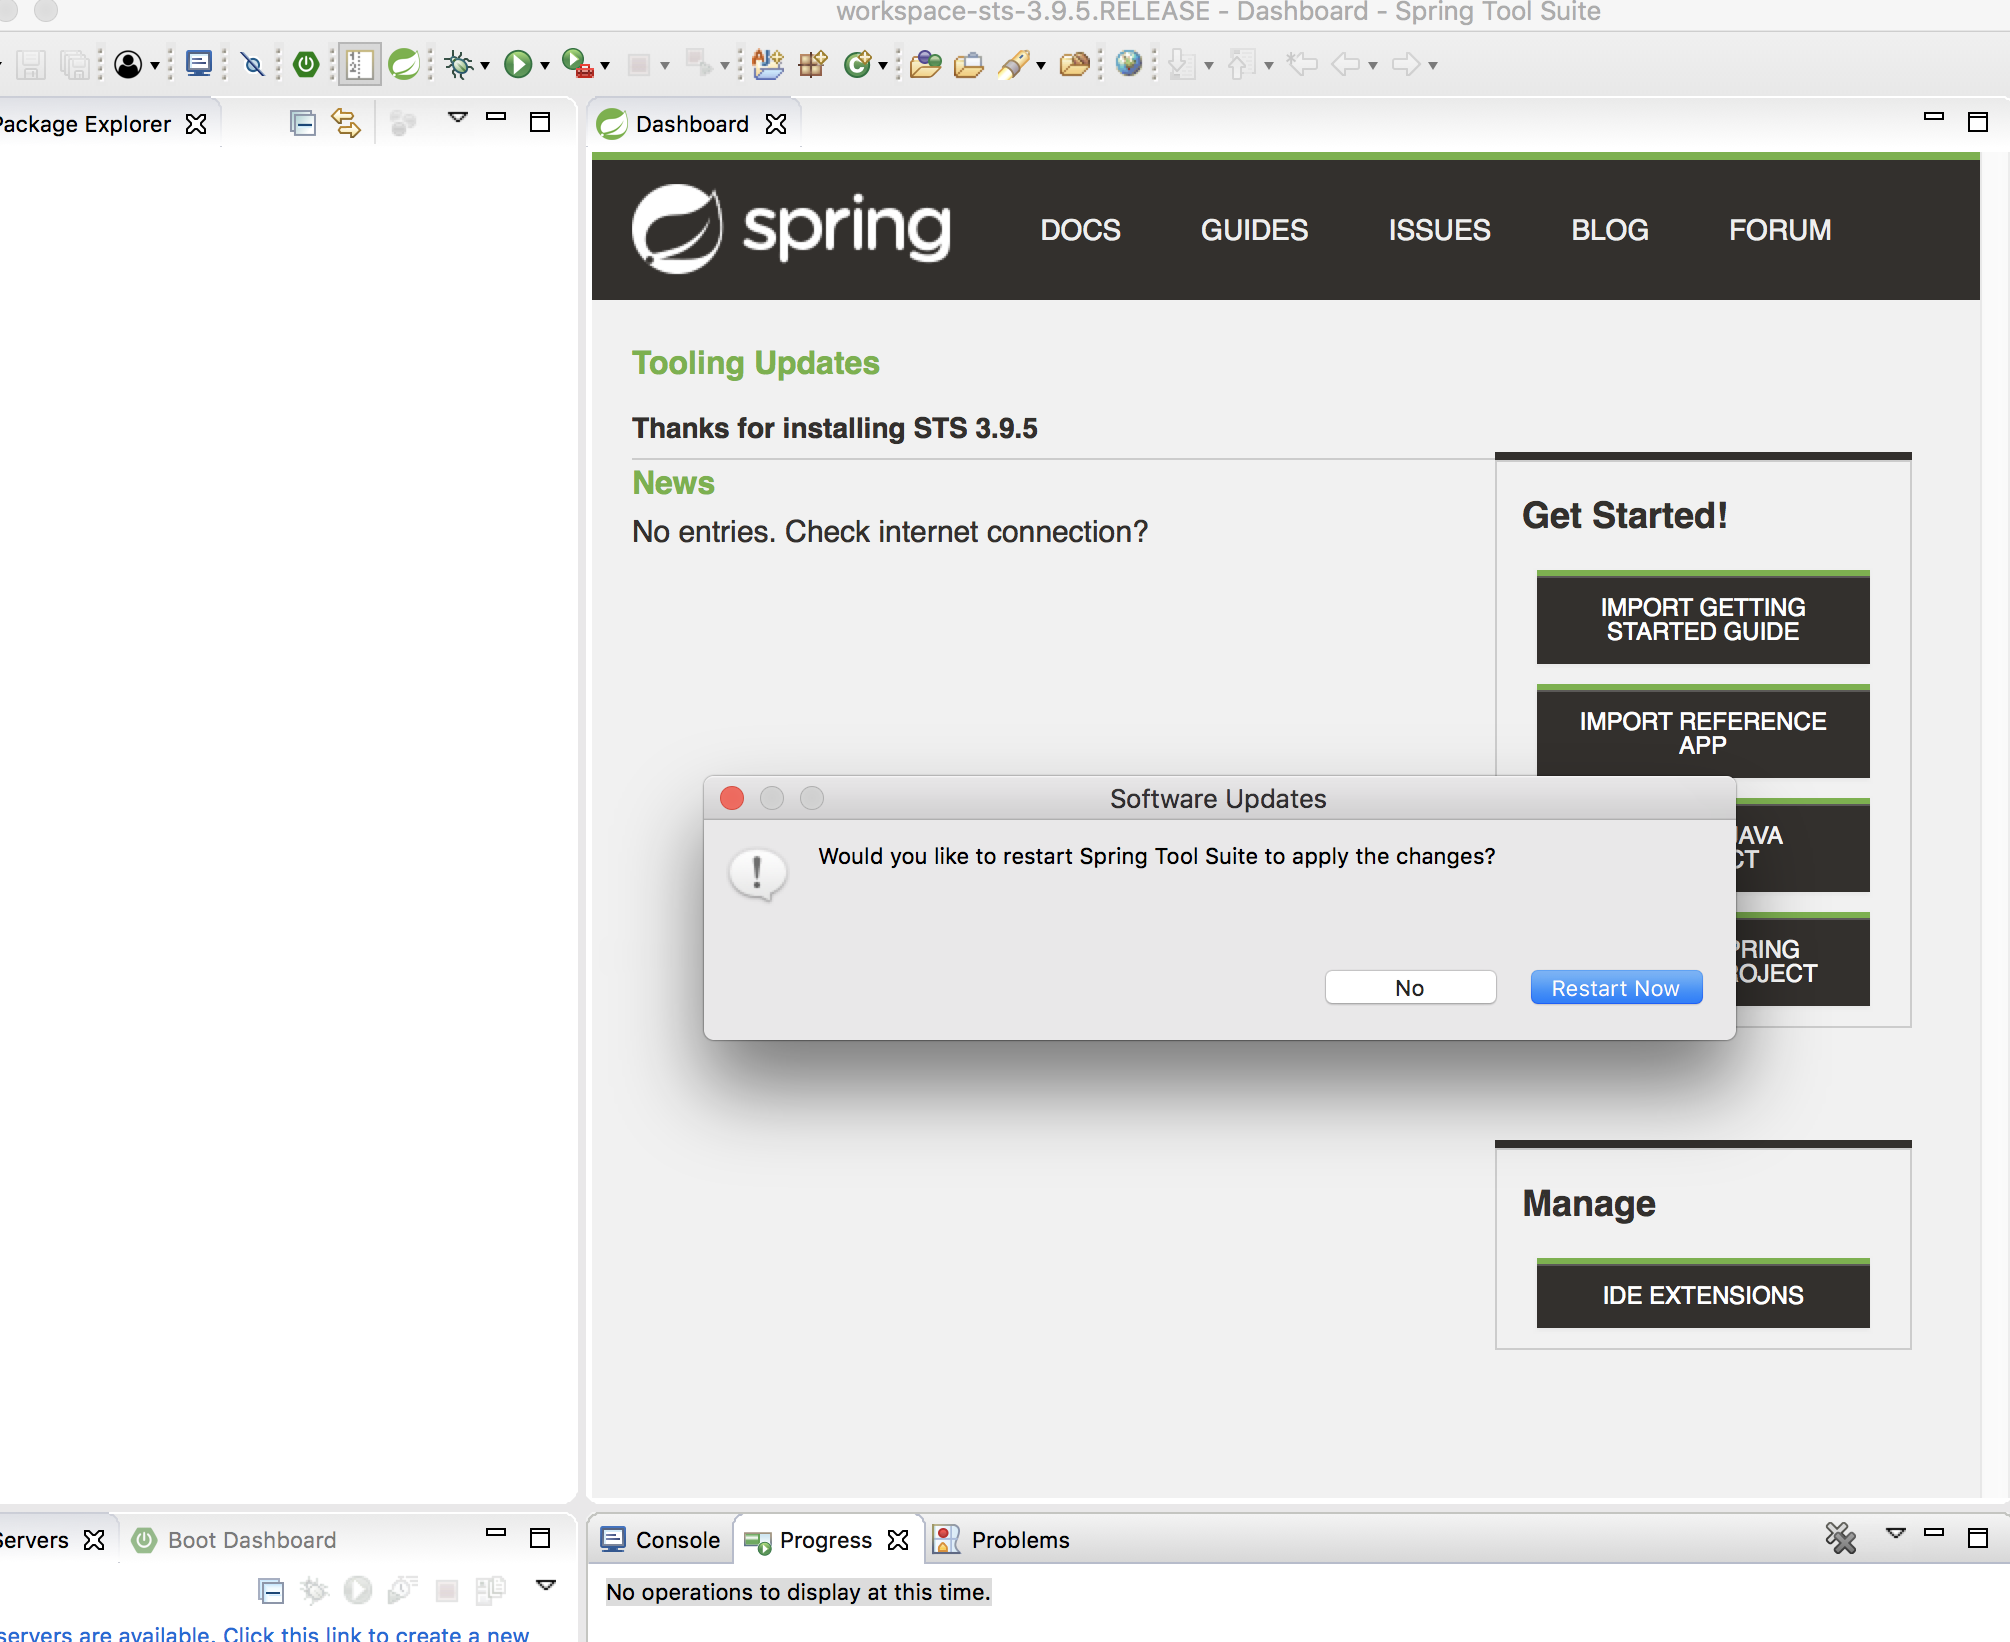
Accept the Terms and Conditions and click
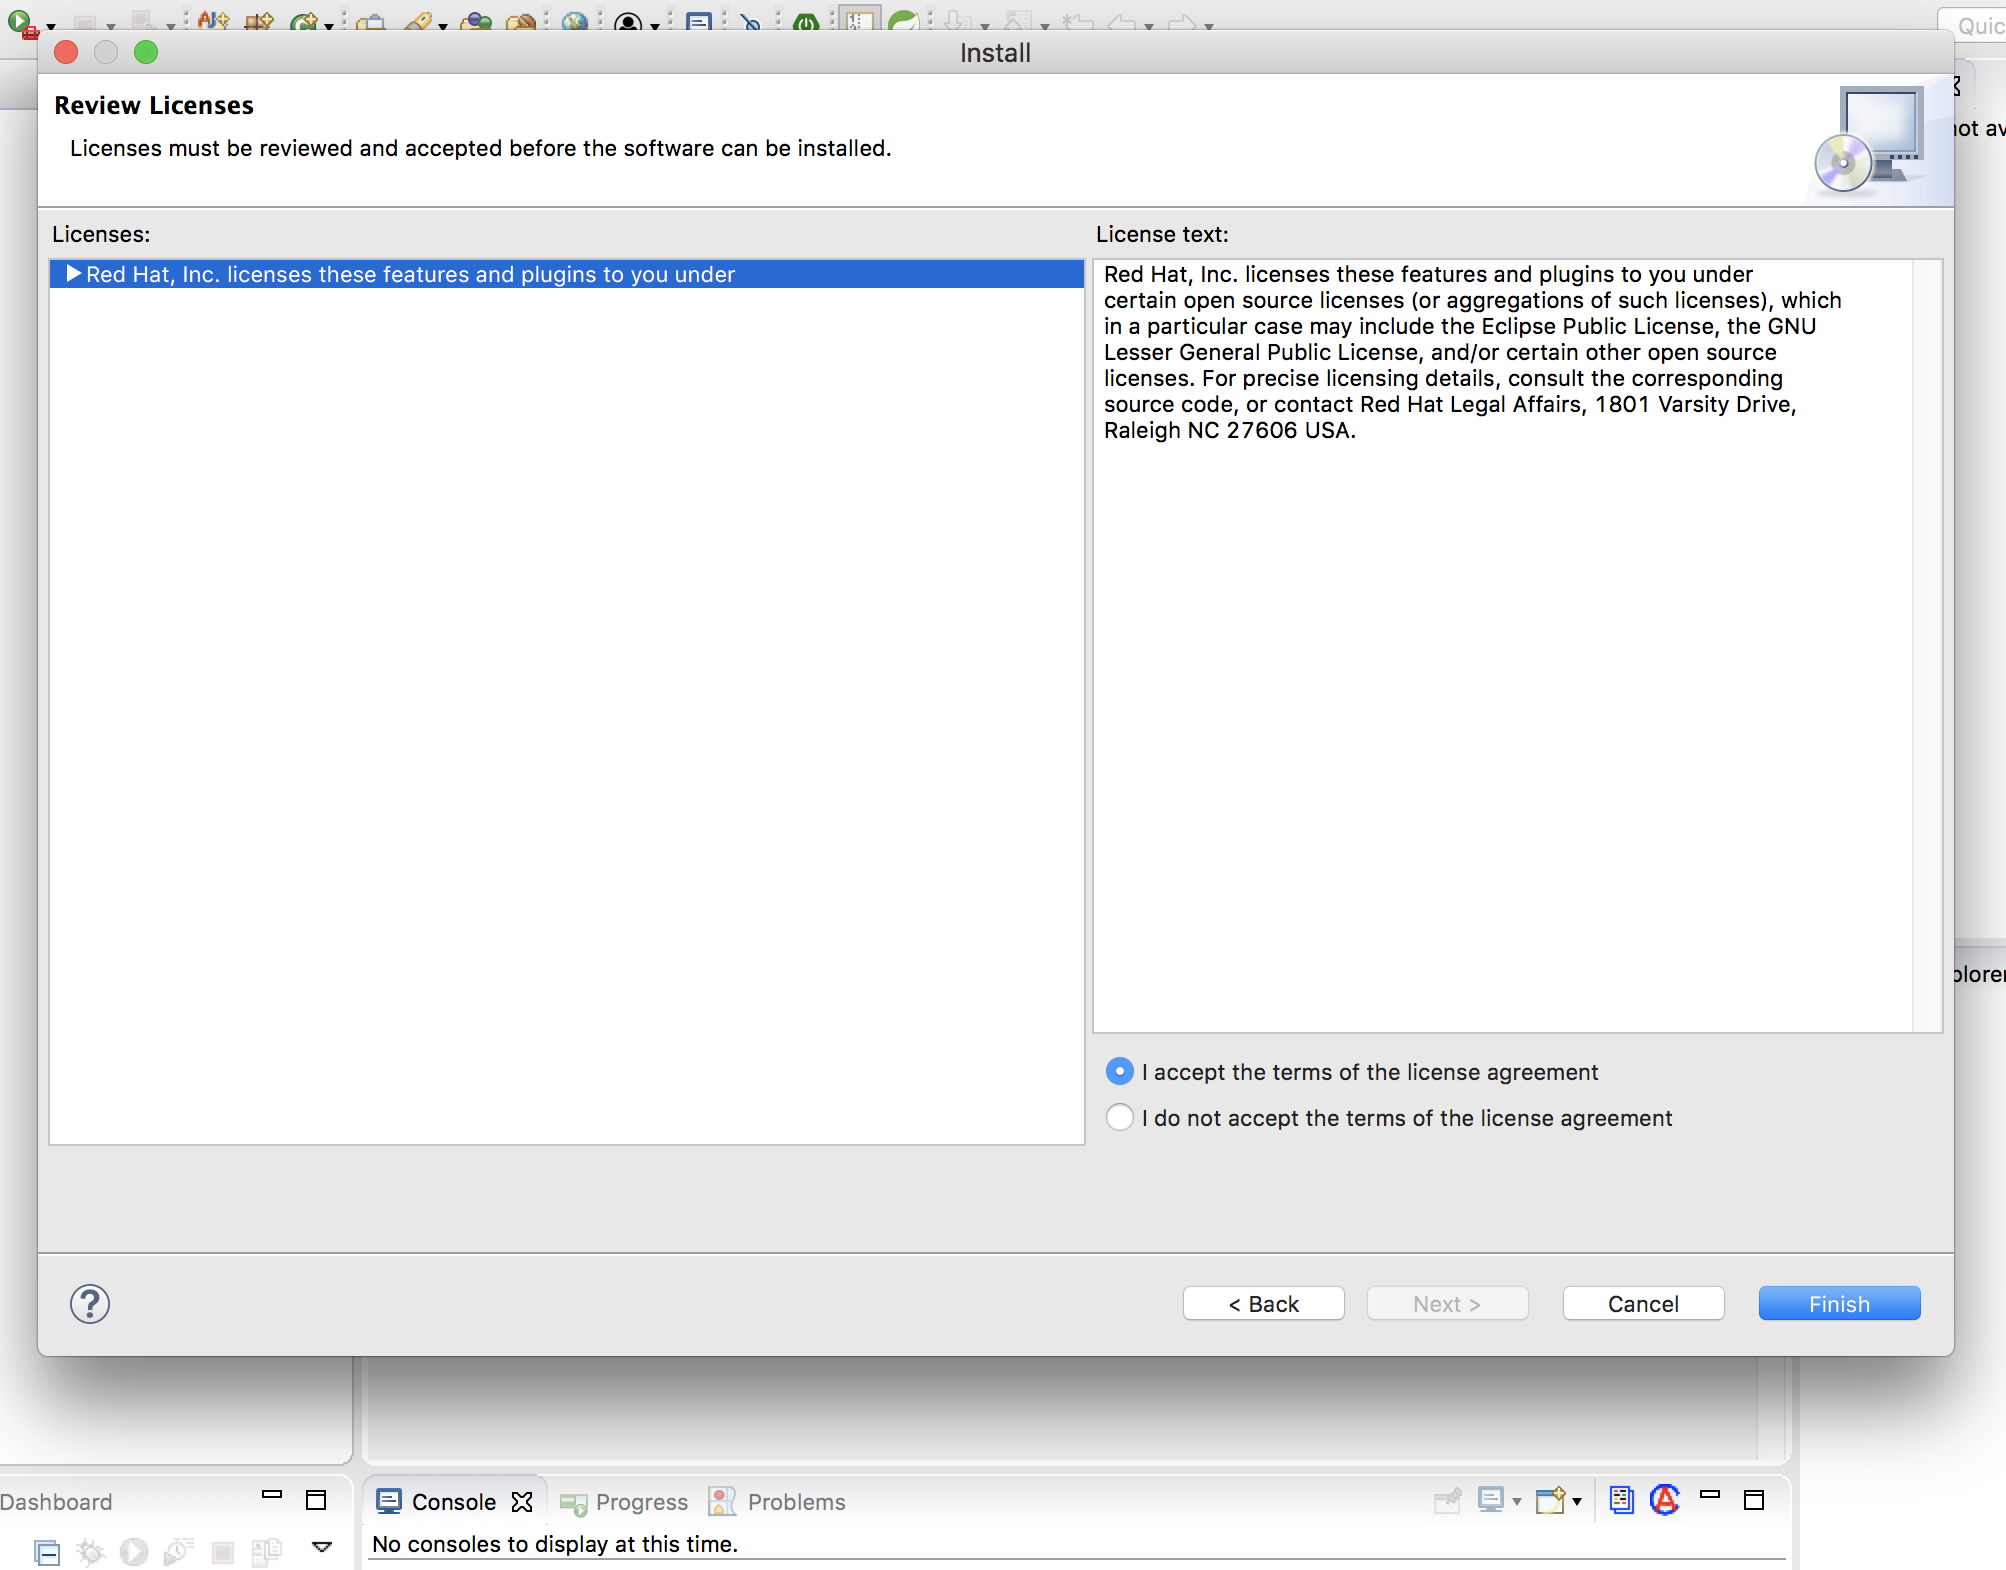
-
Click in the warning message.

-
Restart the when prompted
-
is installed!
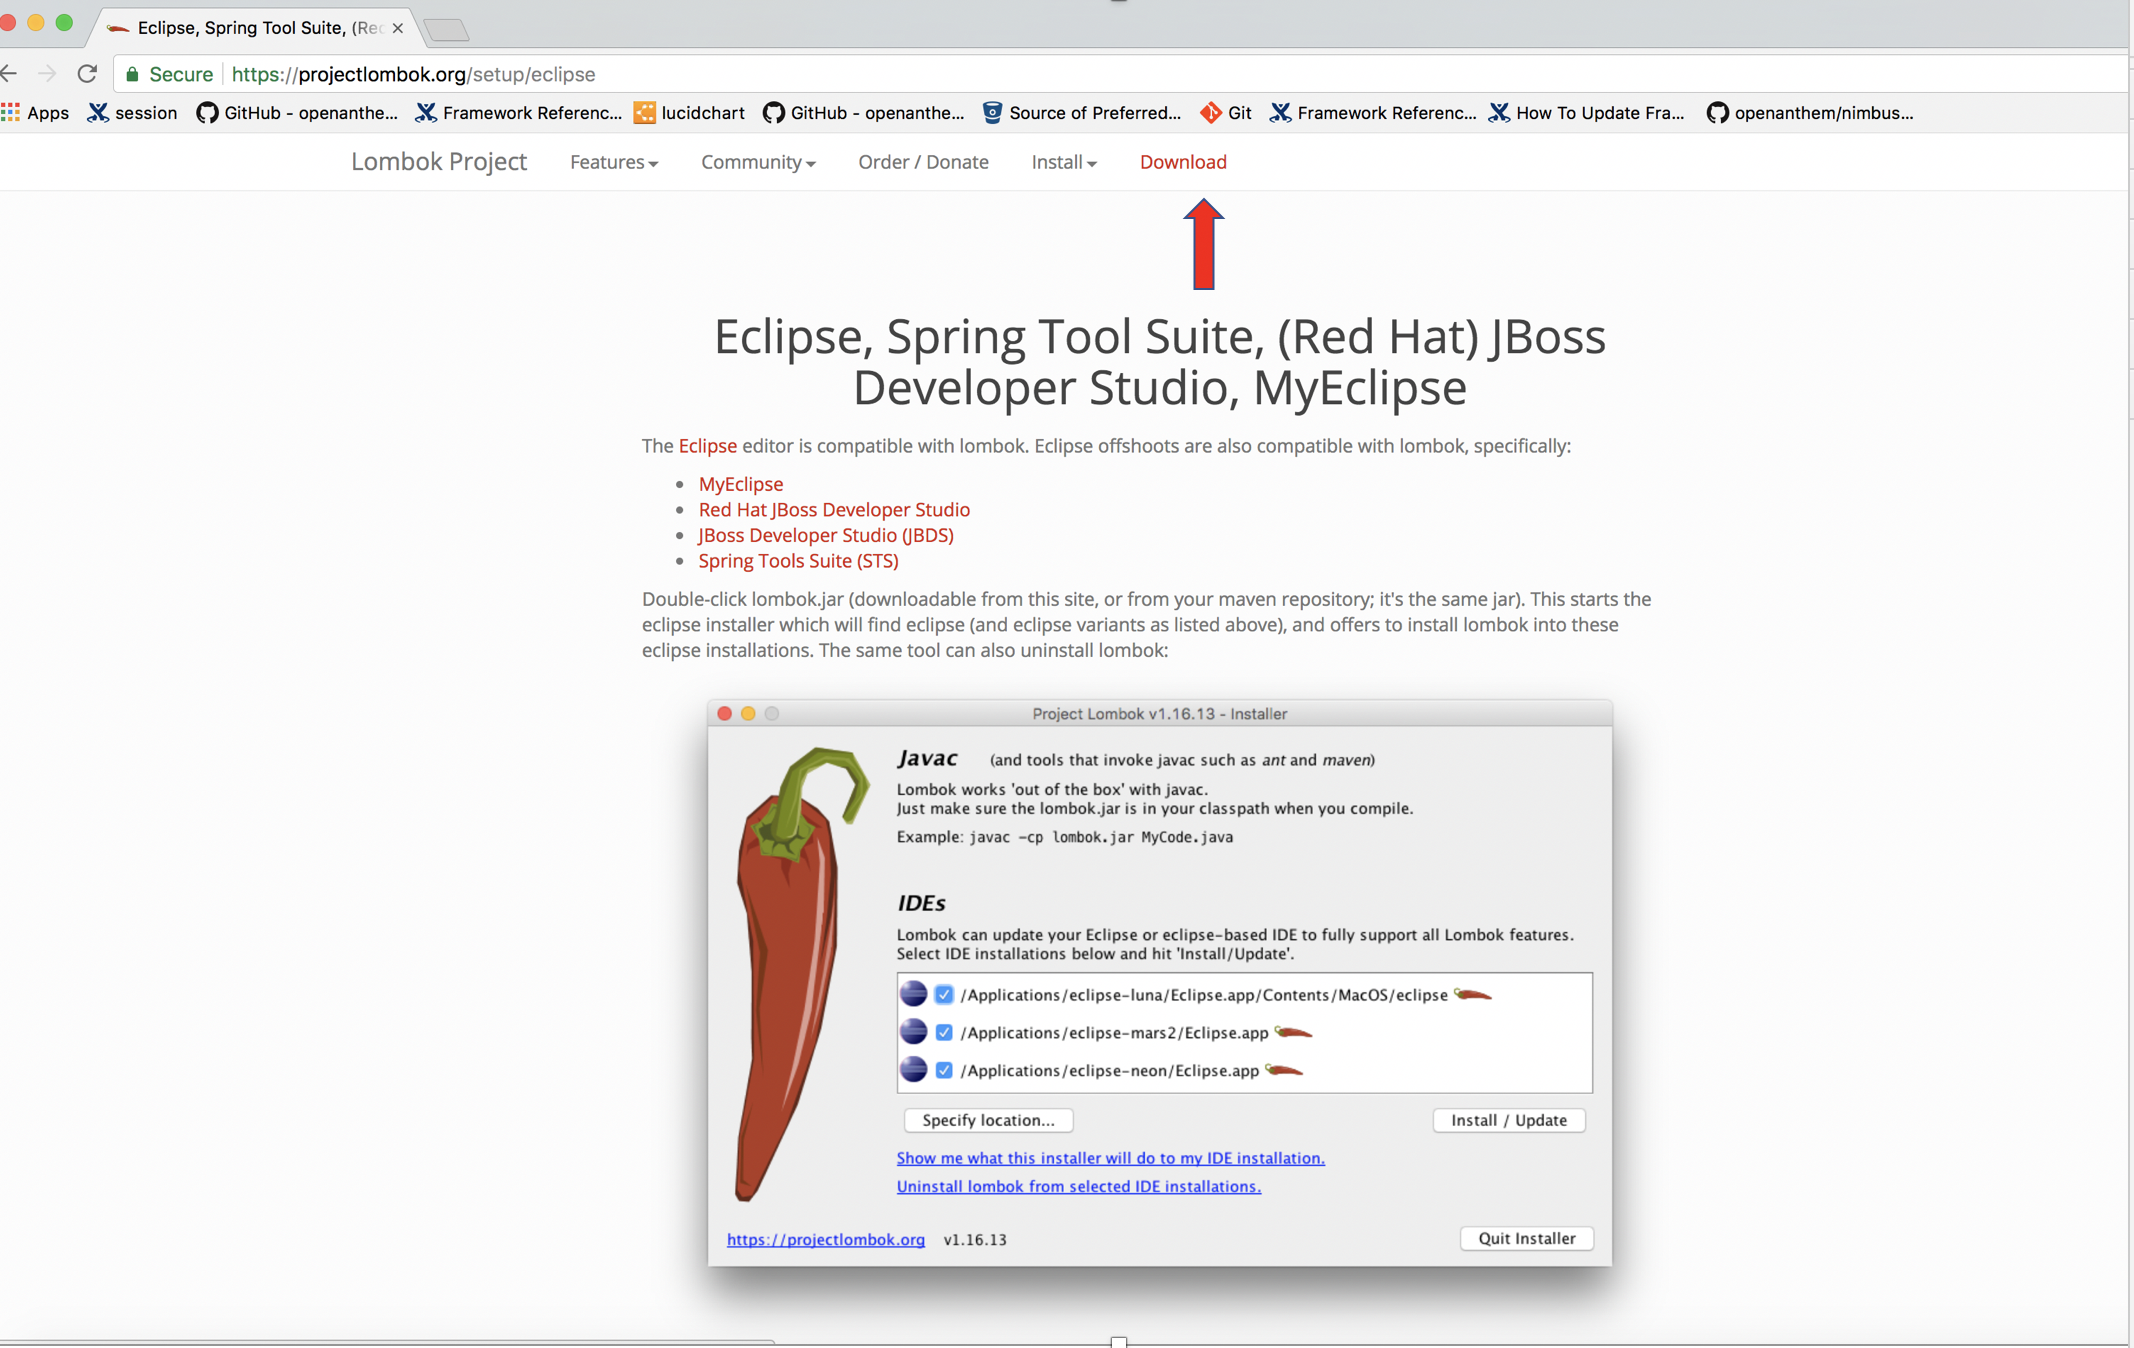
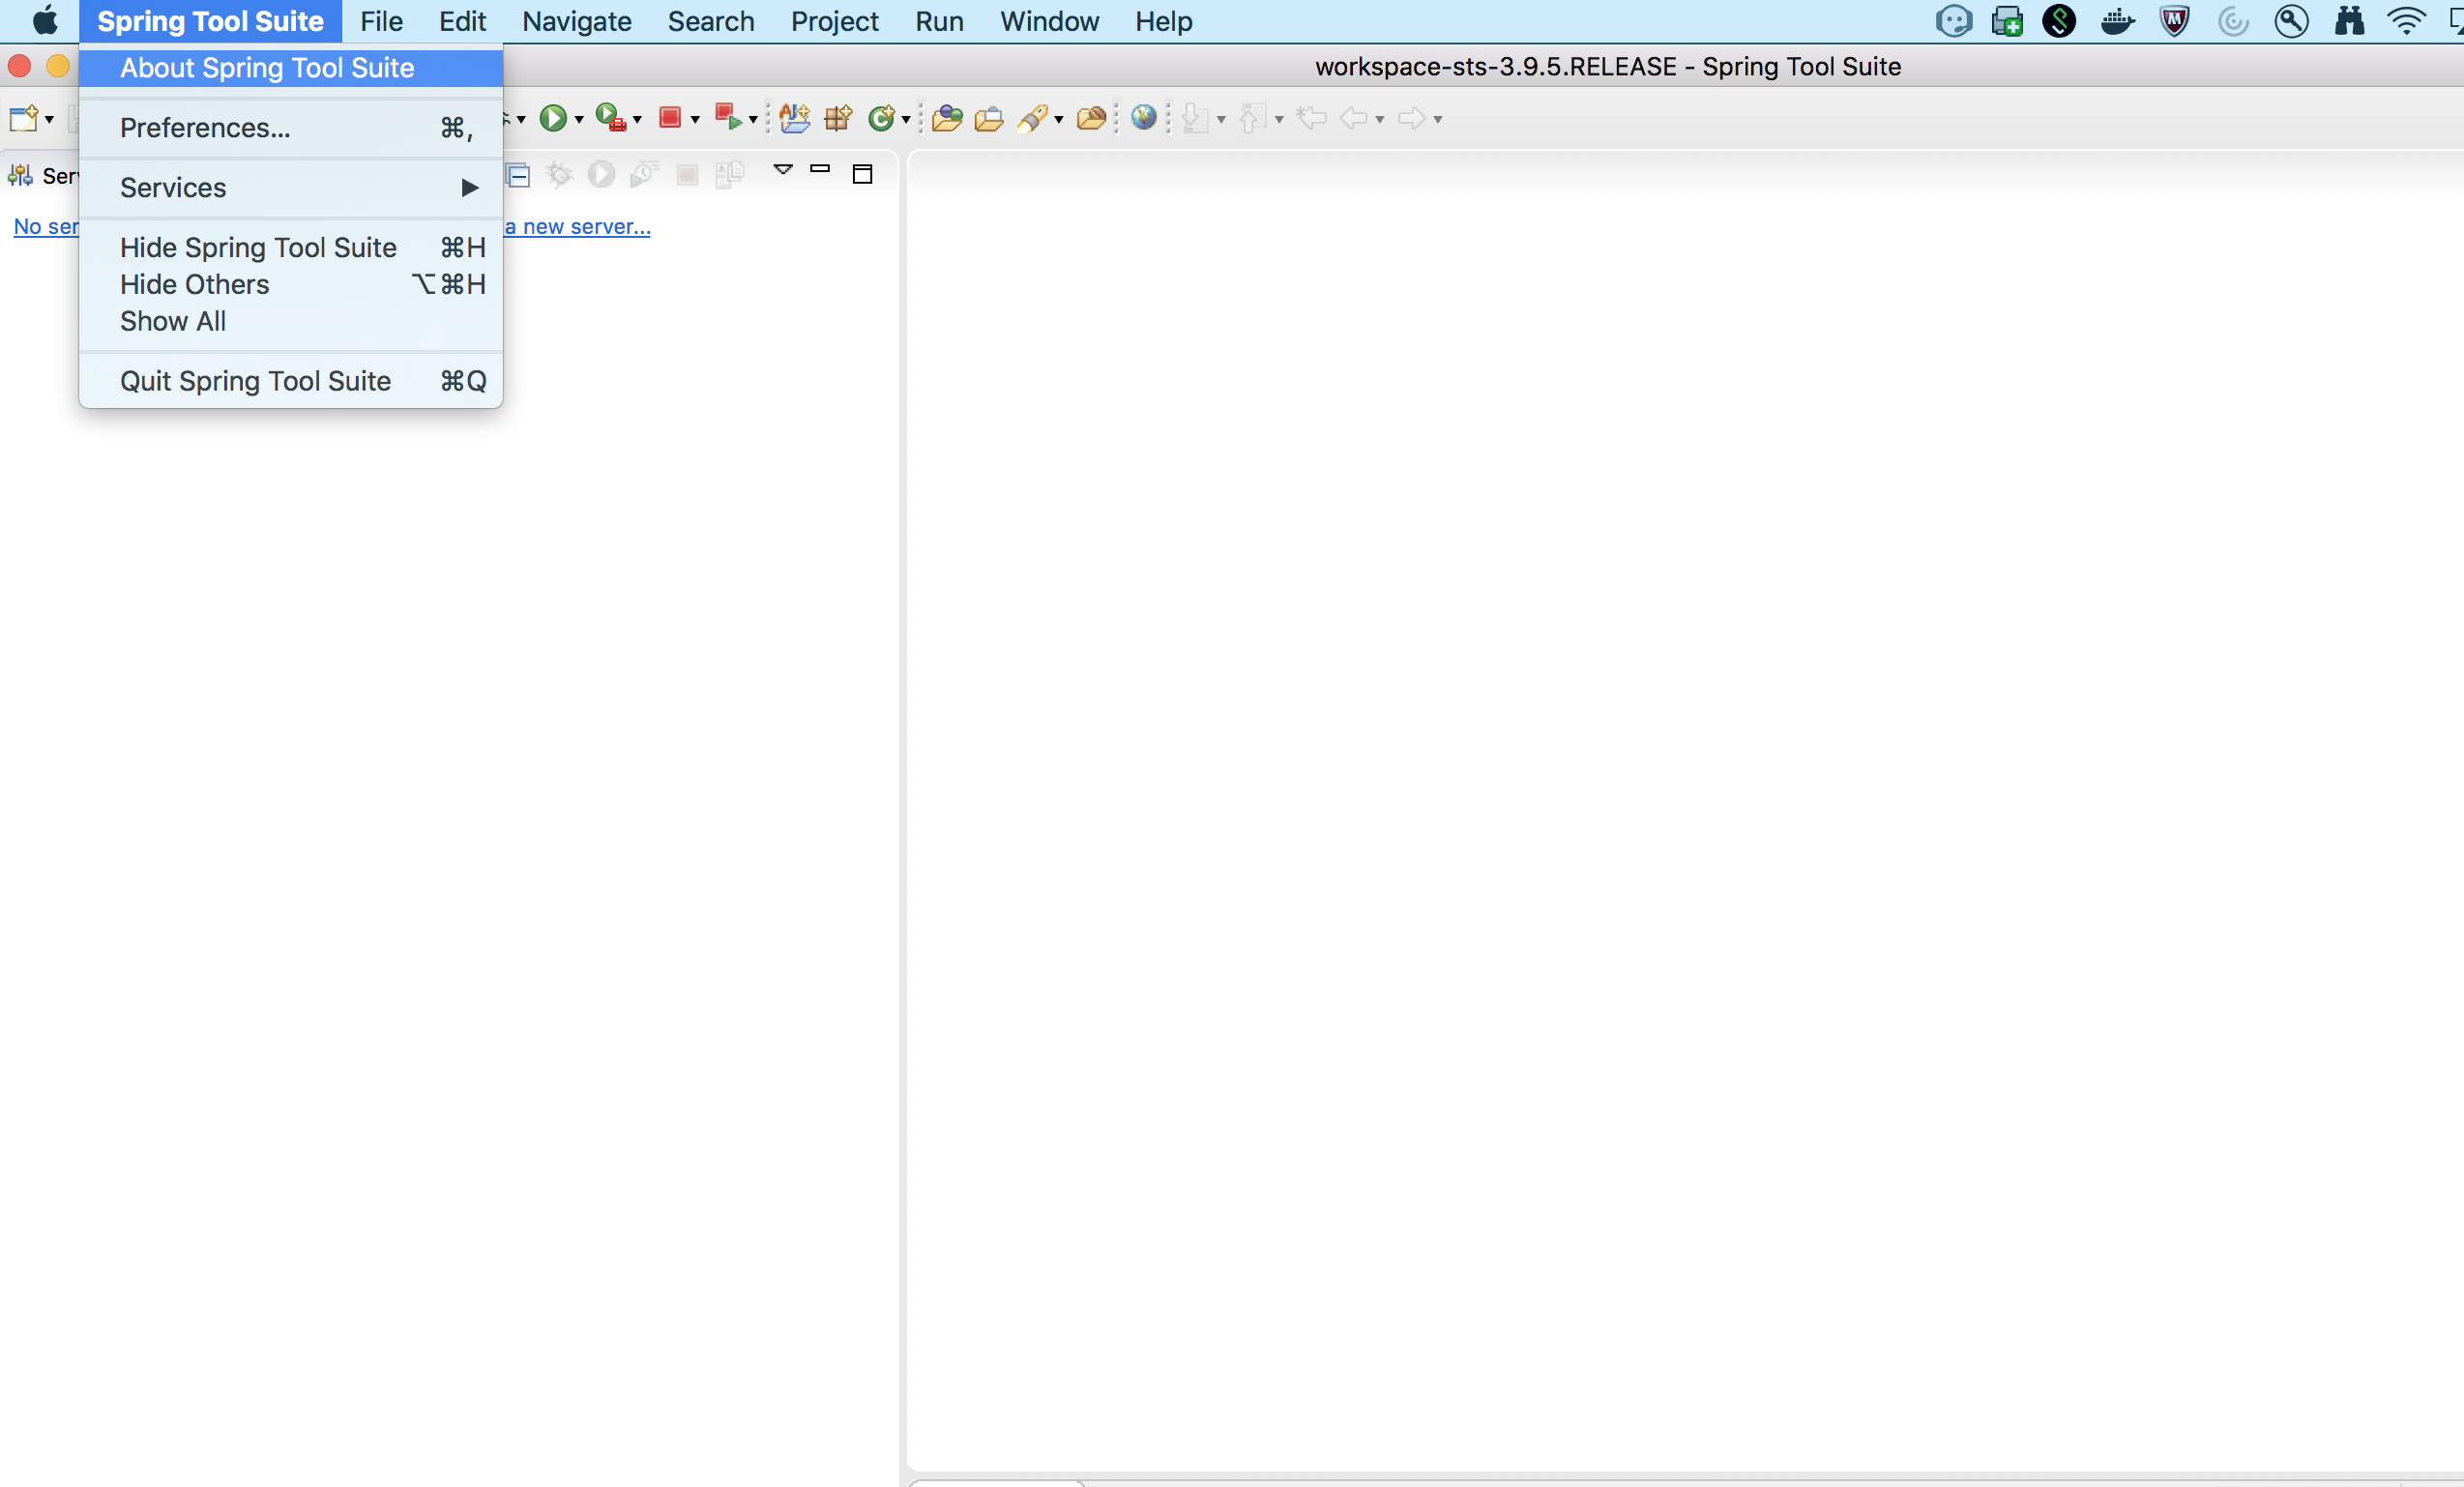
Installation of Lombok
-
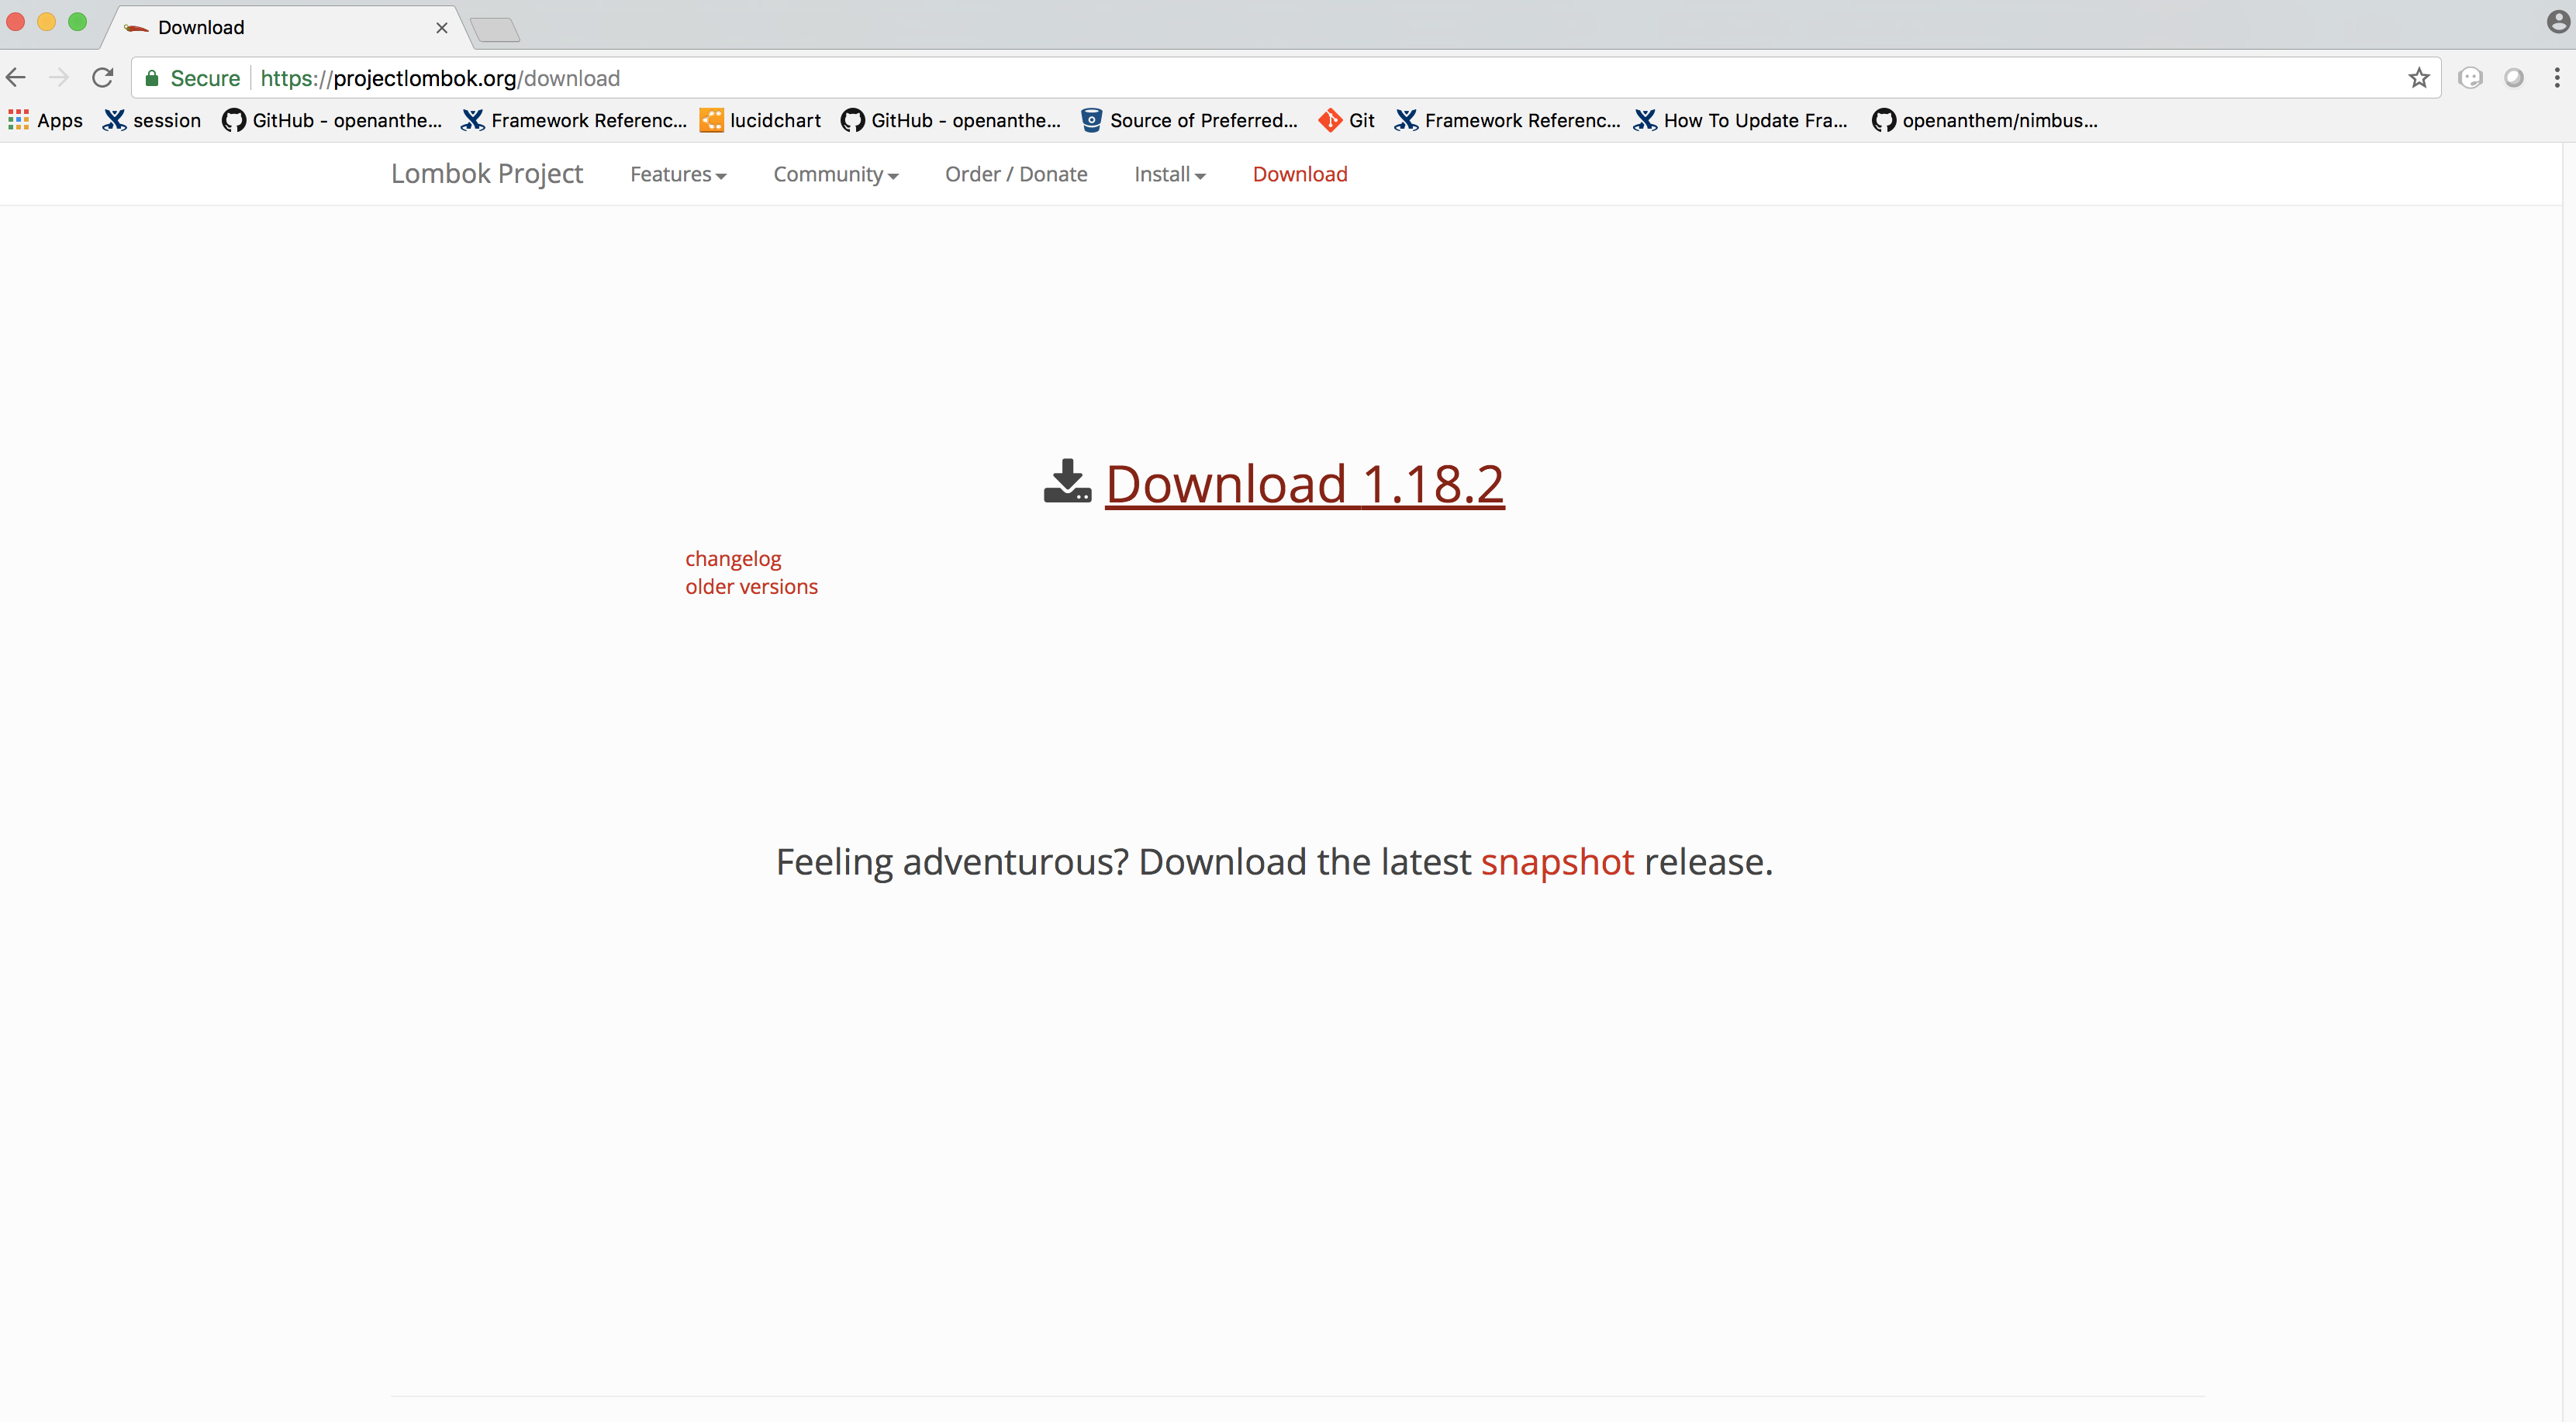
Goto https://projectlombok.org/setup/eclipse .Click
-
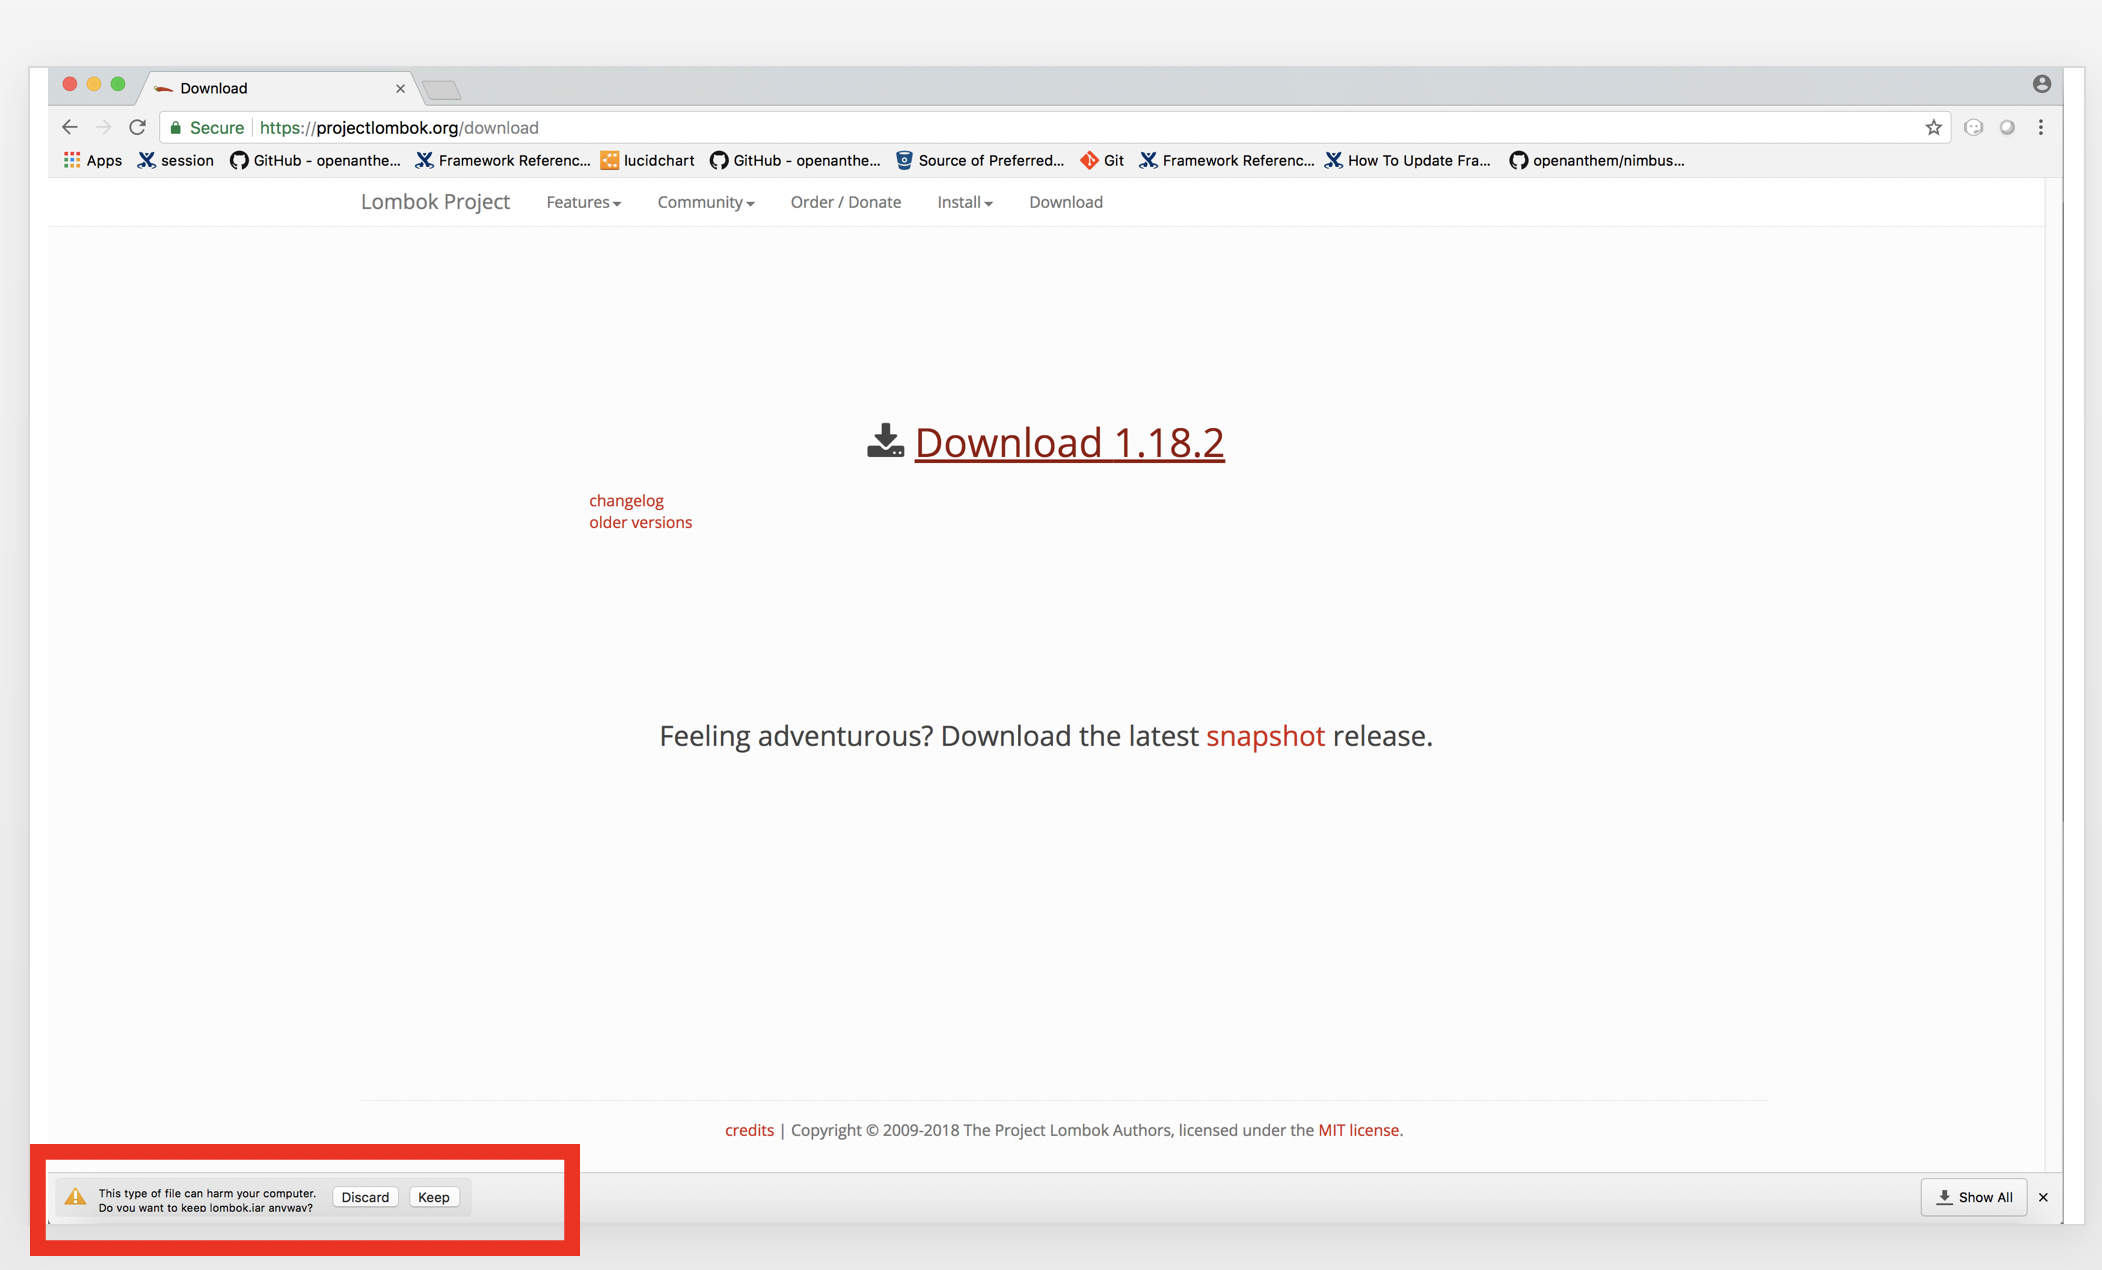
Click
-
You will get a warning message on the left bottom corner of the page. Click
-
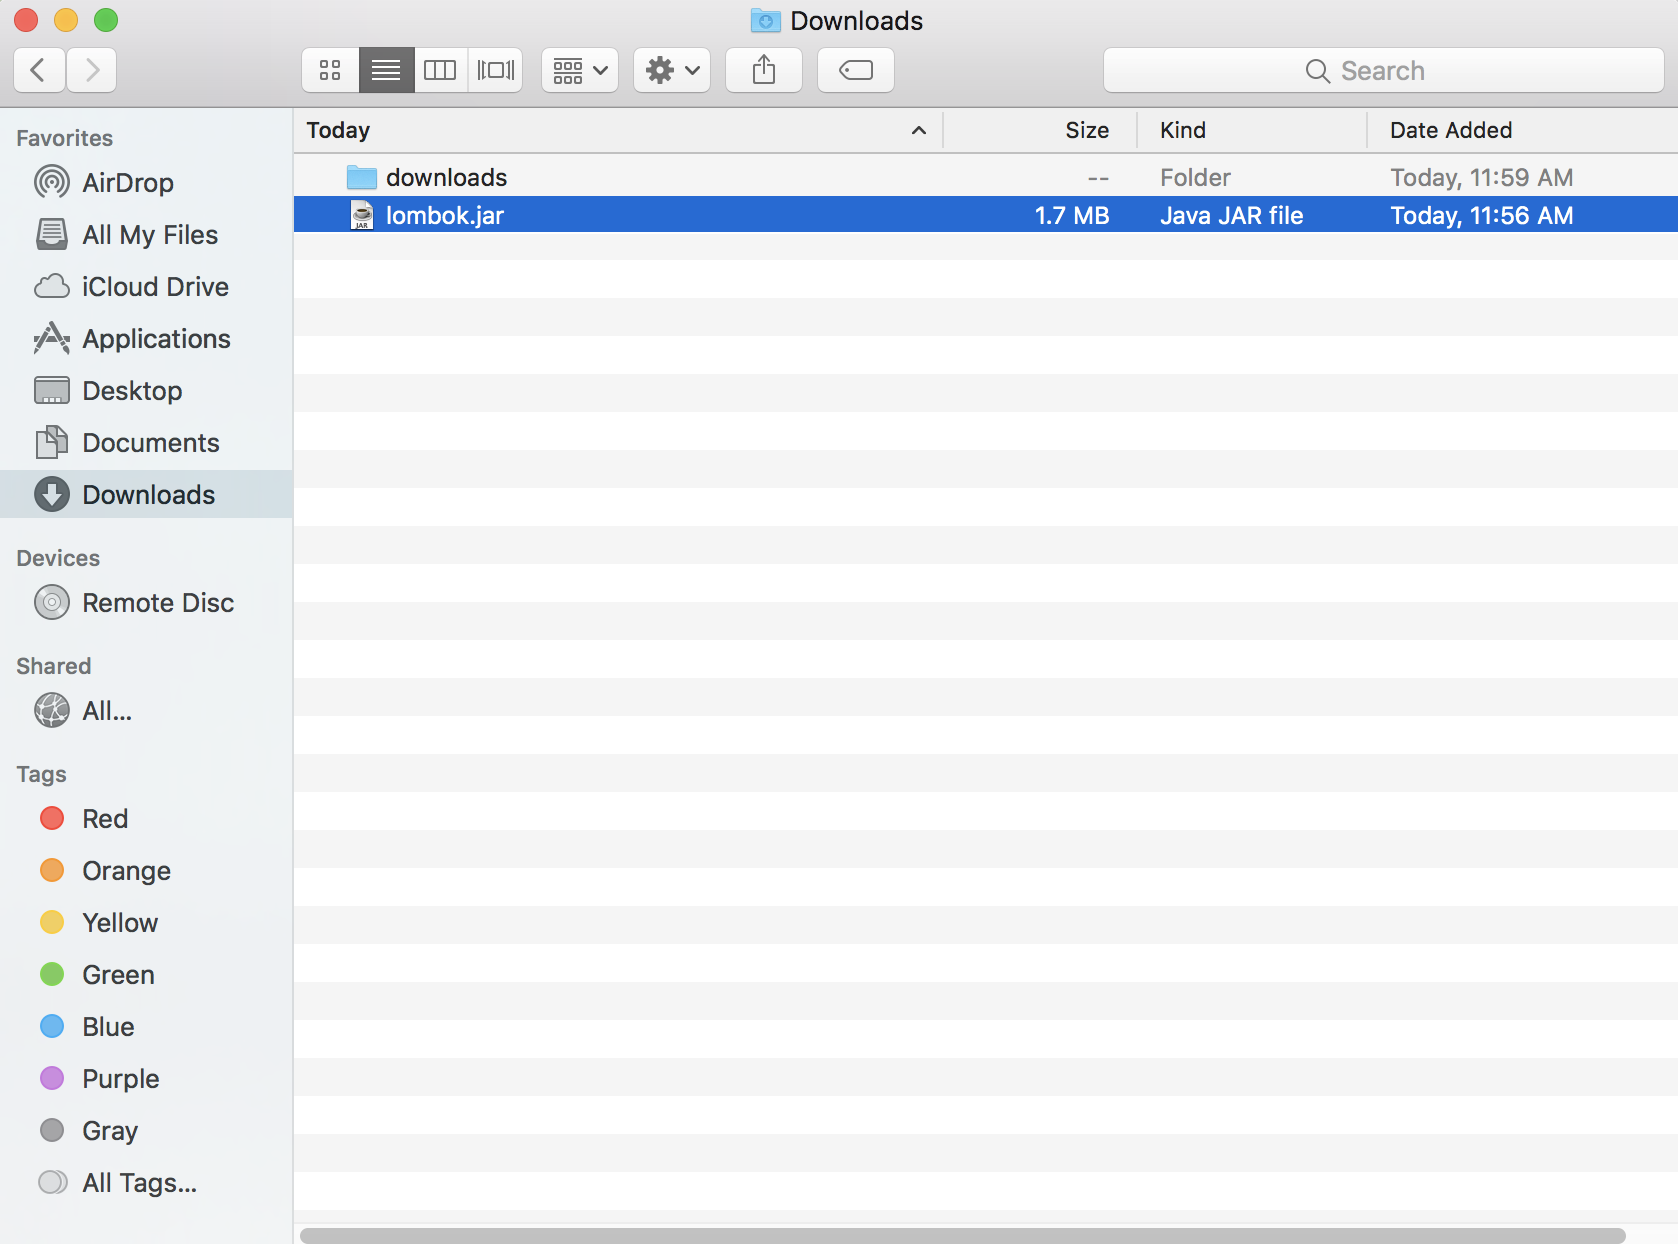
file will be downloaded in your "/Downloads" folder
-
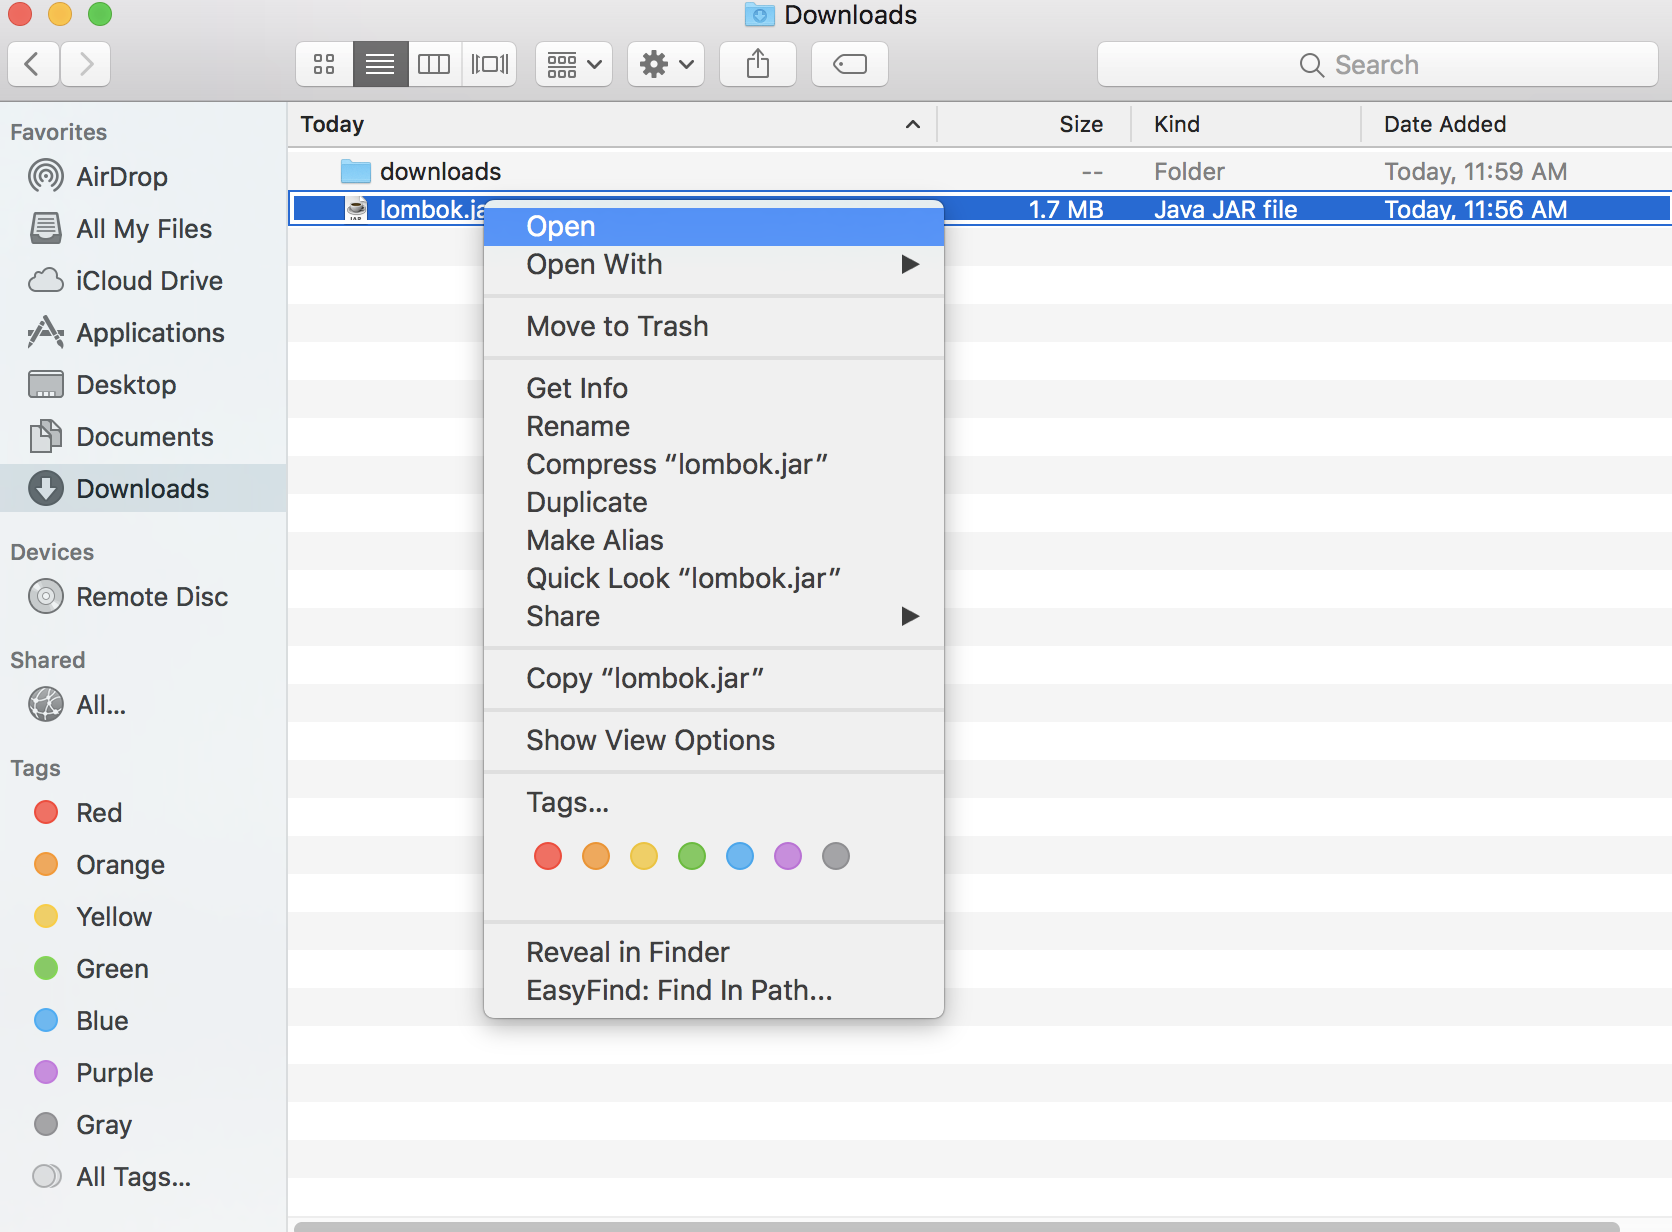
Right click and open file
-
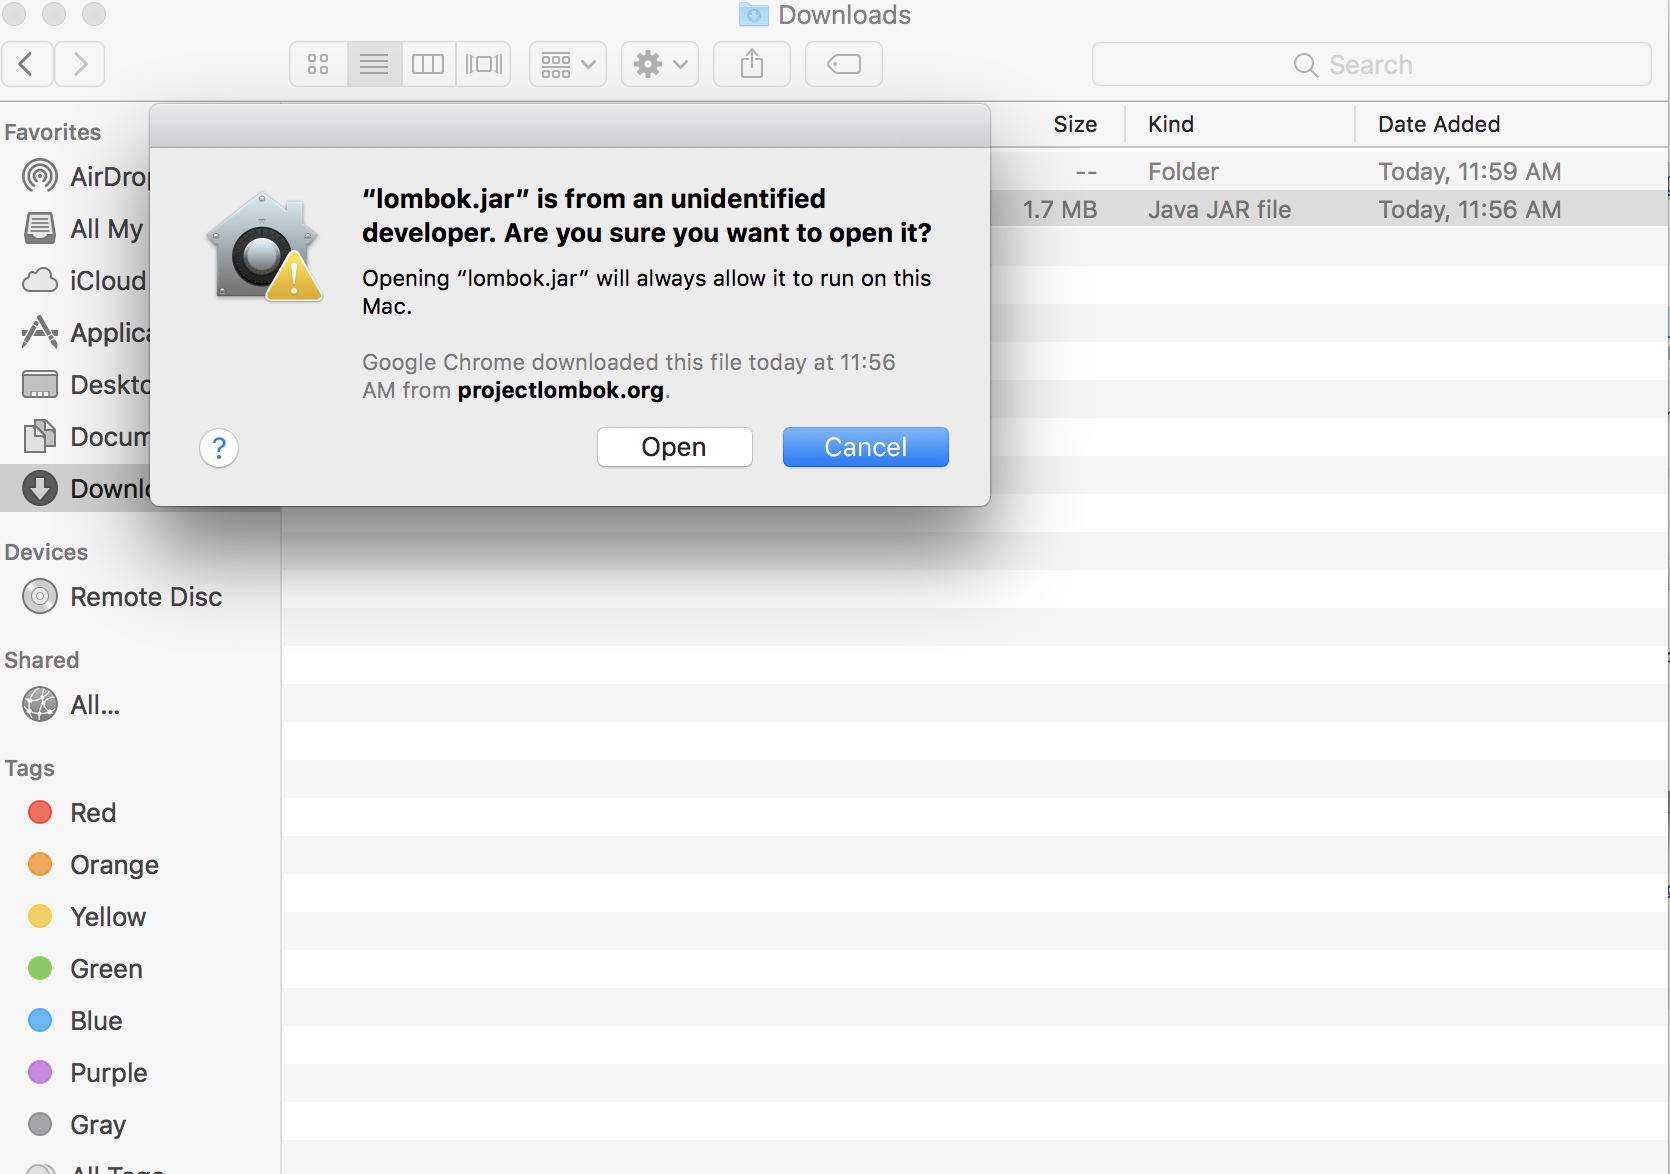
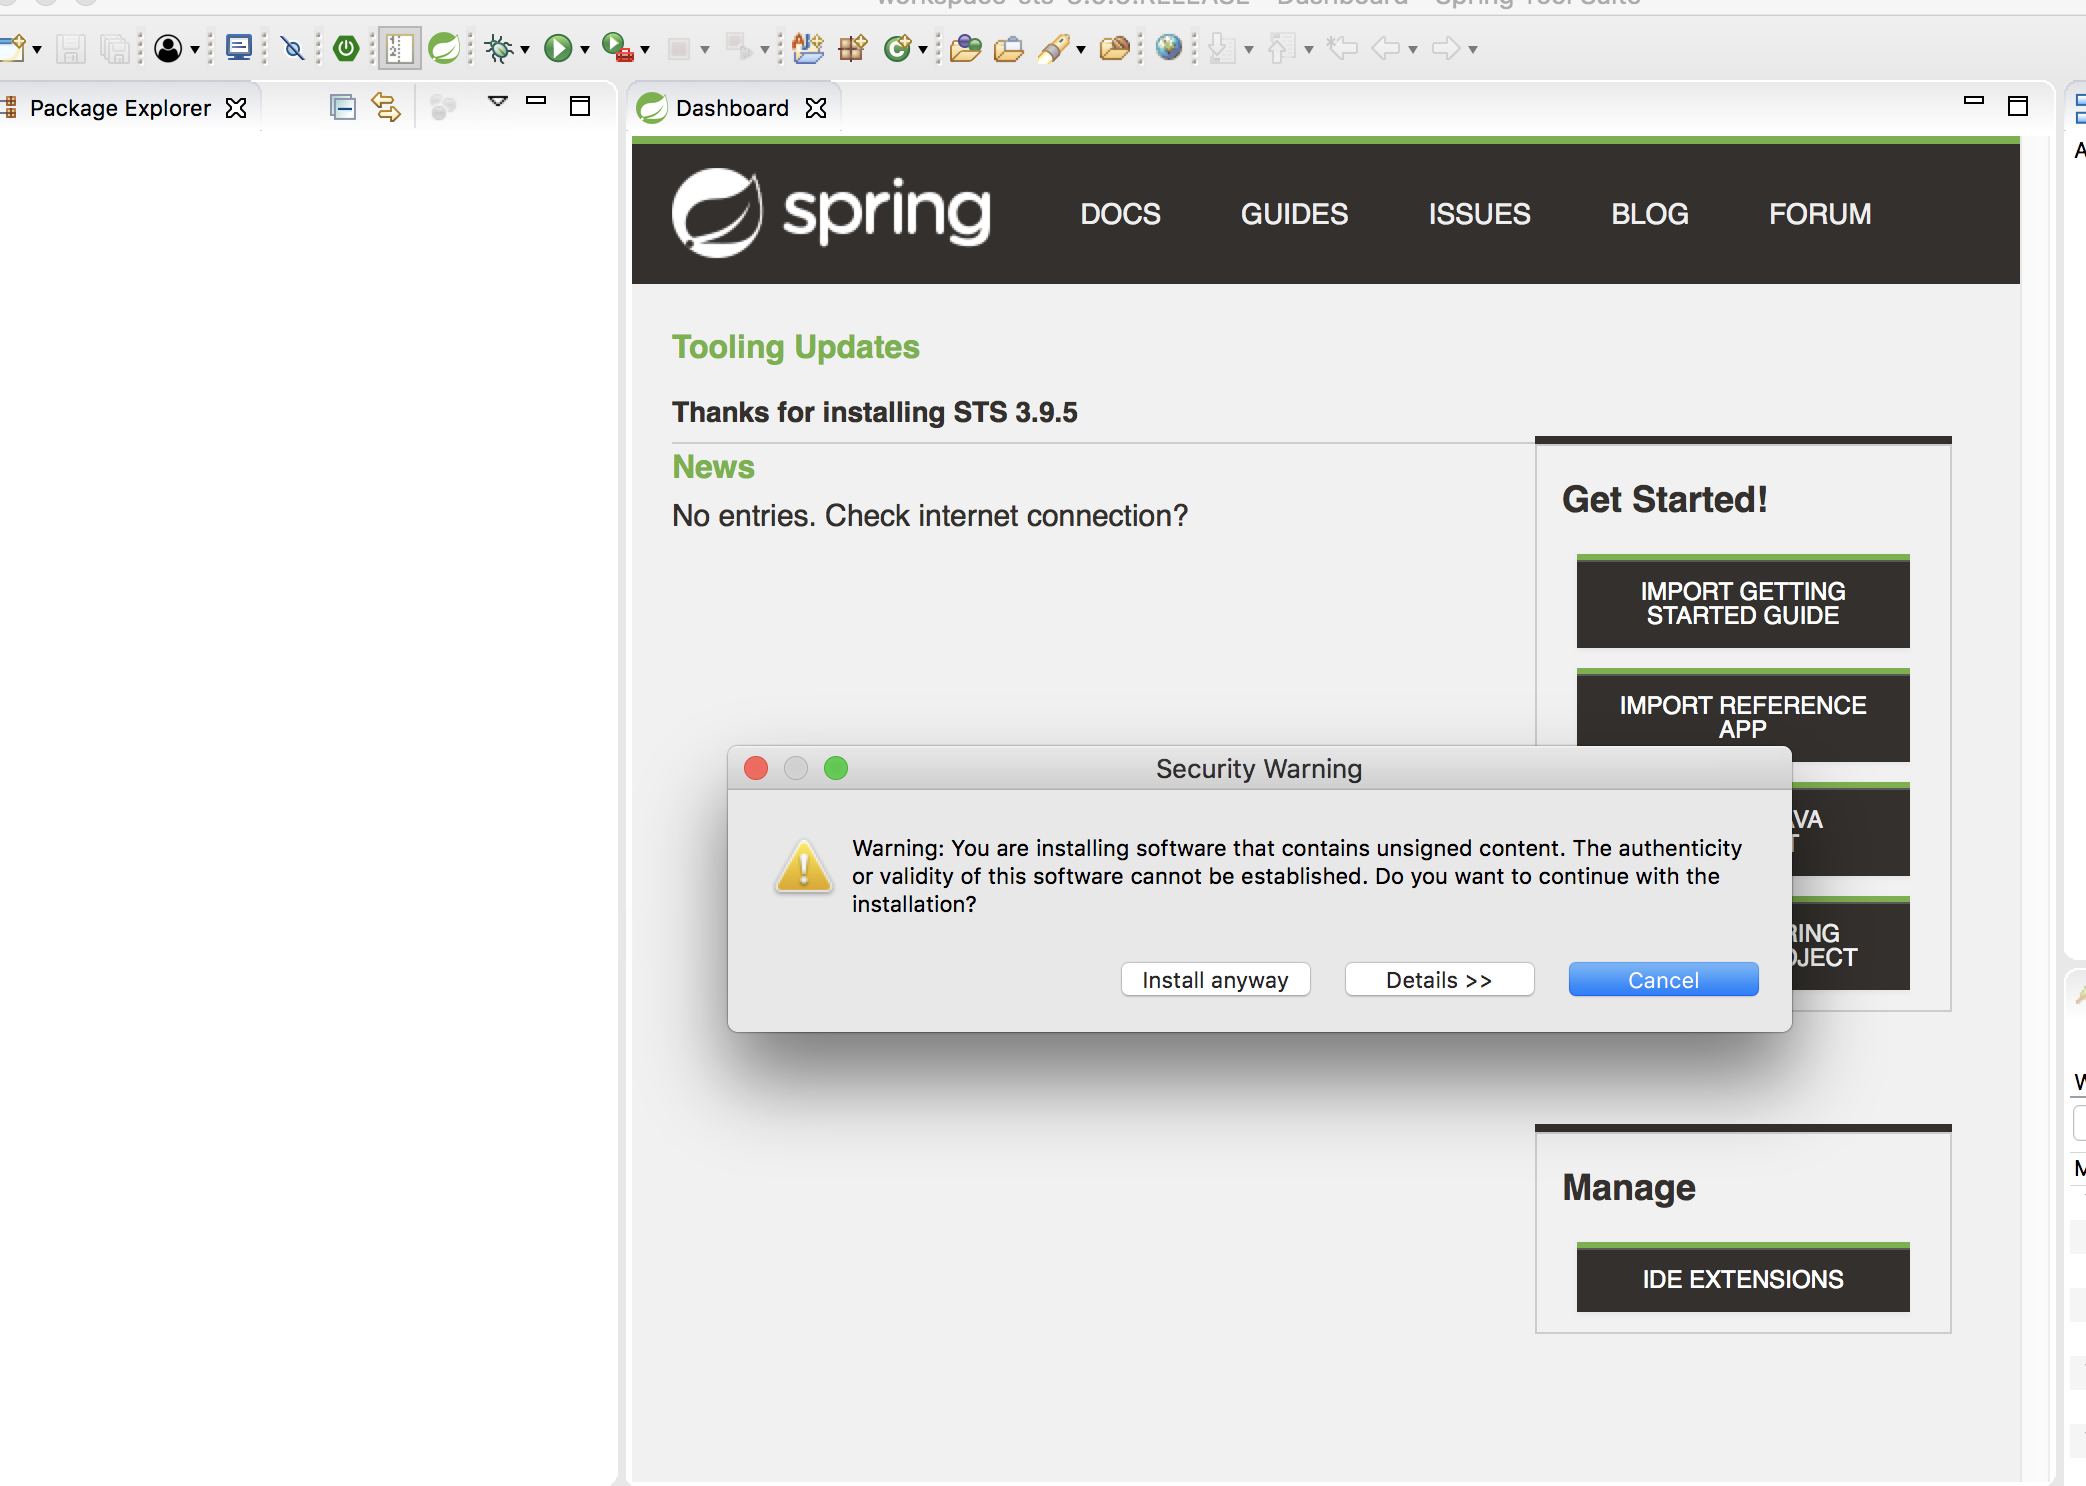
You will get a warning message. Click
-
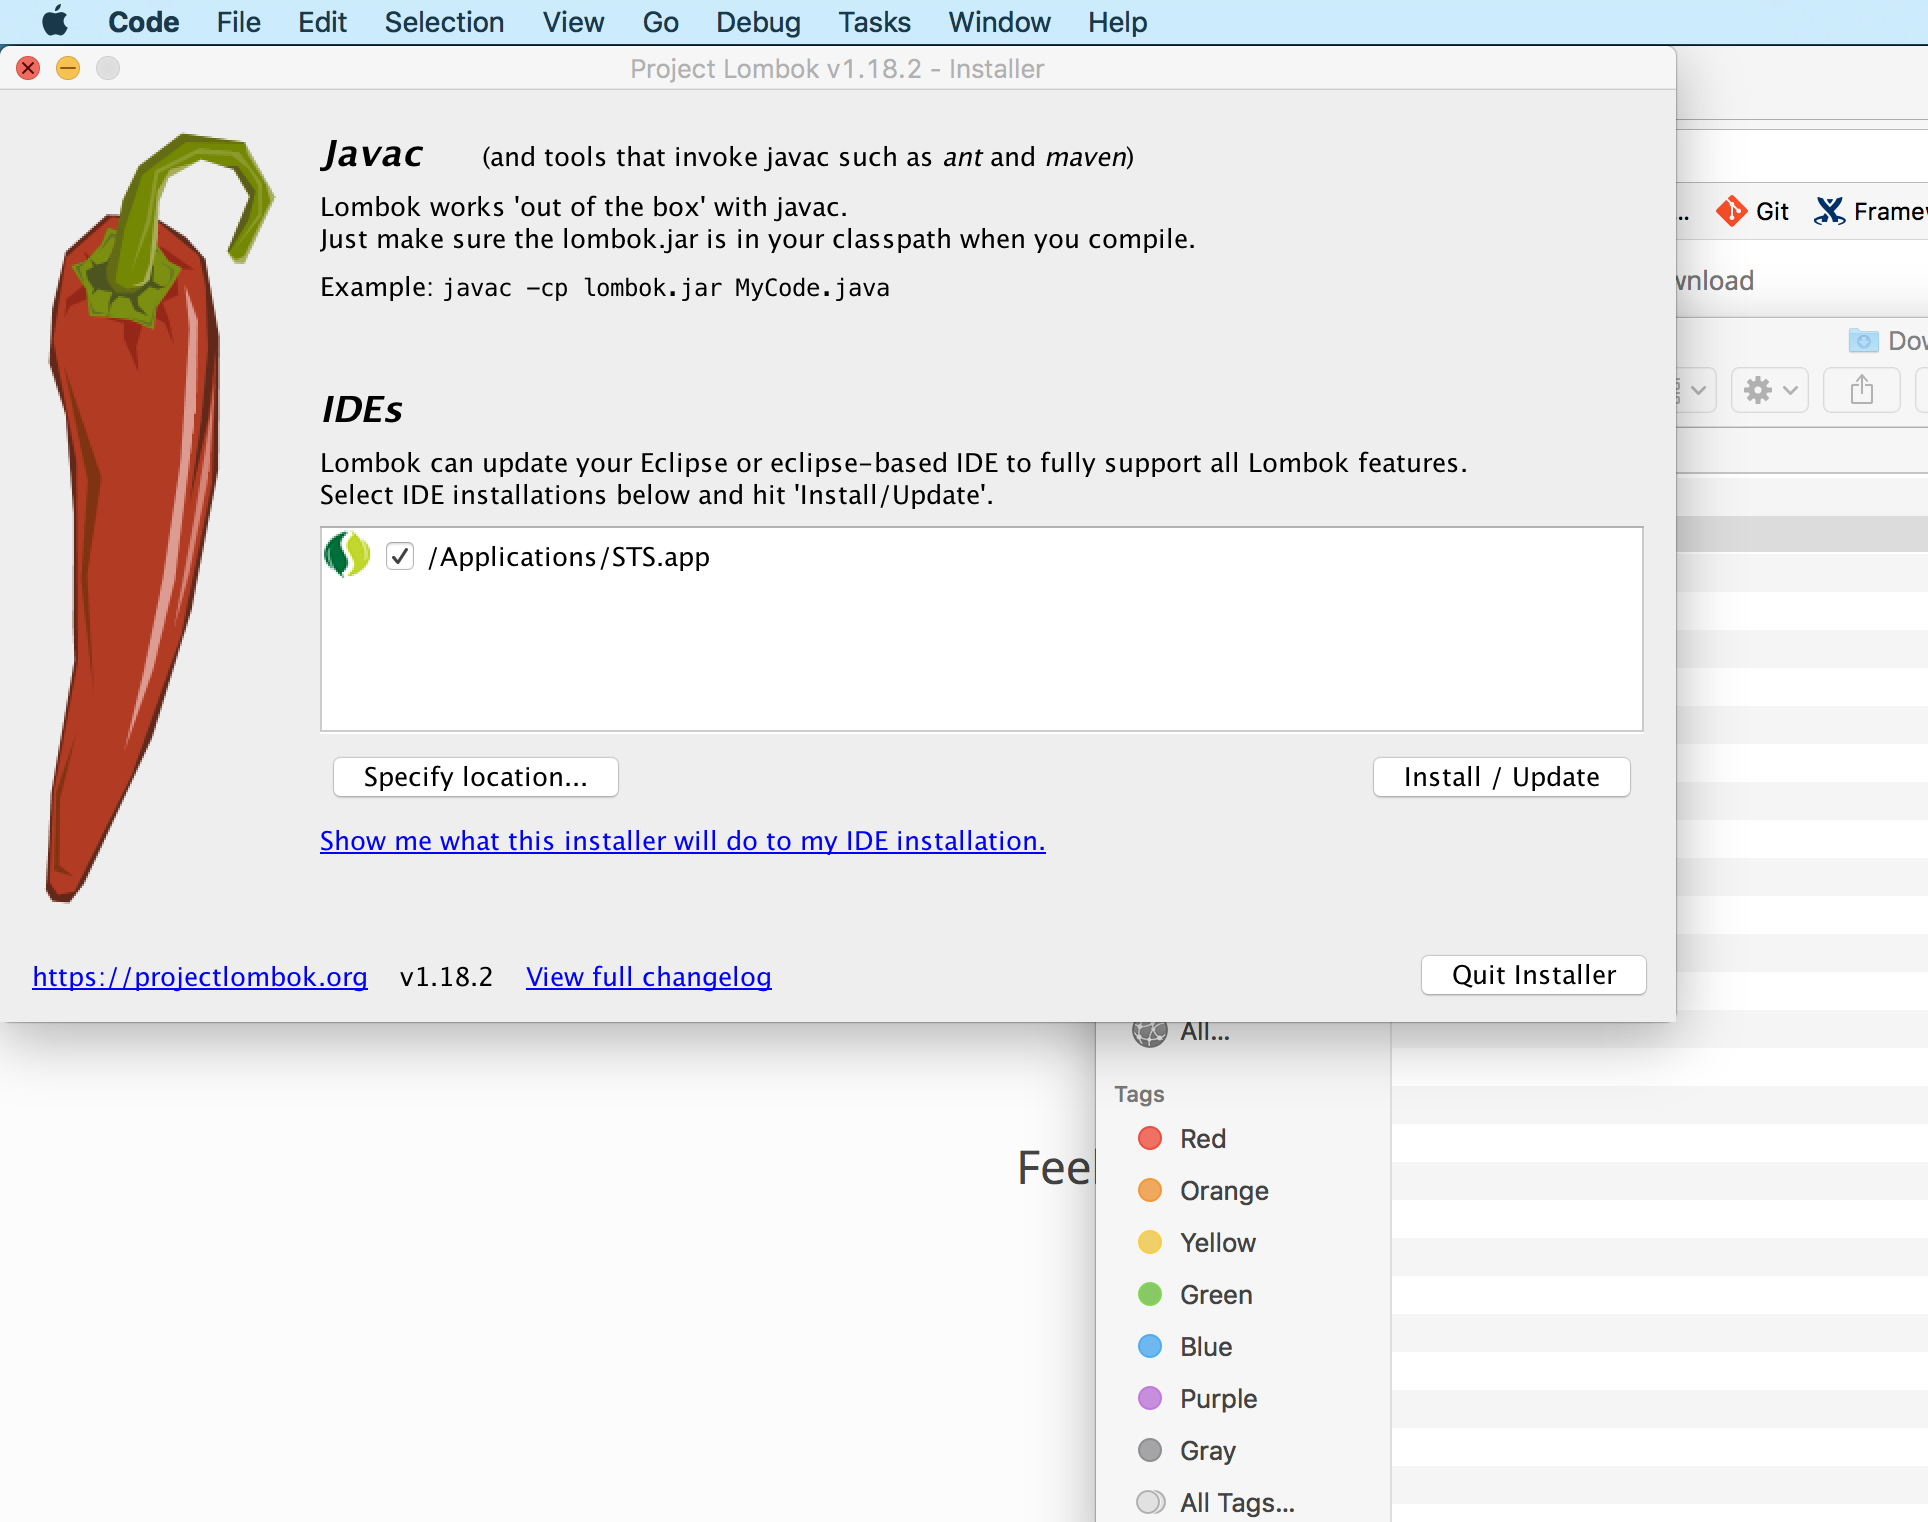
Once opened, your IDE location will be automatically identified by . Click to begin the installation.
-
will be installed successfully, Click
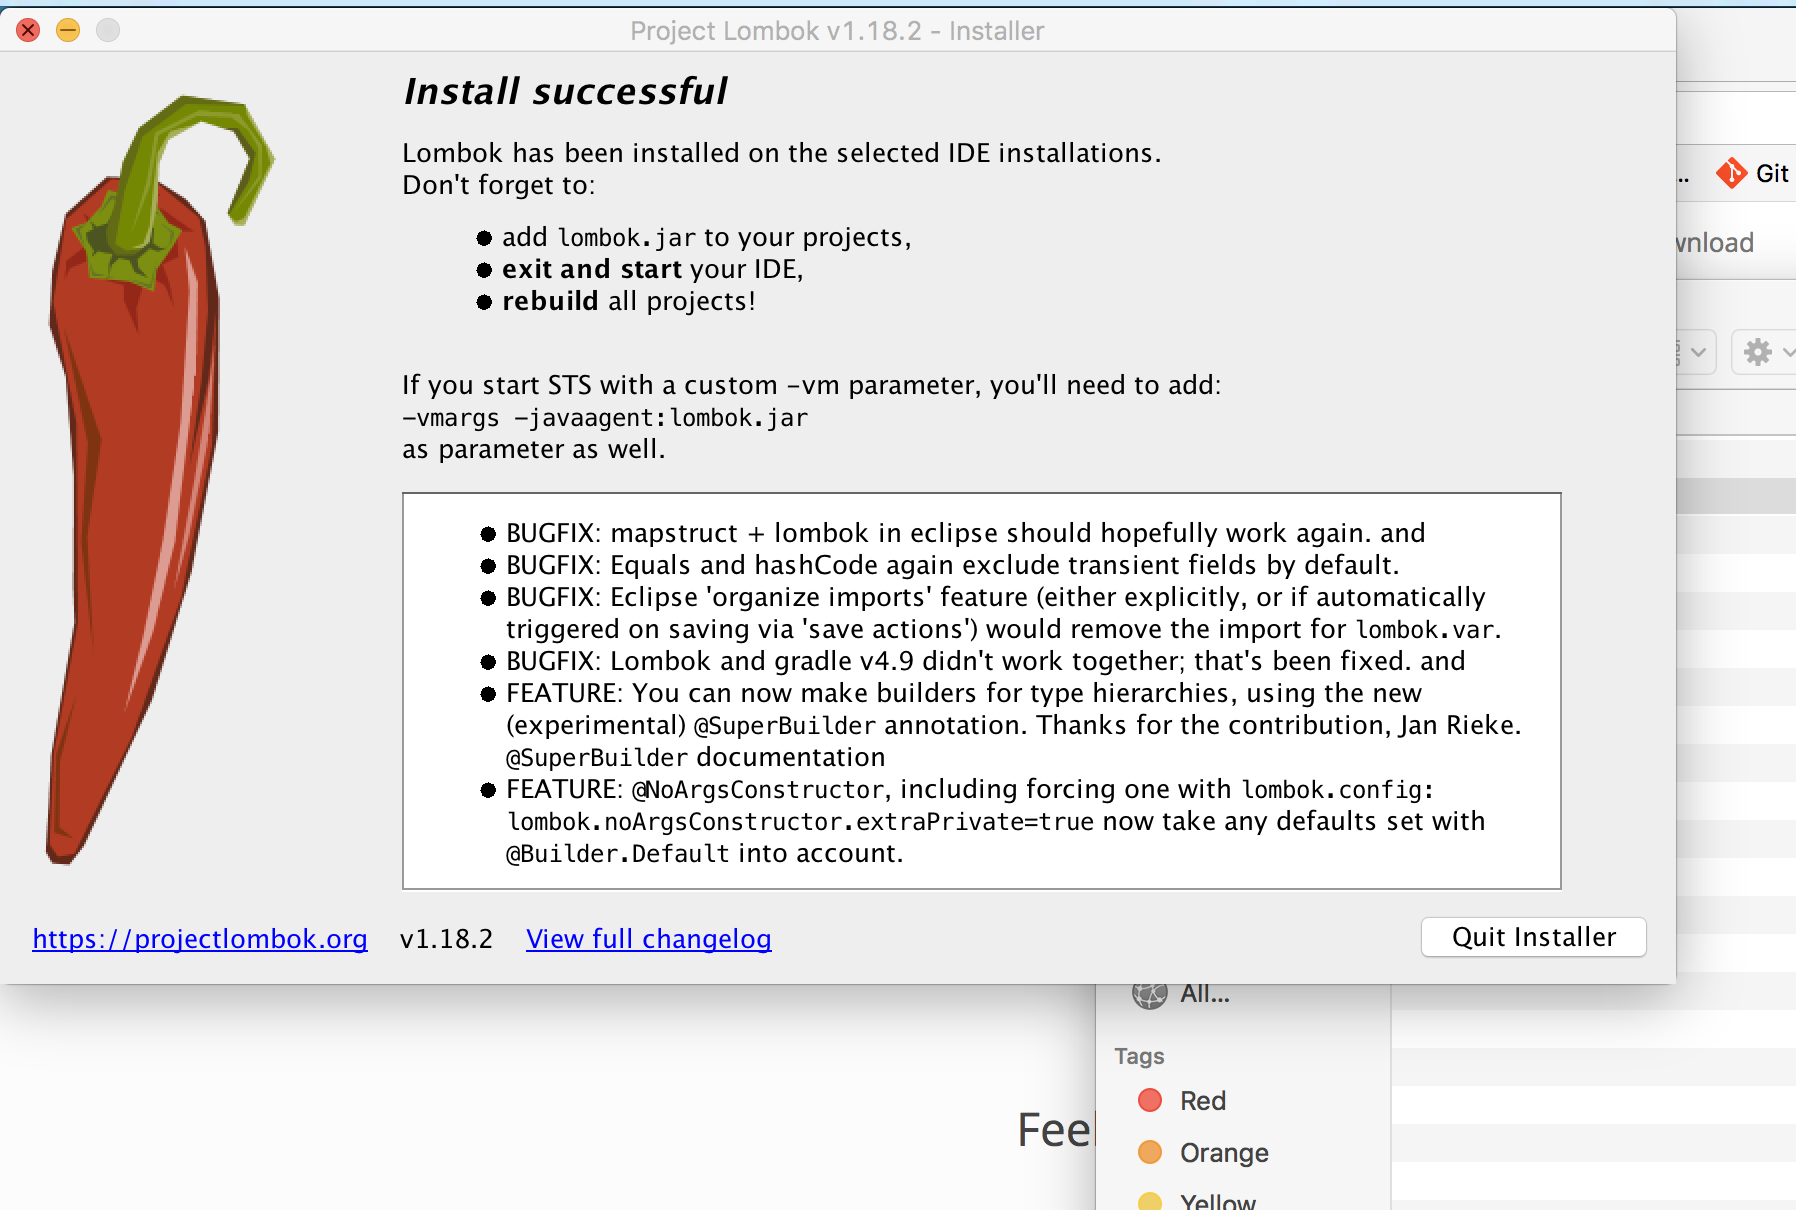
-
We can check the installation by clicking
-
We can view the version of

-
is installed!
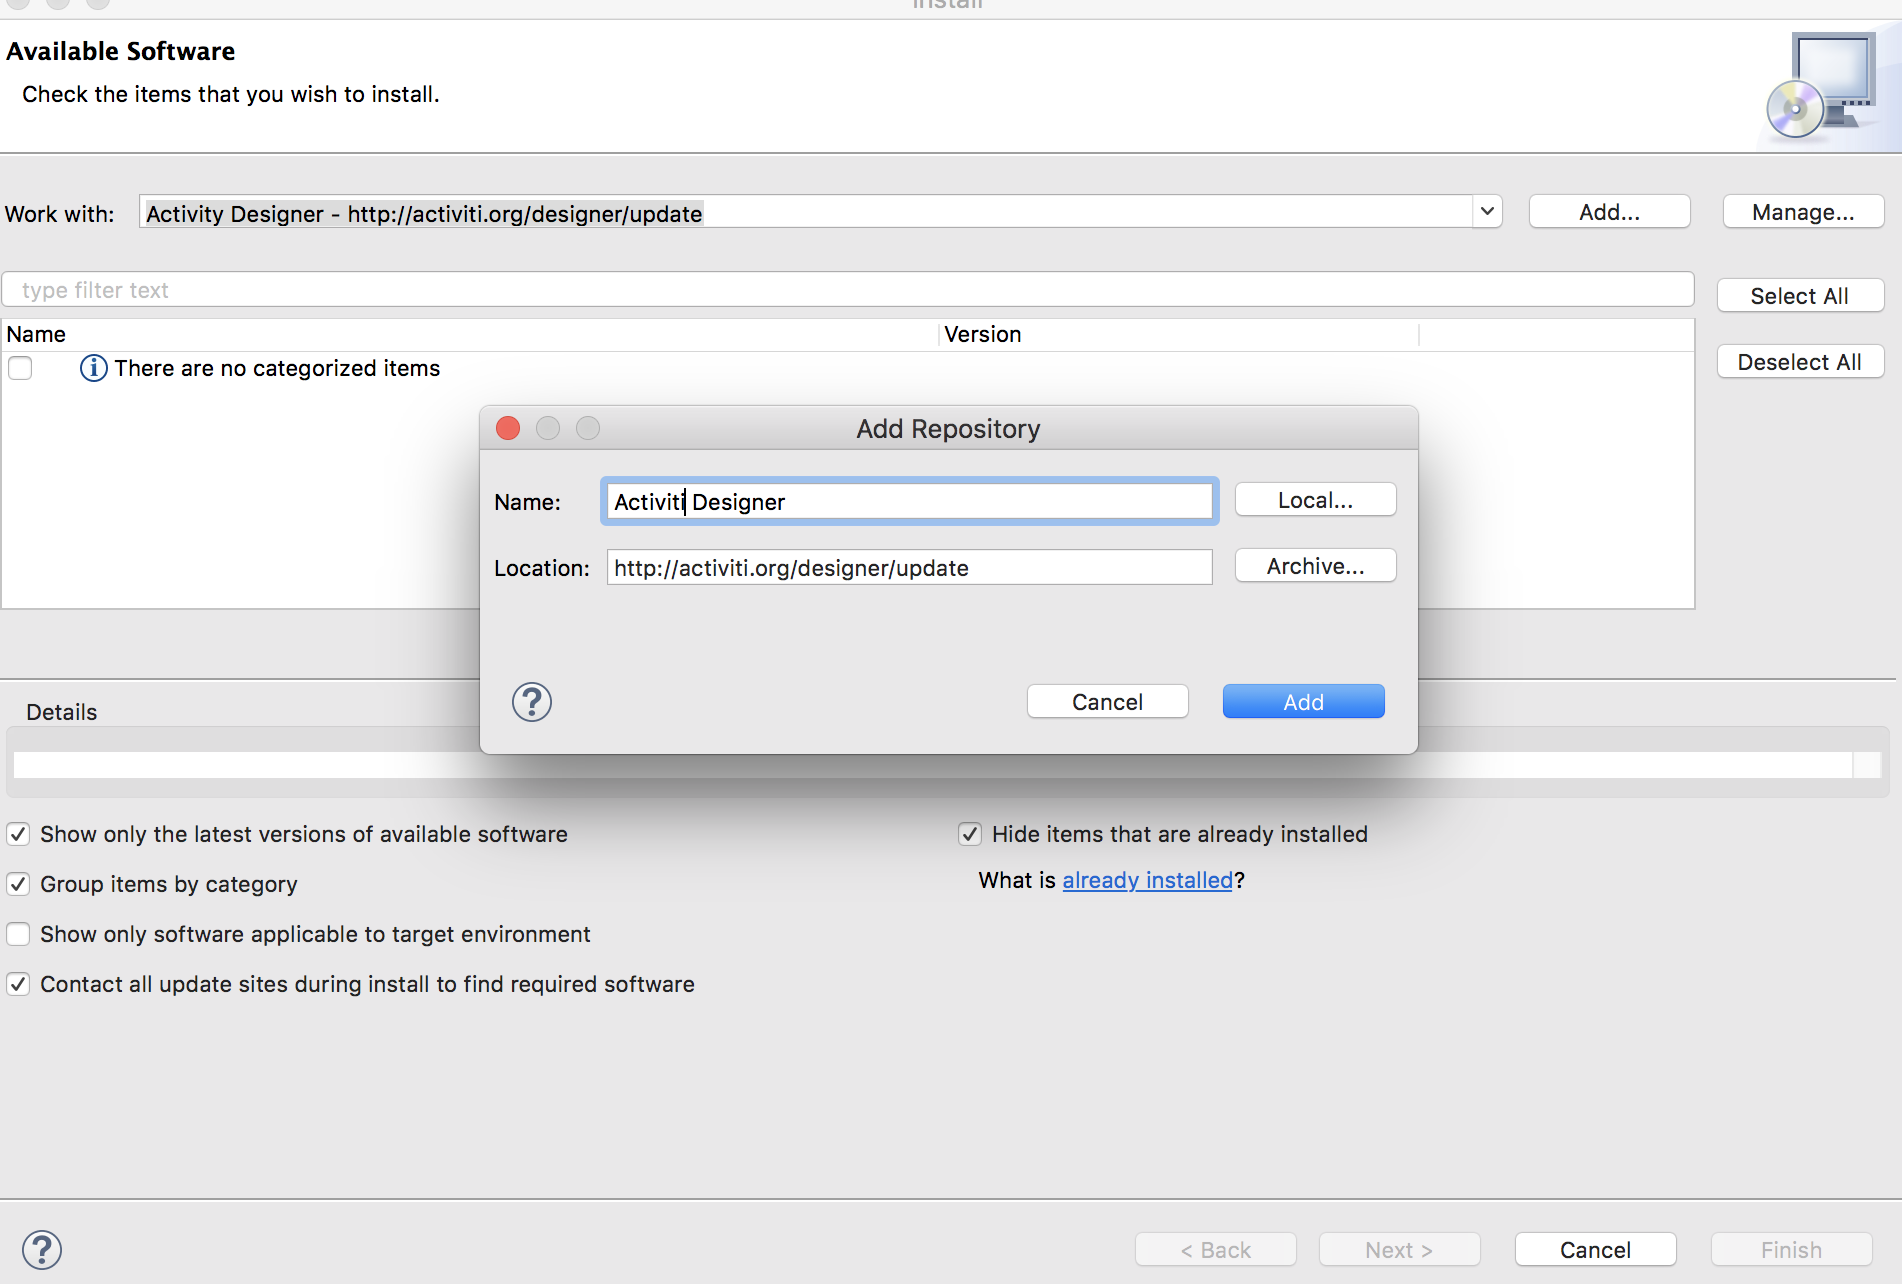
Install Activiti plugin
-
Open from "/Applications"
-
Click
-
Click
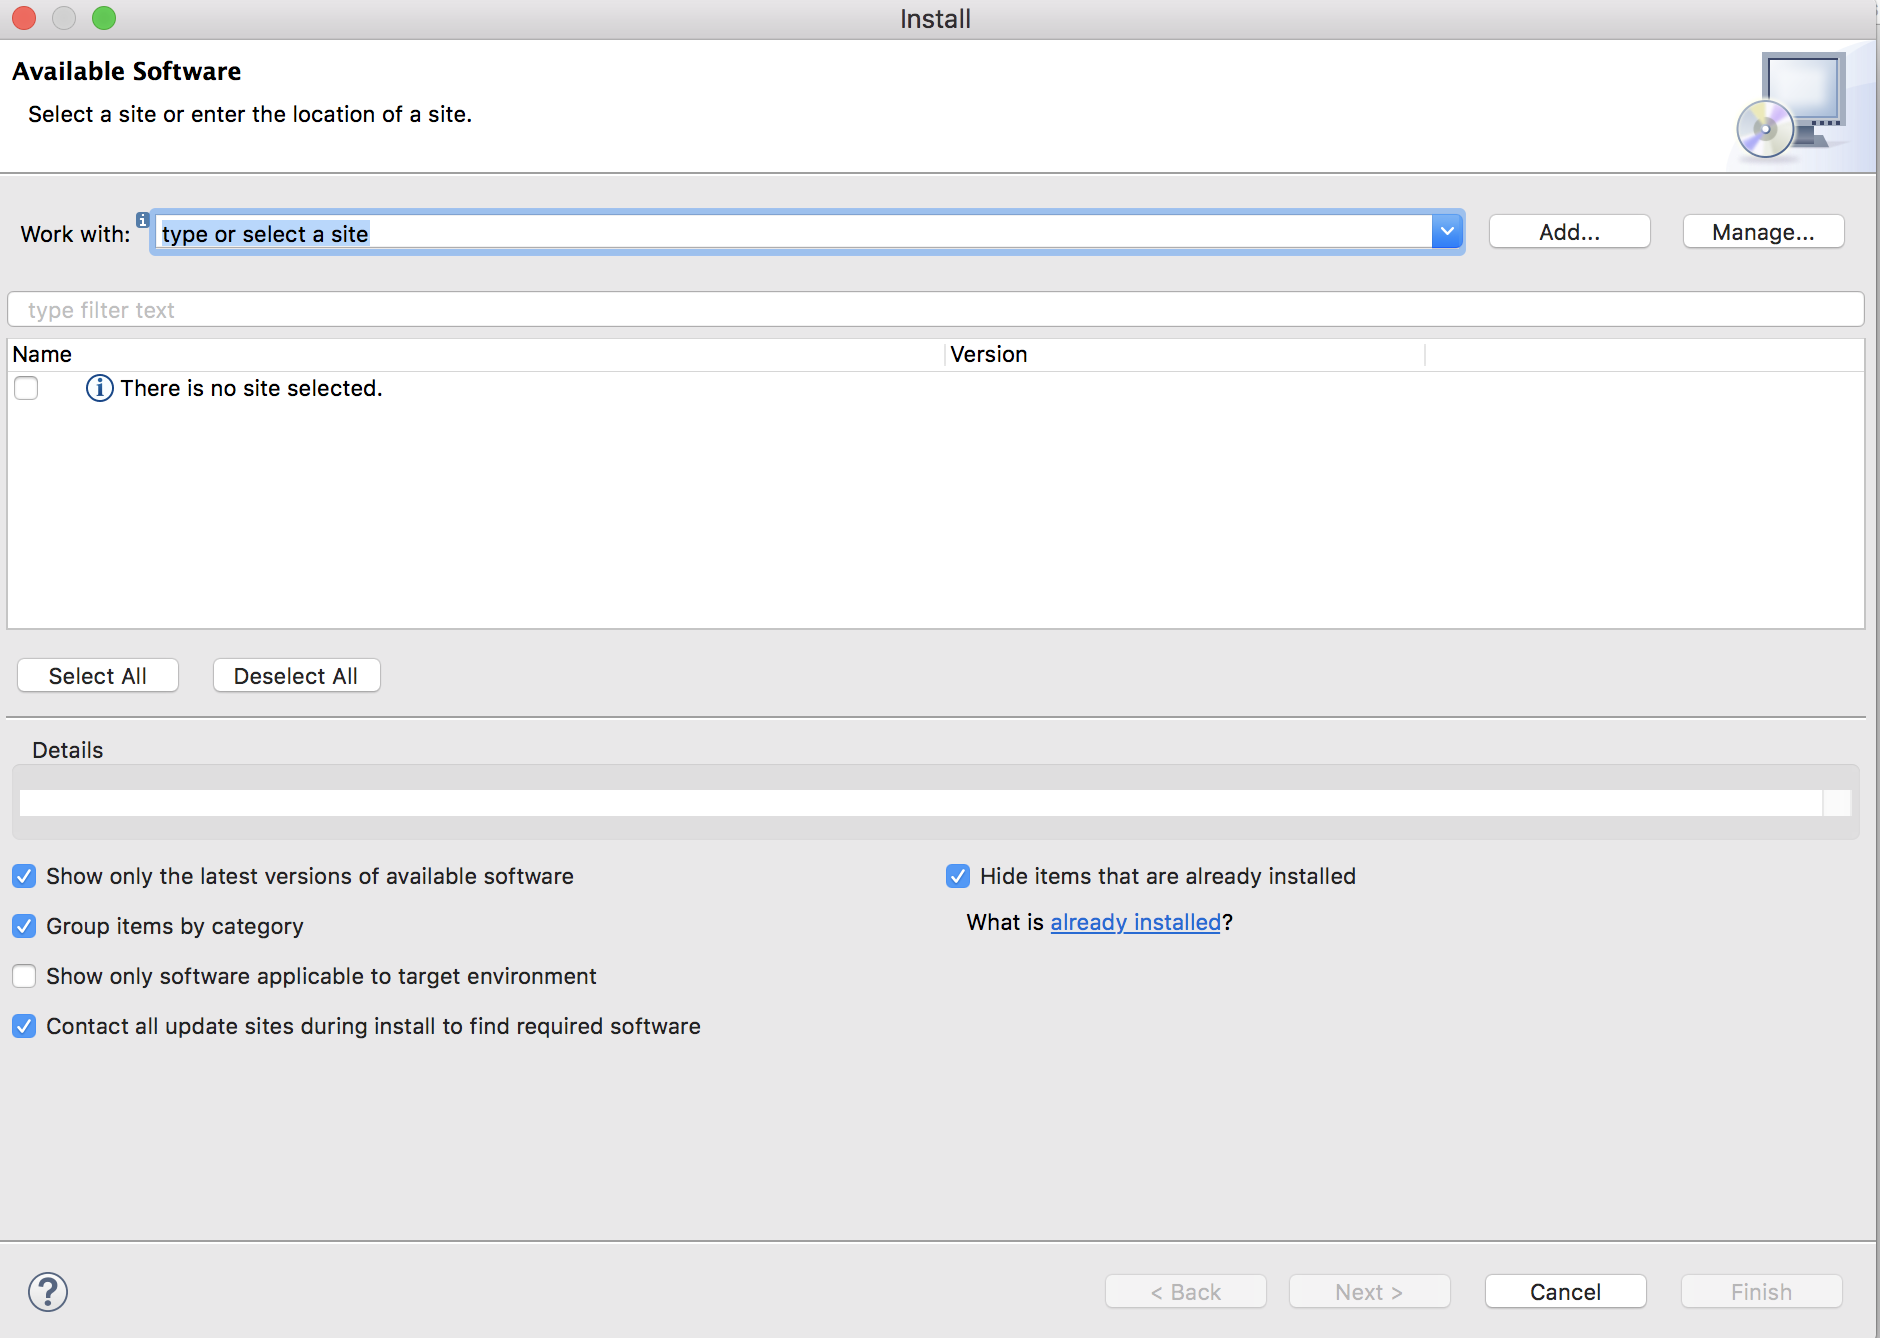
-
Enter the as Activiti designer and as http://activiti.org/designer/update and click
-
You may/maynot get an error. This is due to Anthem’s firewall restrictions. You may require for this step
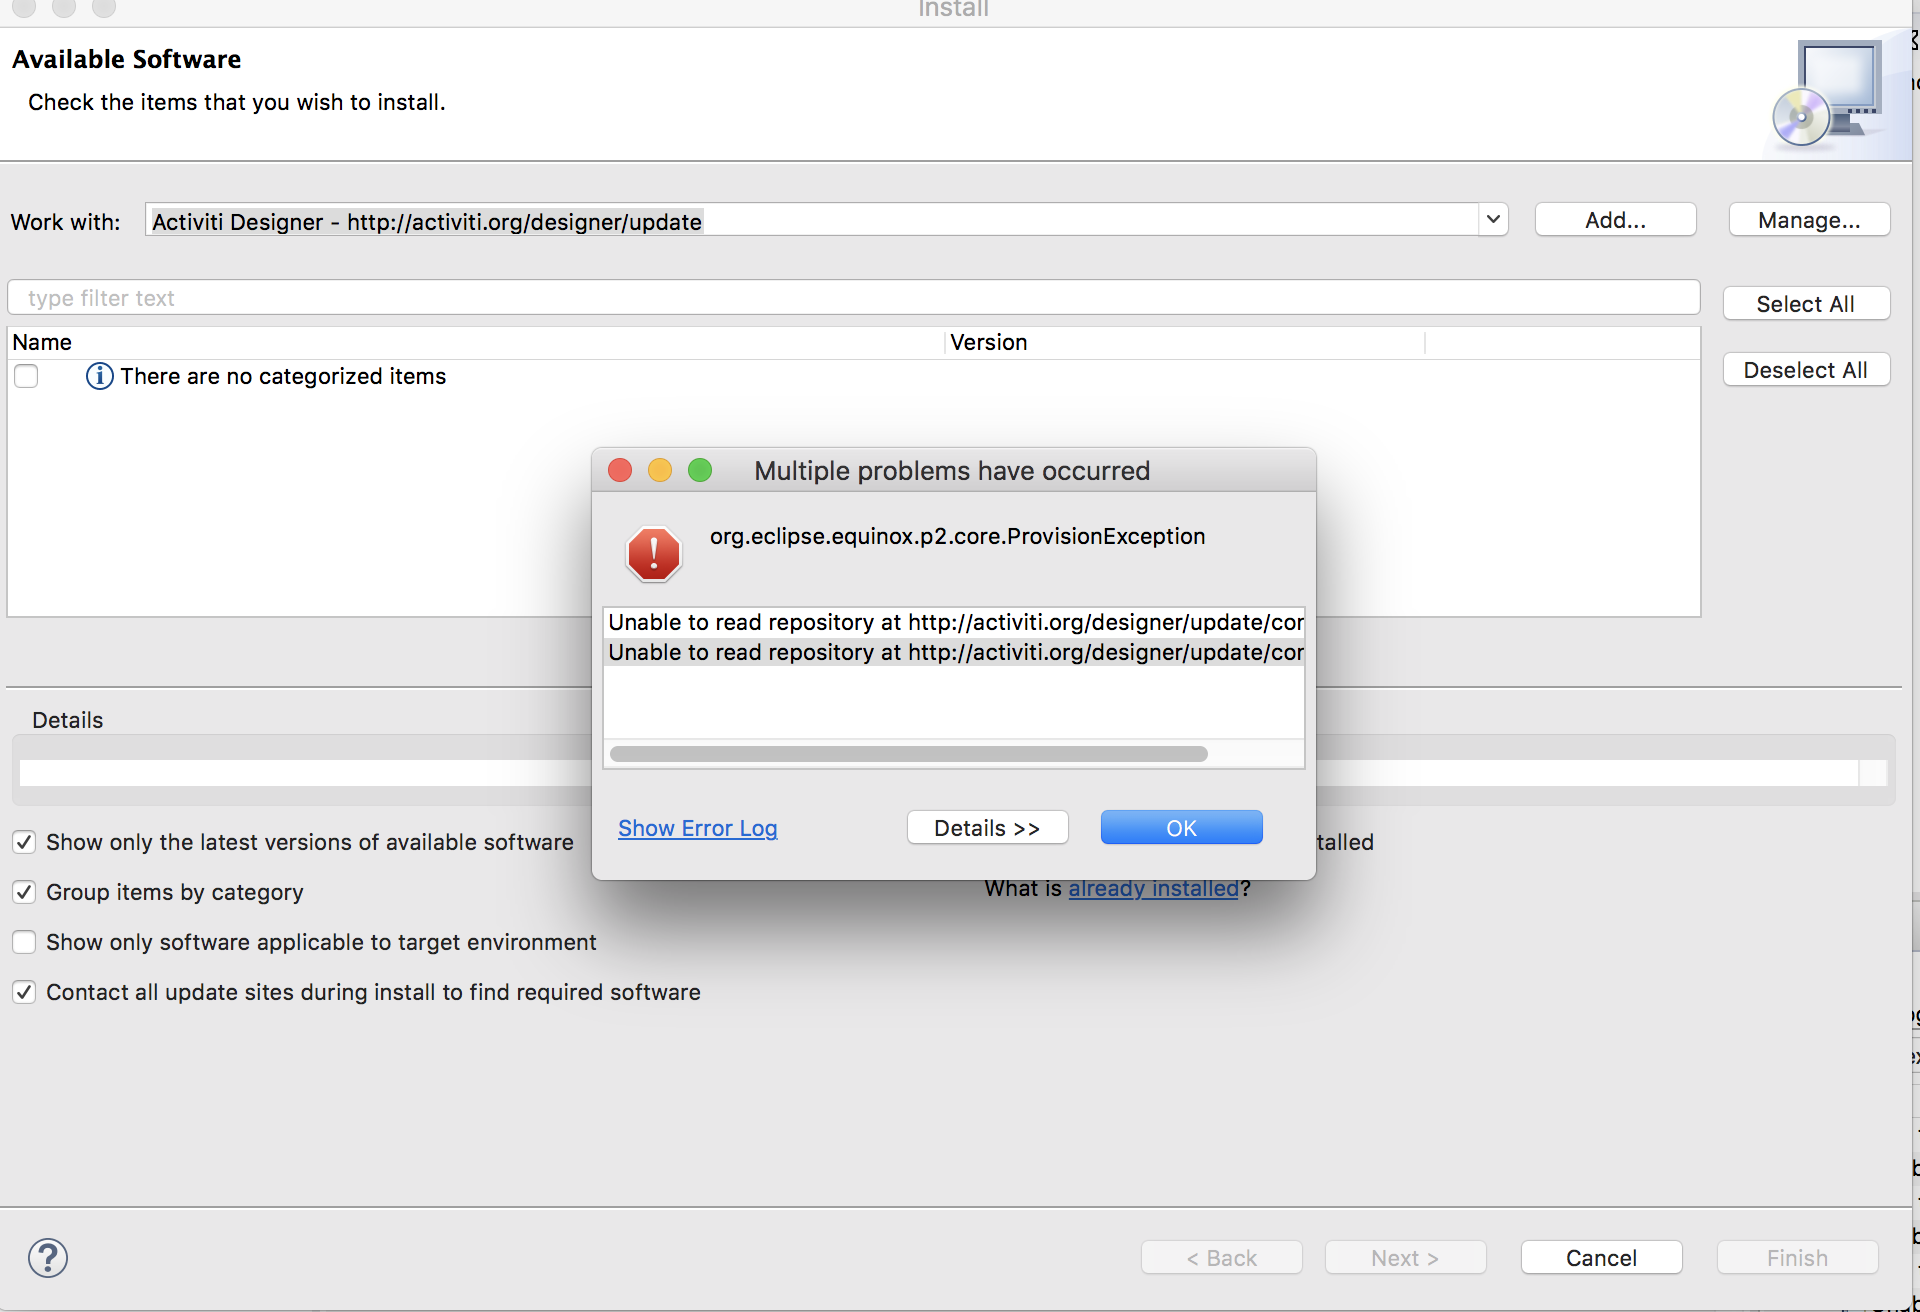
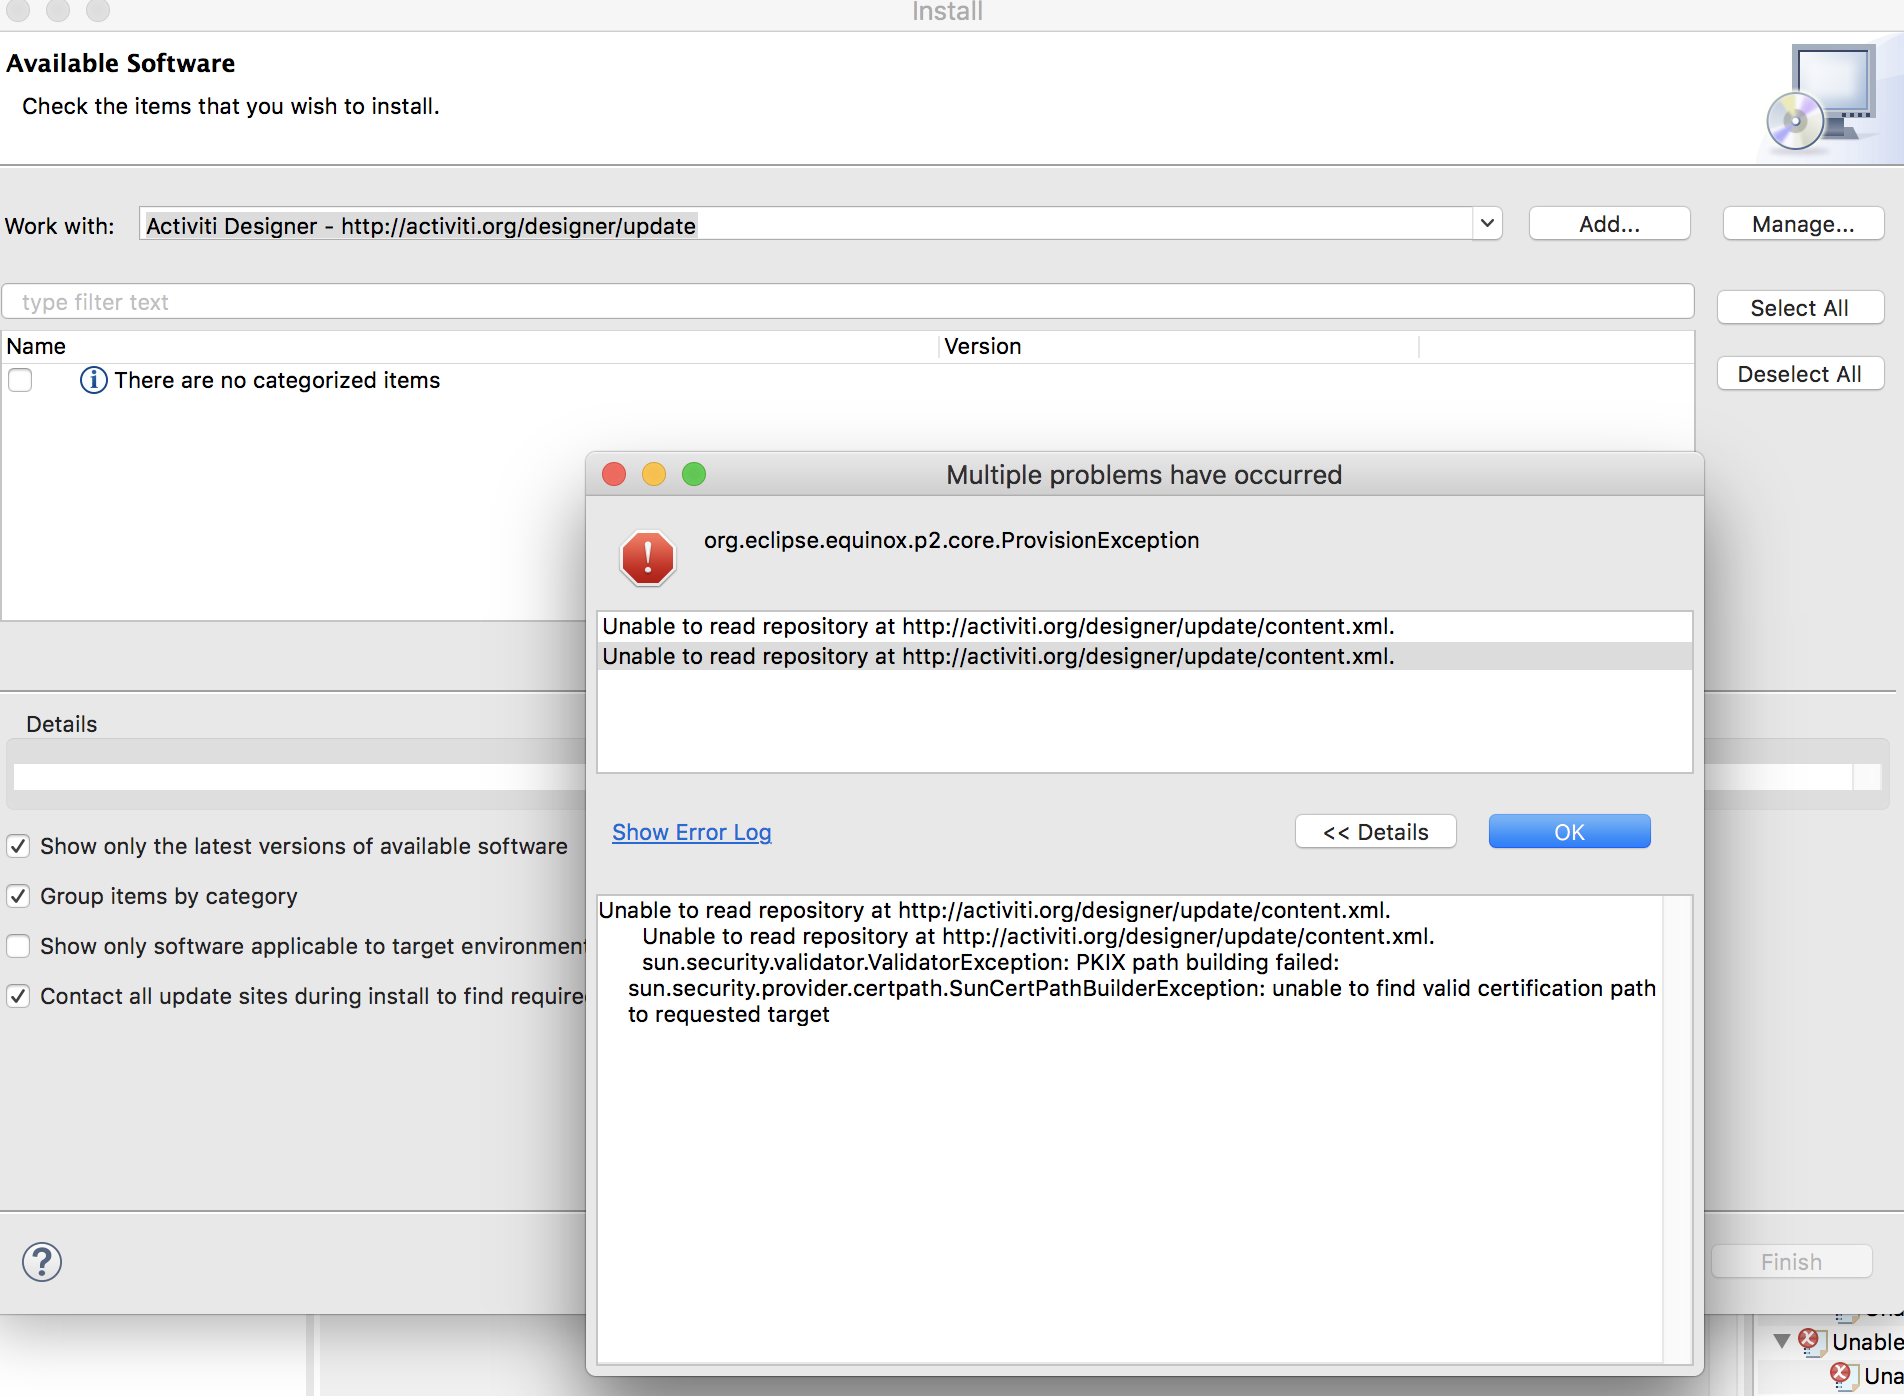
-
Click . Connect to external / hotspot and do
-
Select and click
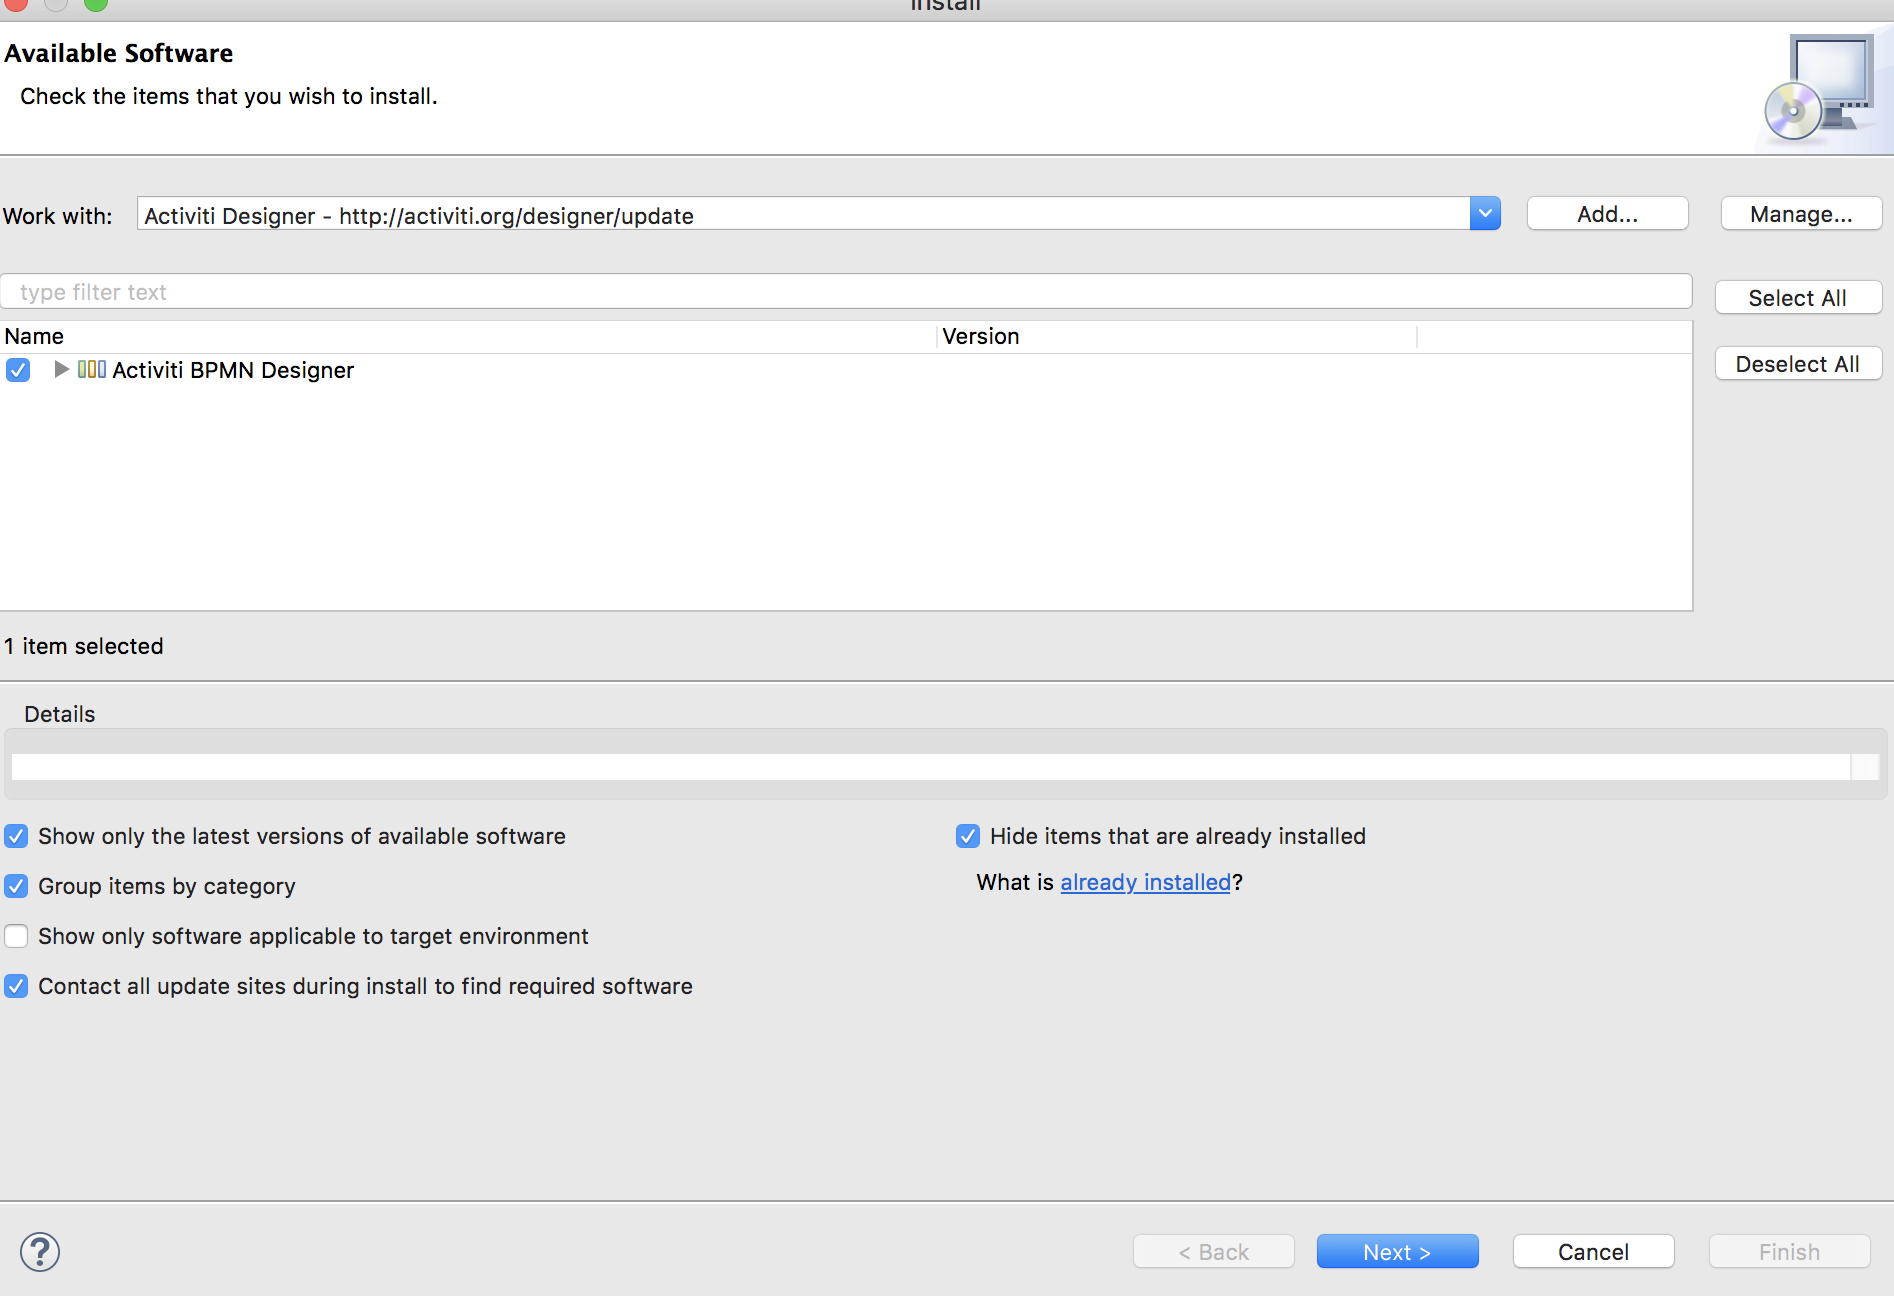
-
Click
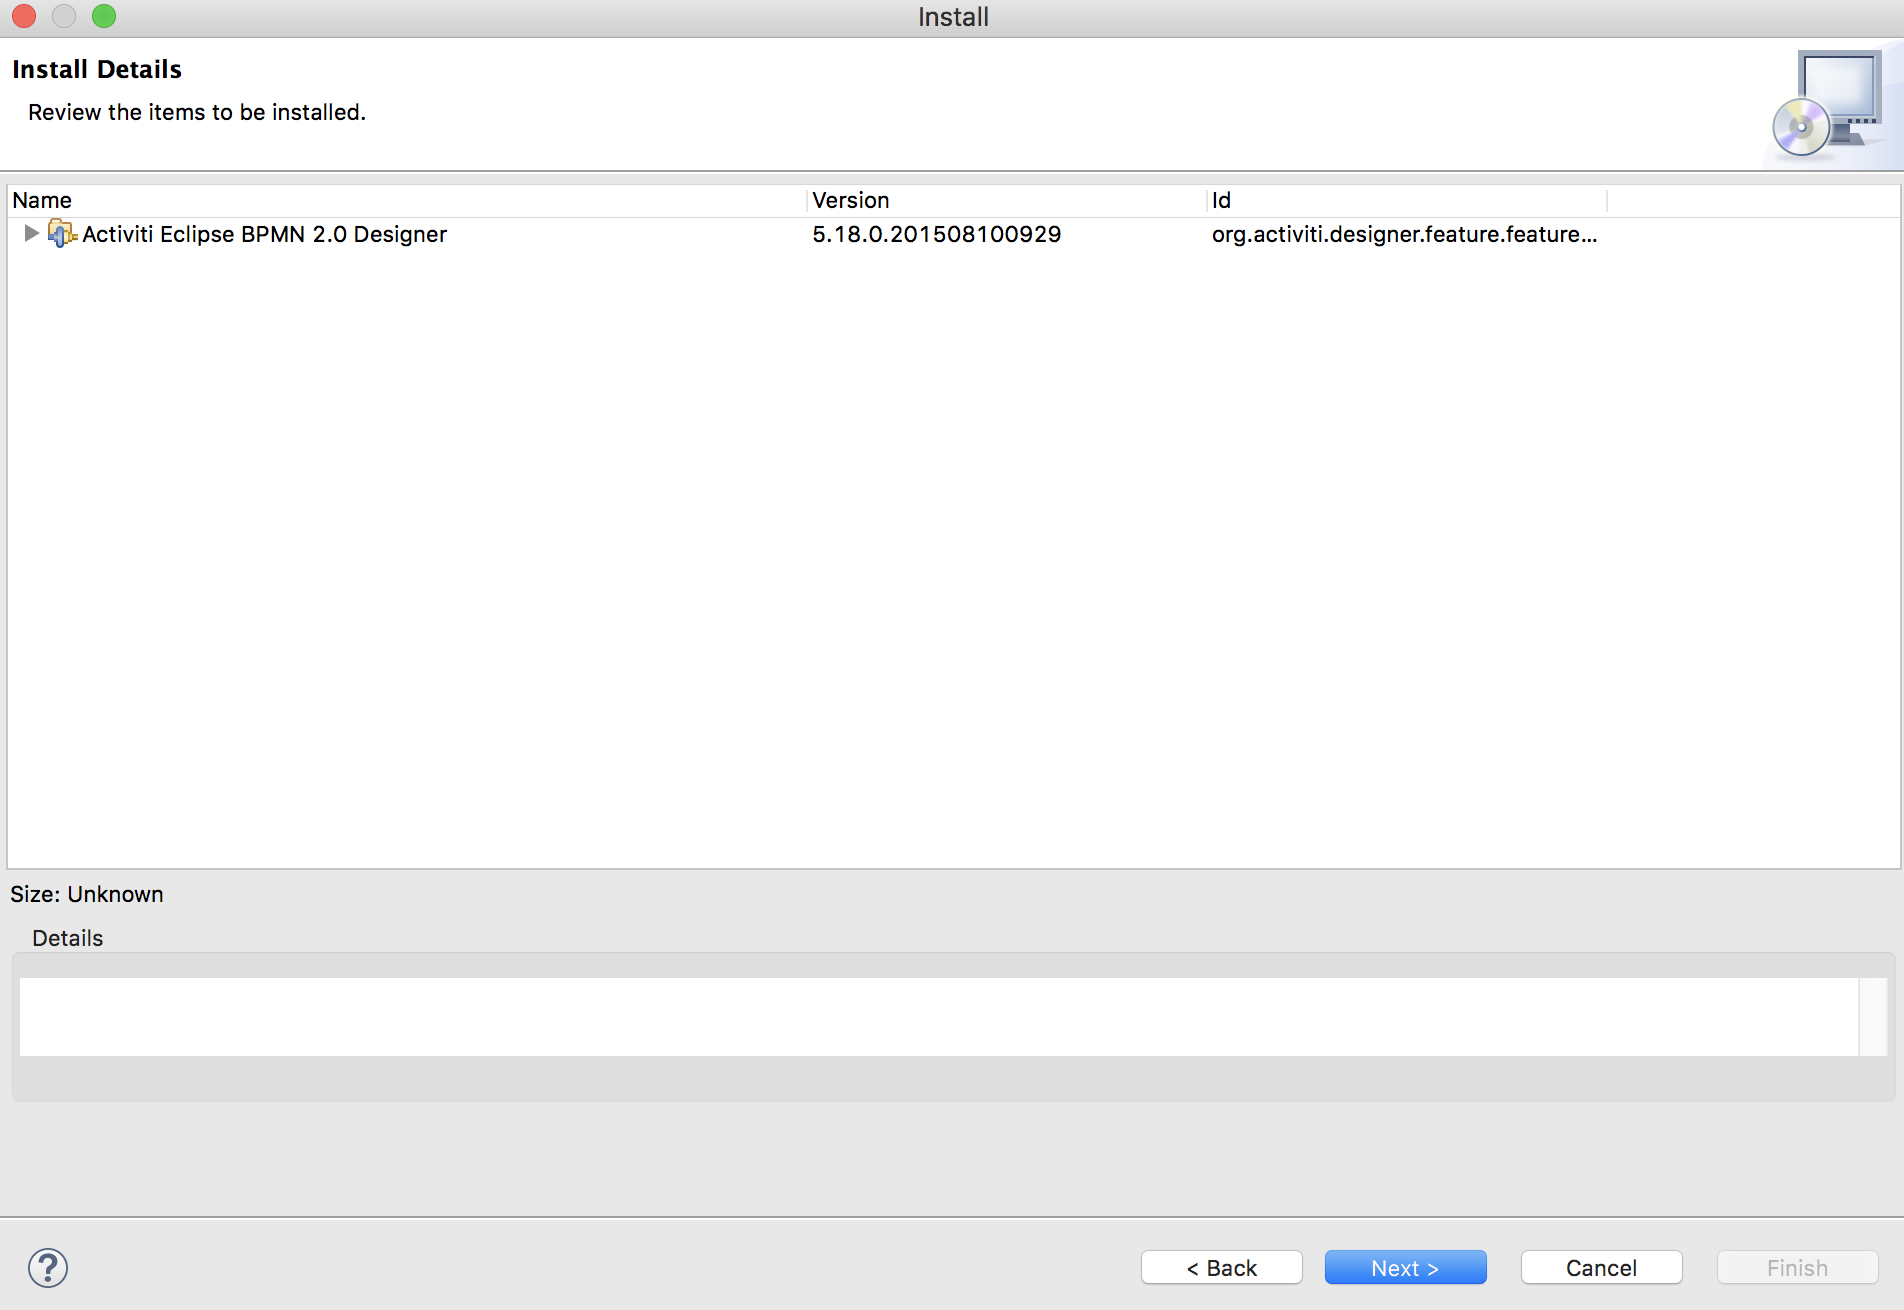
-
Agree the Terms and Conditions and Click
-
Click in the warning message.
-
Restart in the warning message.
-
is installed!
Installation of Visual Studio Code
-
You may require for installation of
-
Go to https://code.visualstudio.com/ . Click
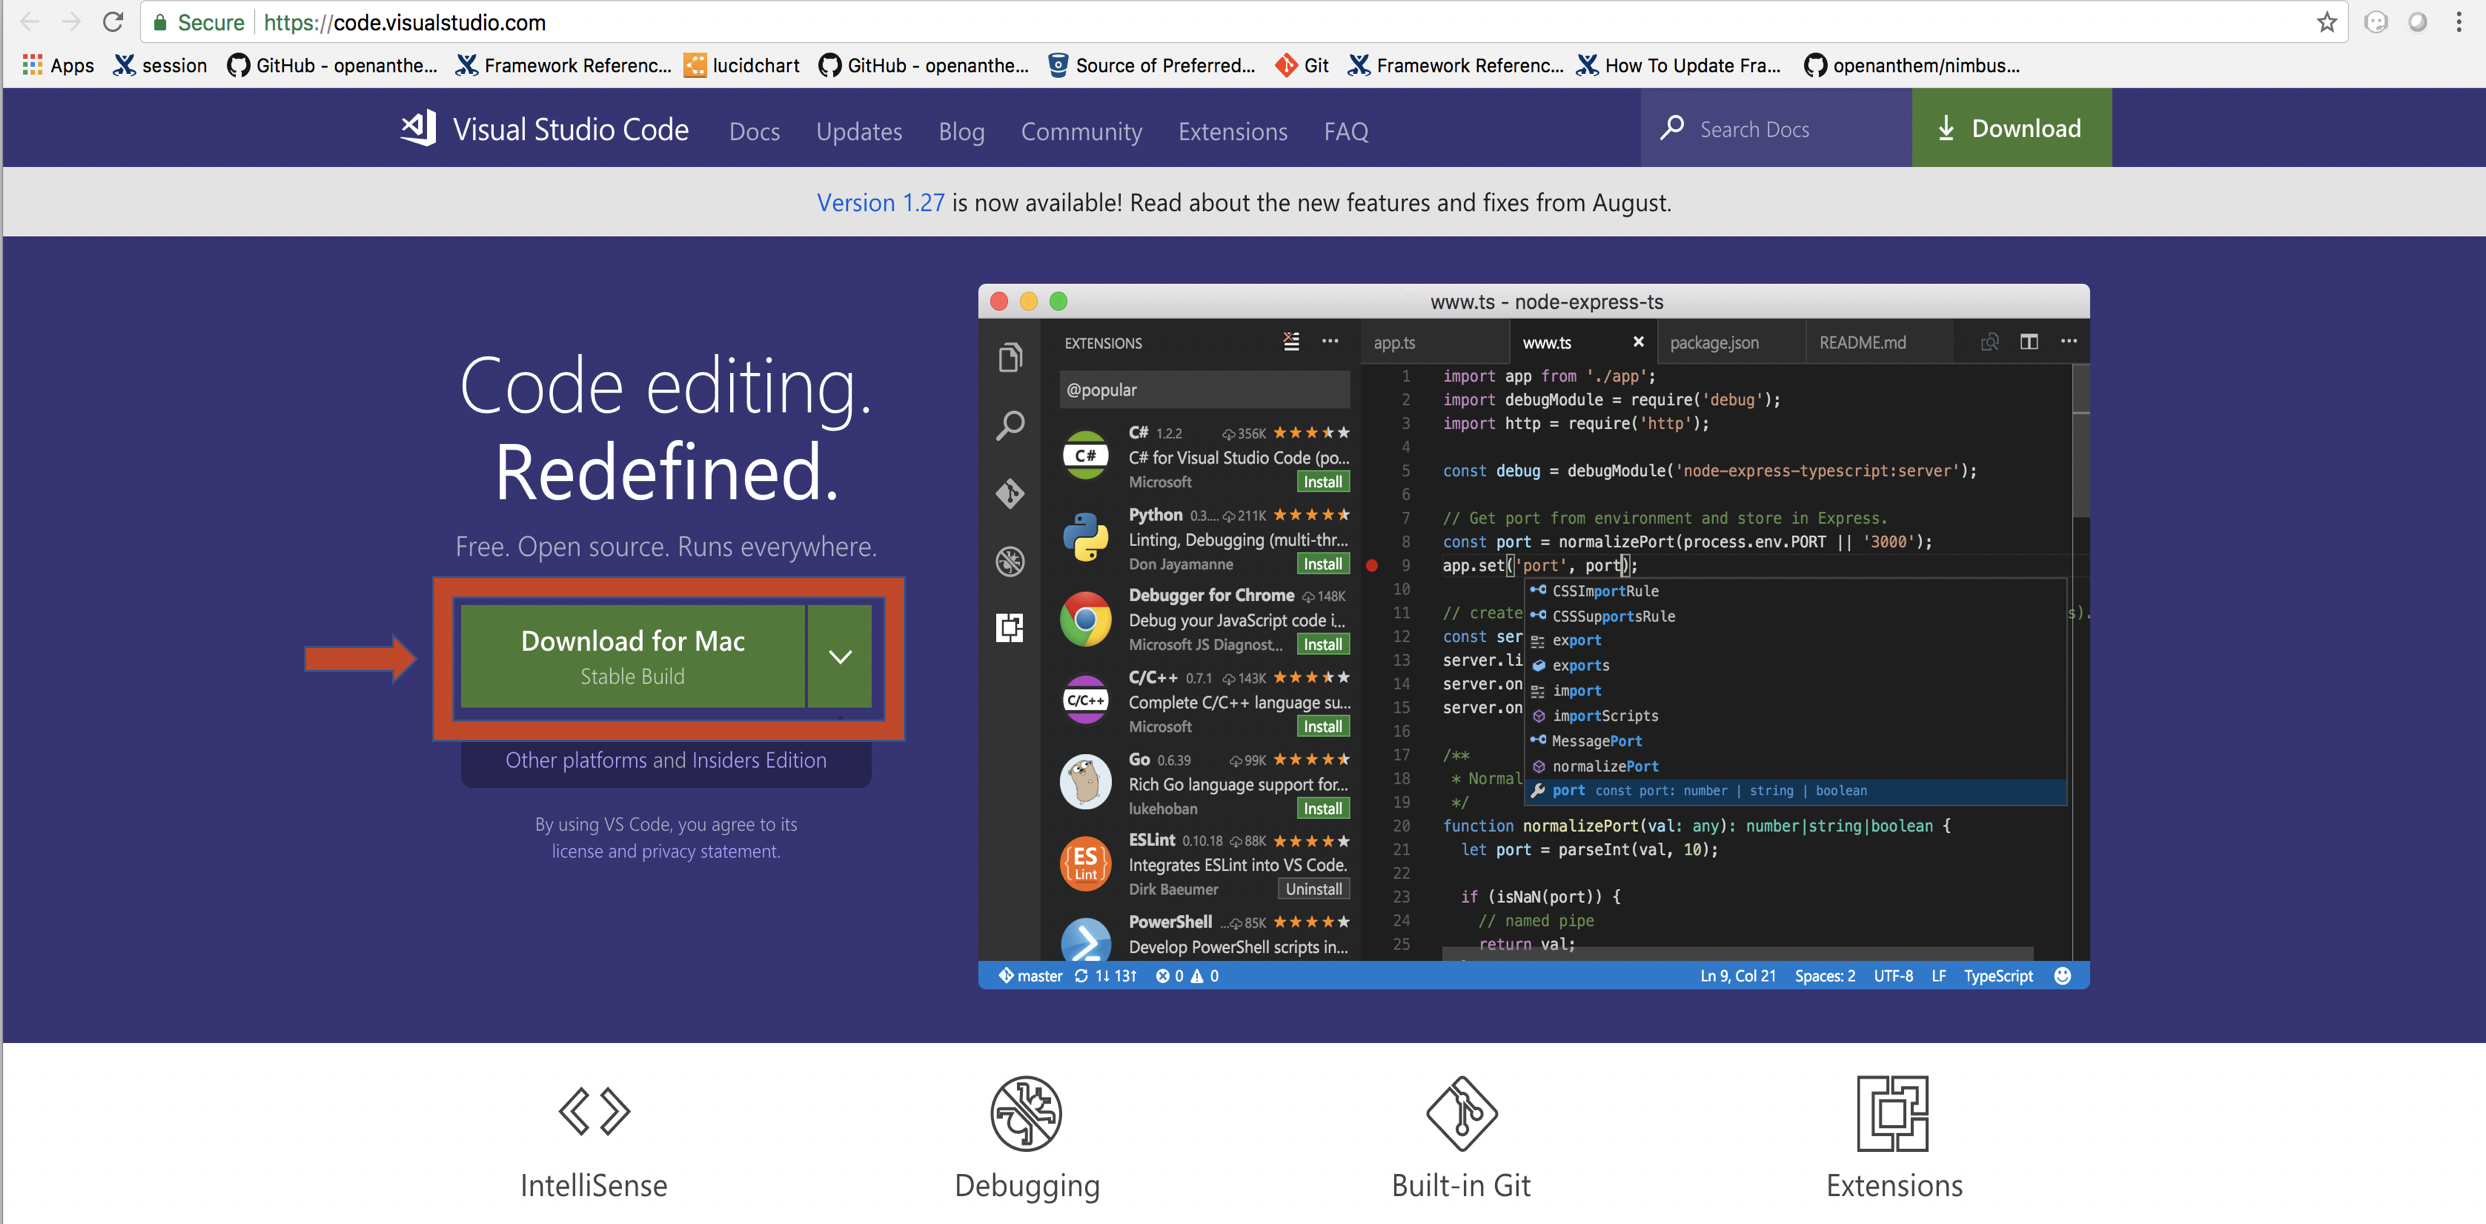
-
would be downloaded.
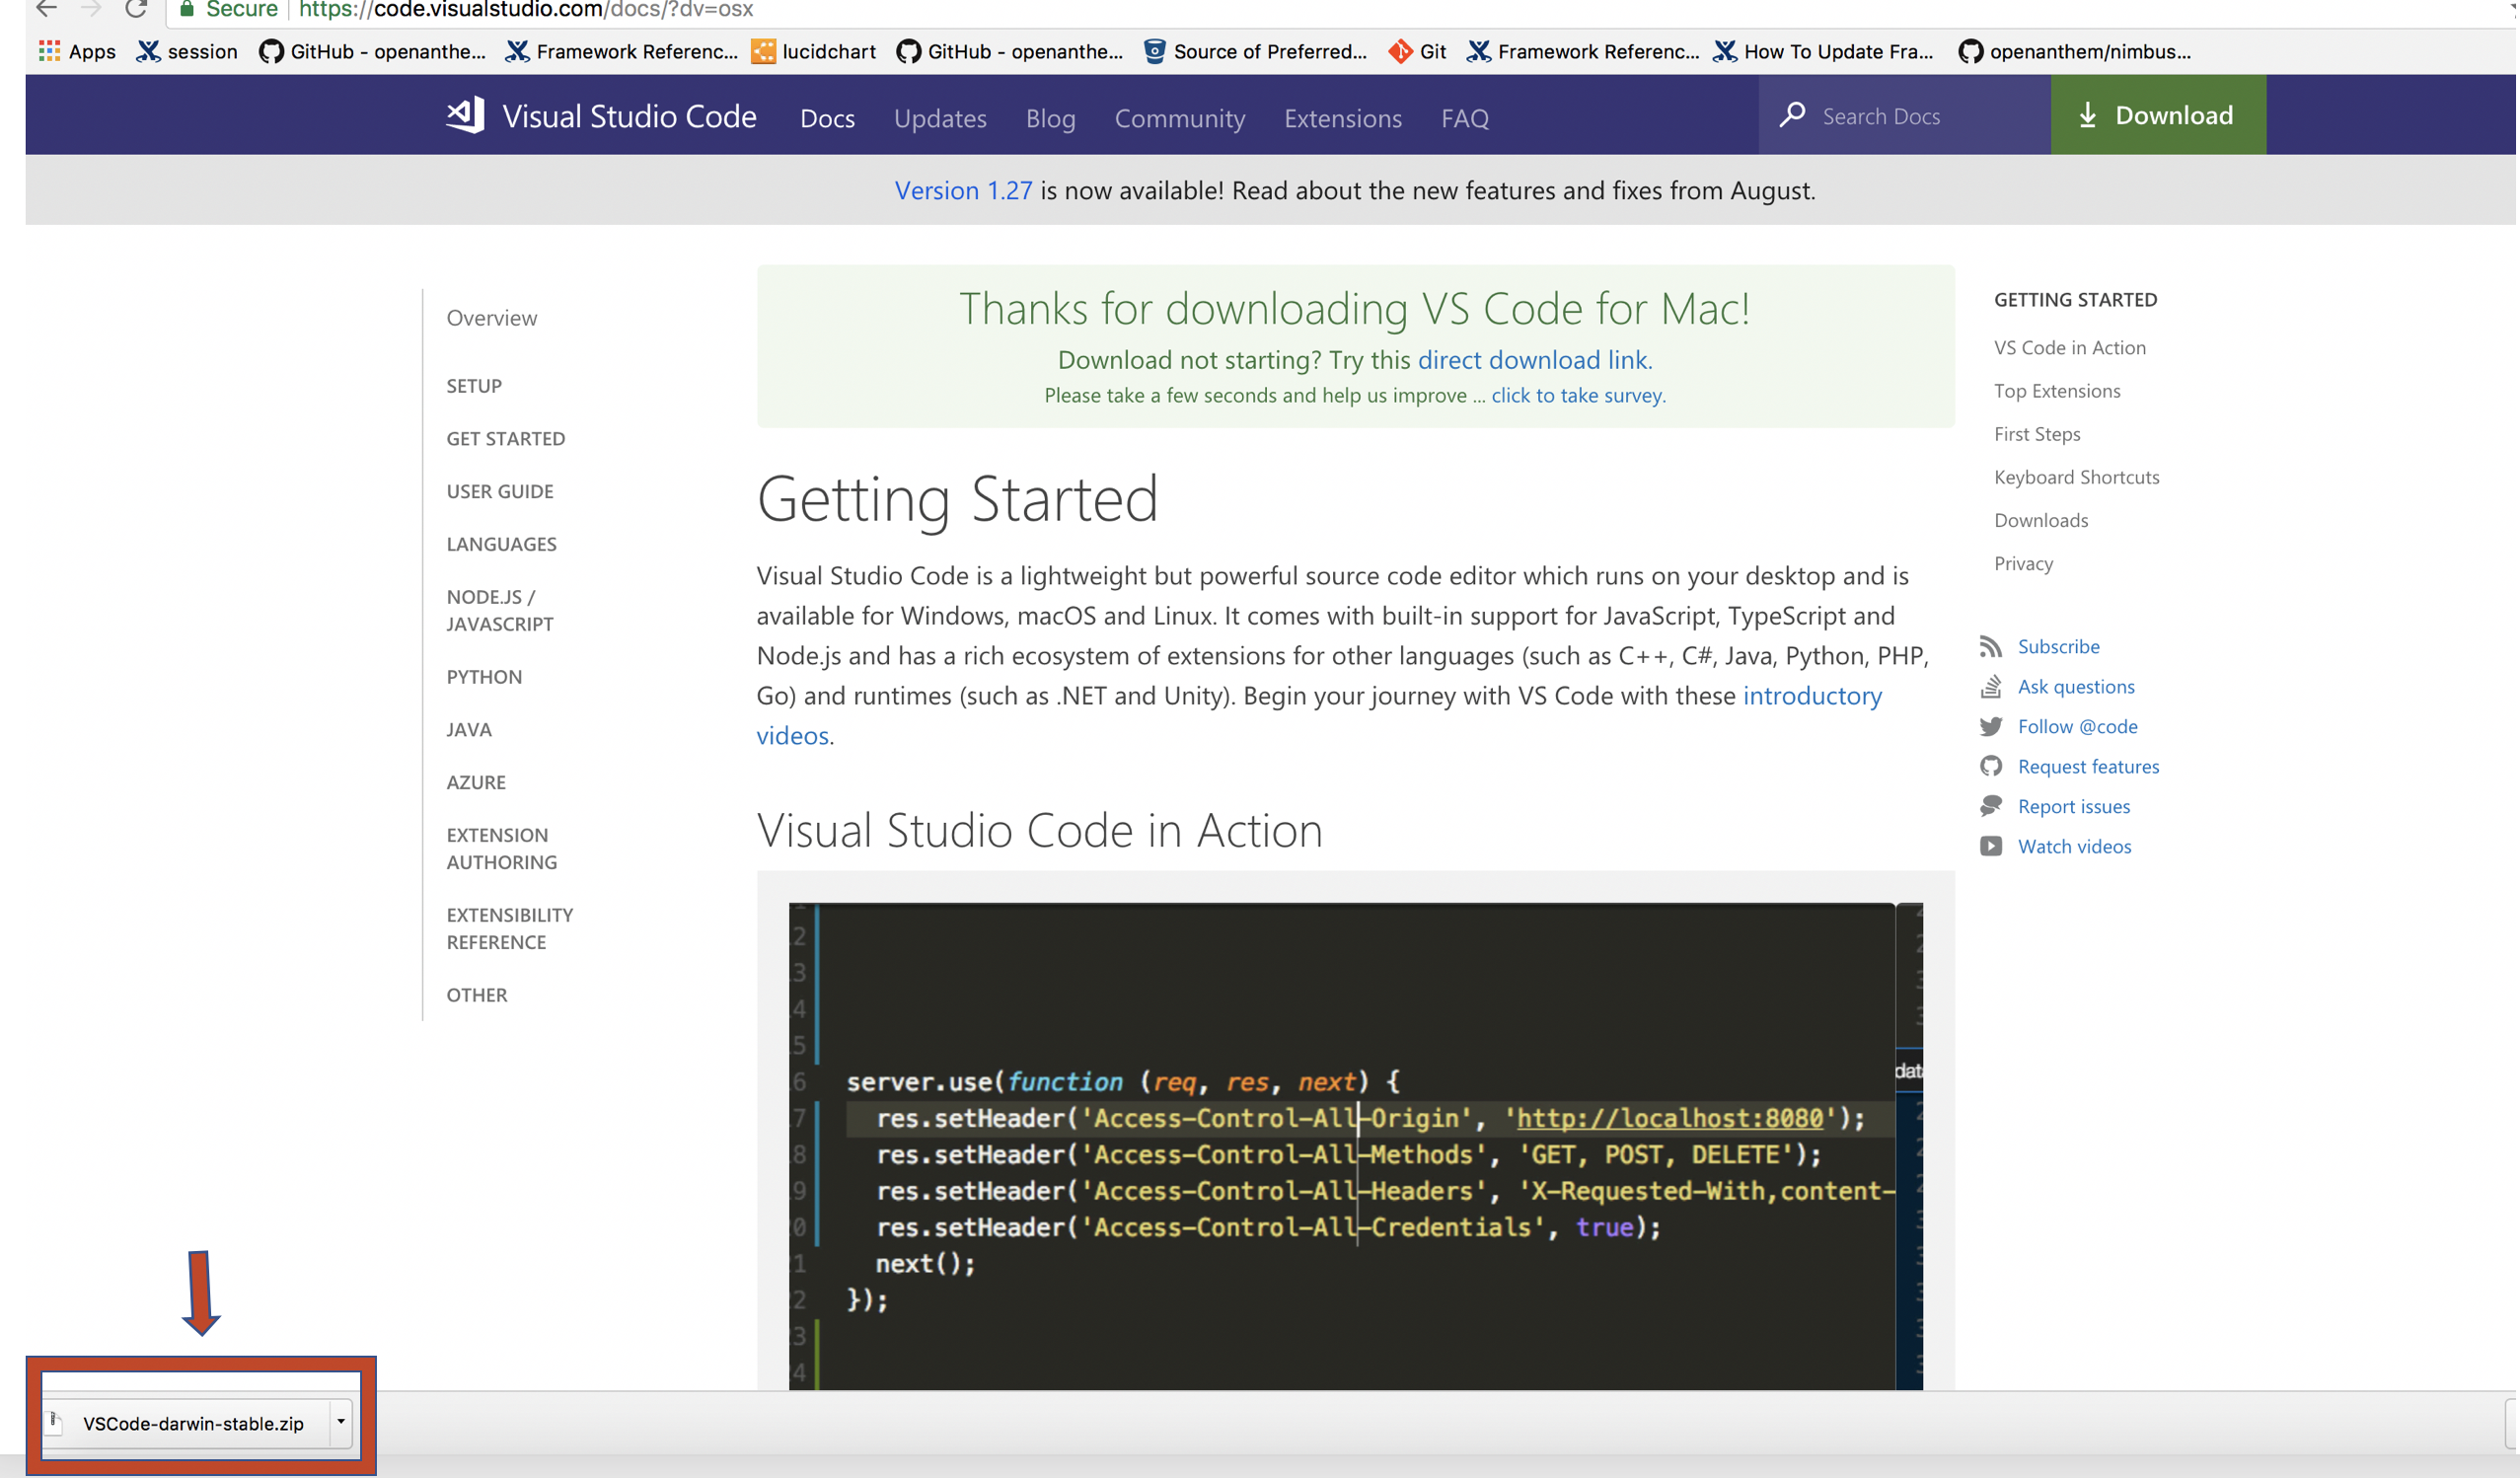
-
Double click
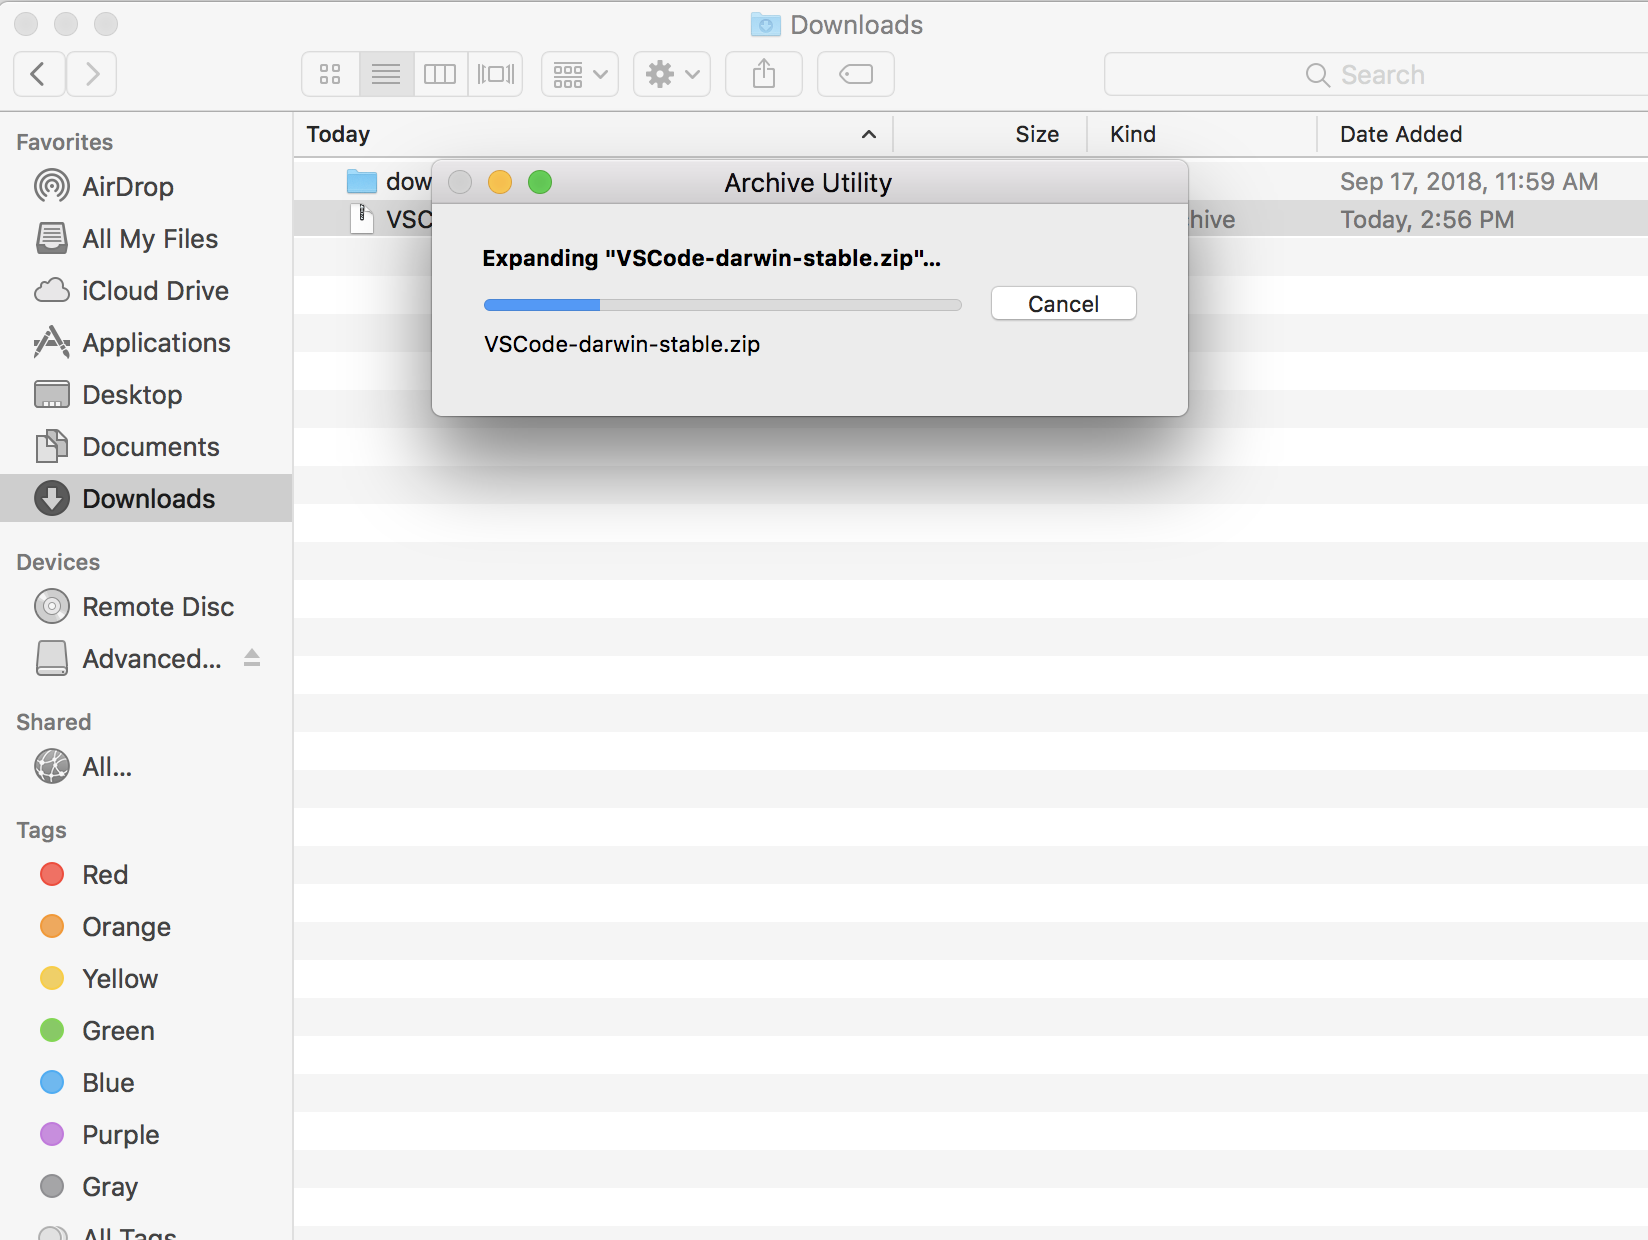
-
You can view the application inside the "\Downloads" folder
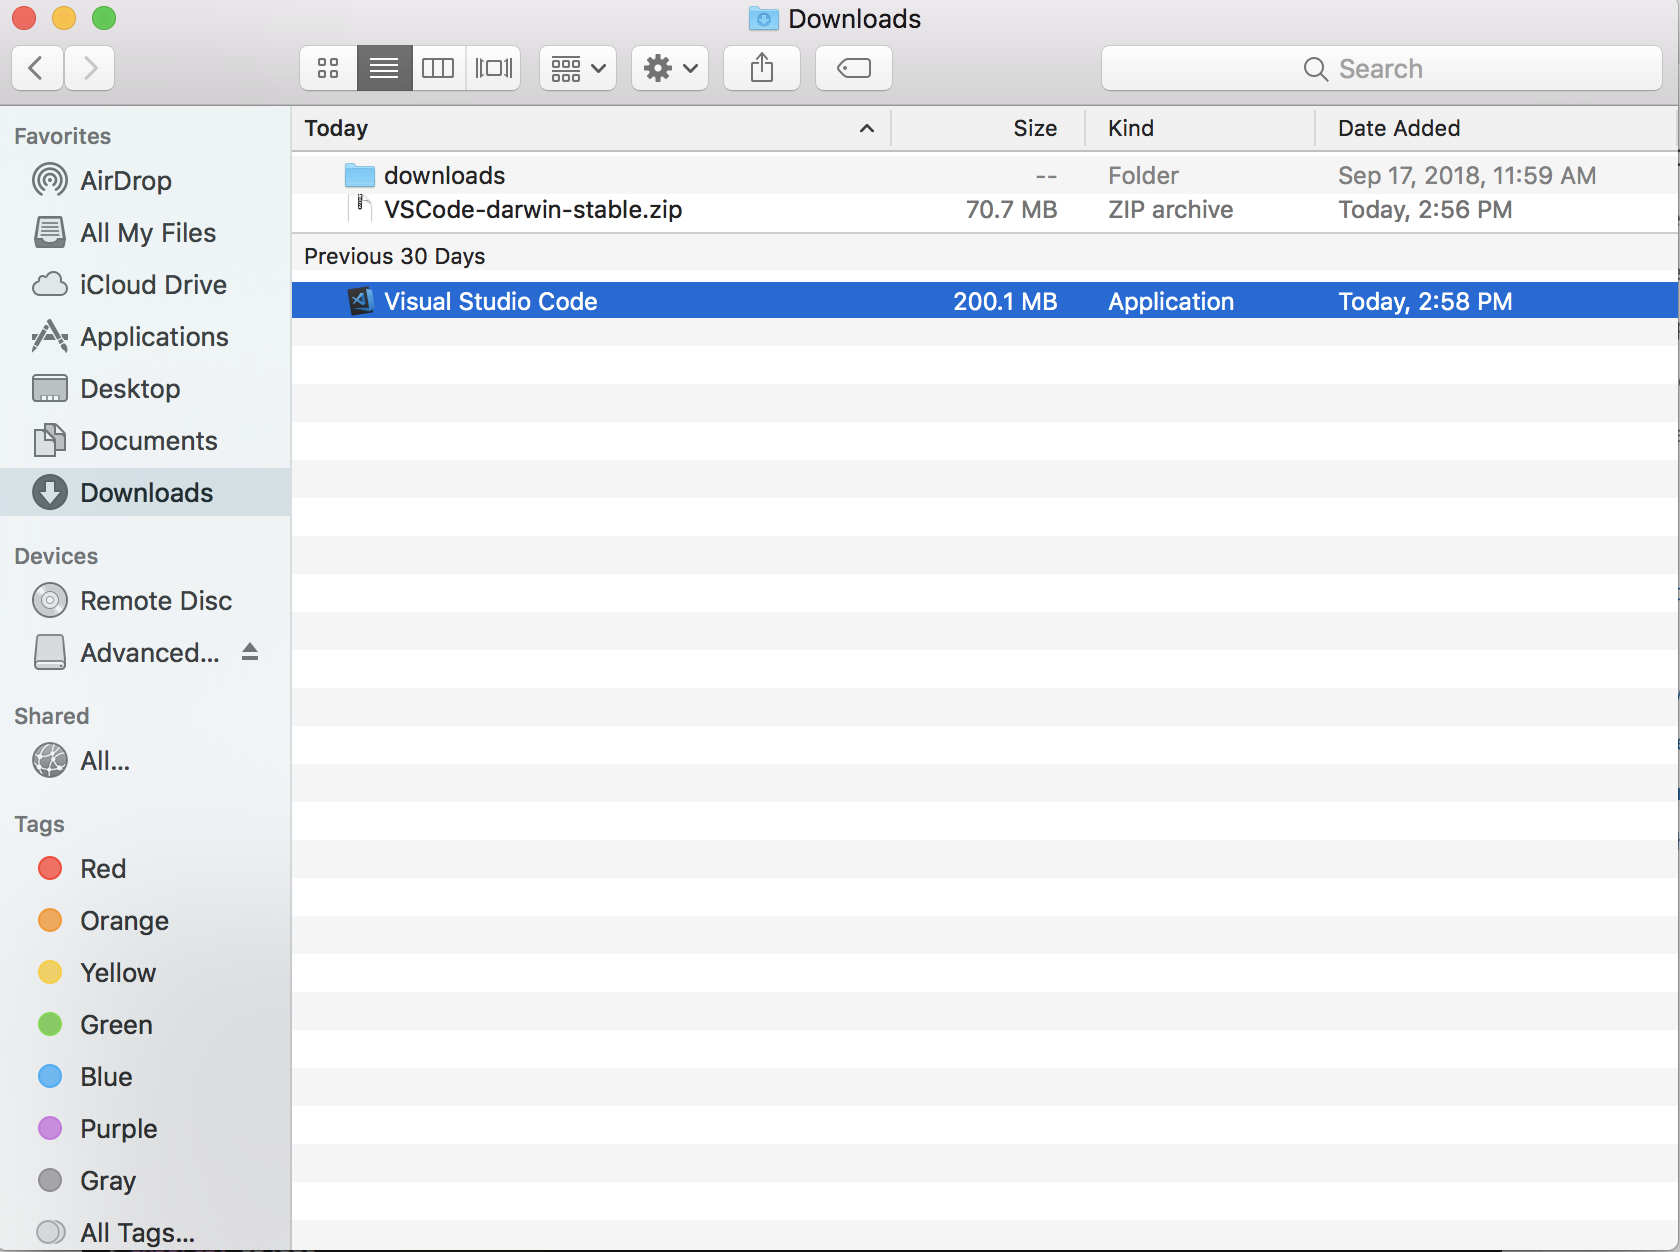
-
Double click and open . Click in the warning message.
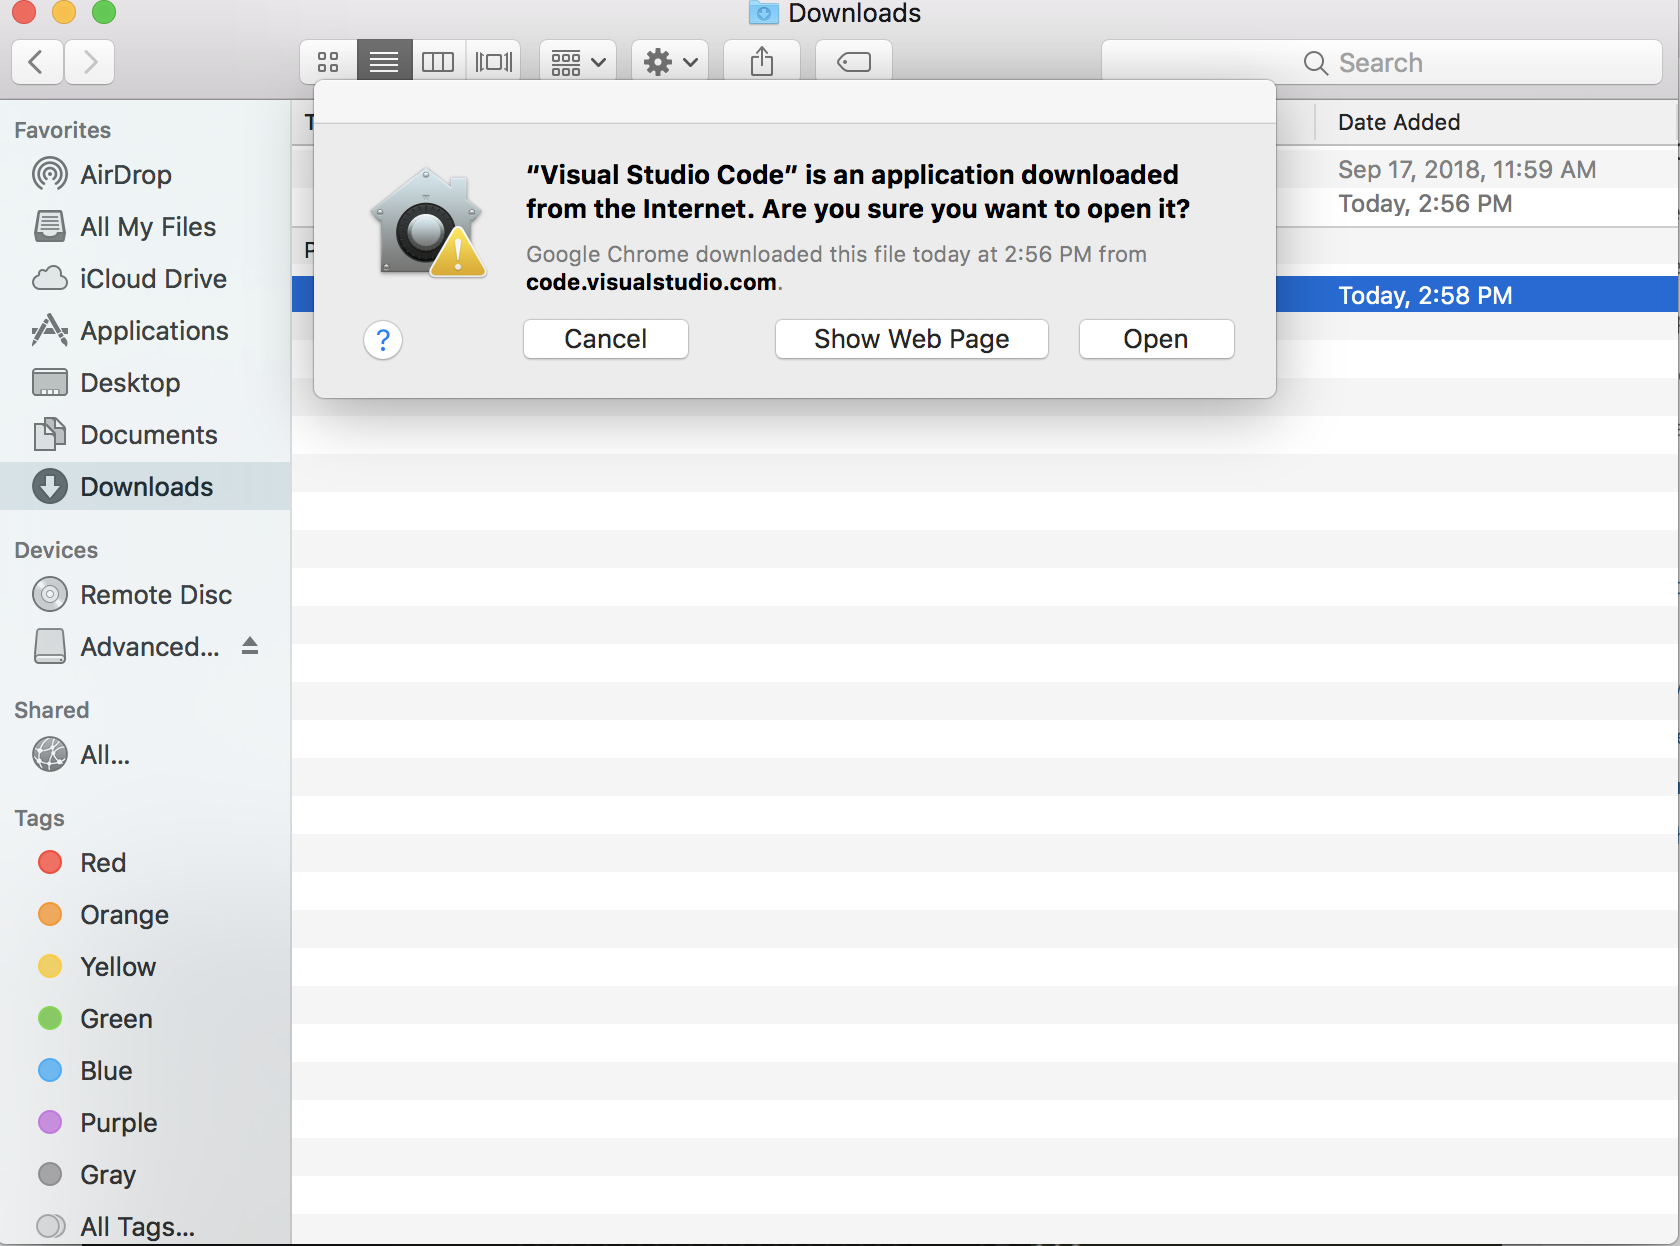
-
will be opened.
-
is installed!
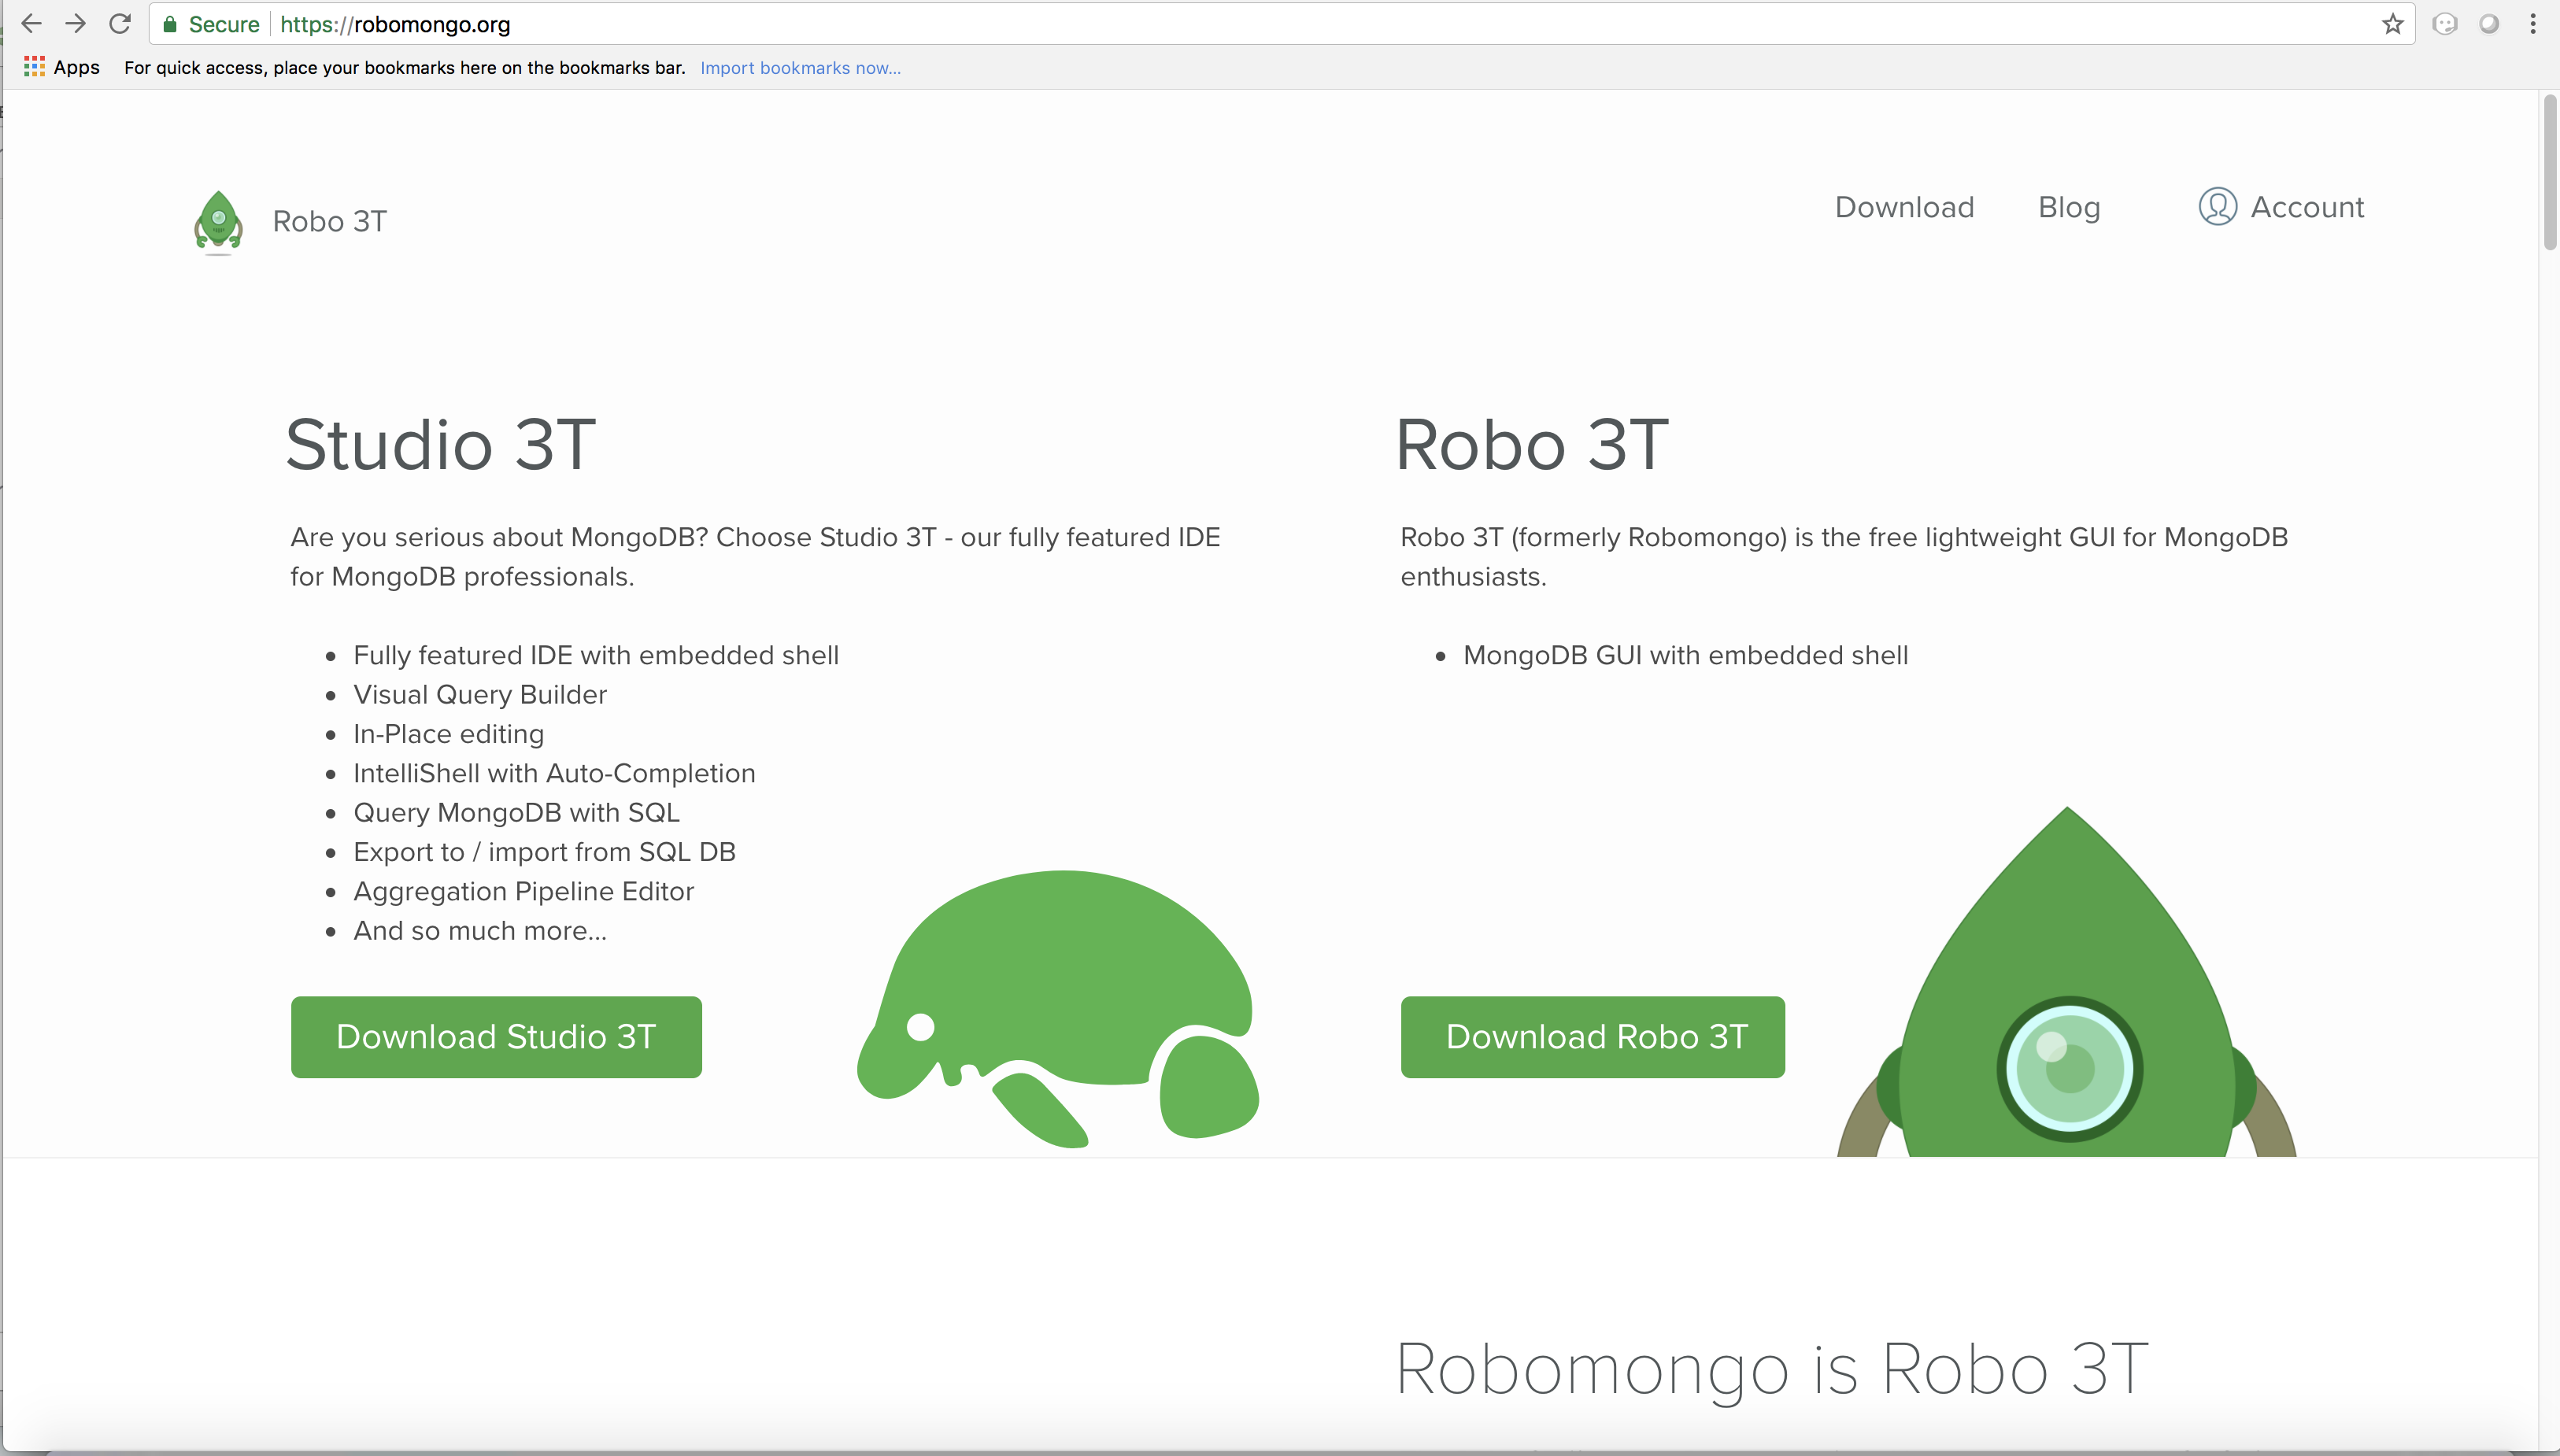
Installation of Robo 3T (DB Client)
-
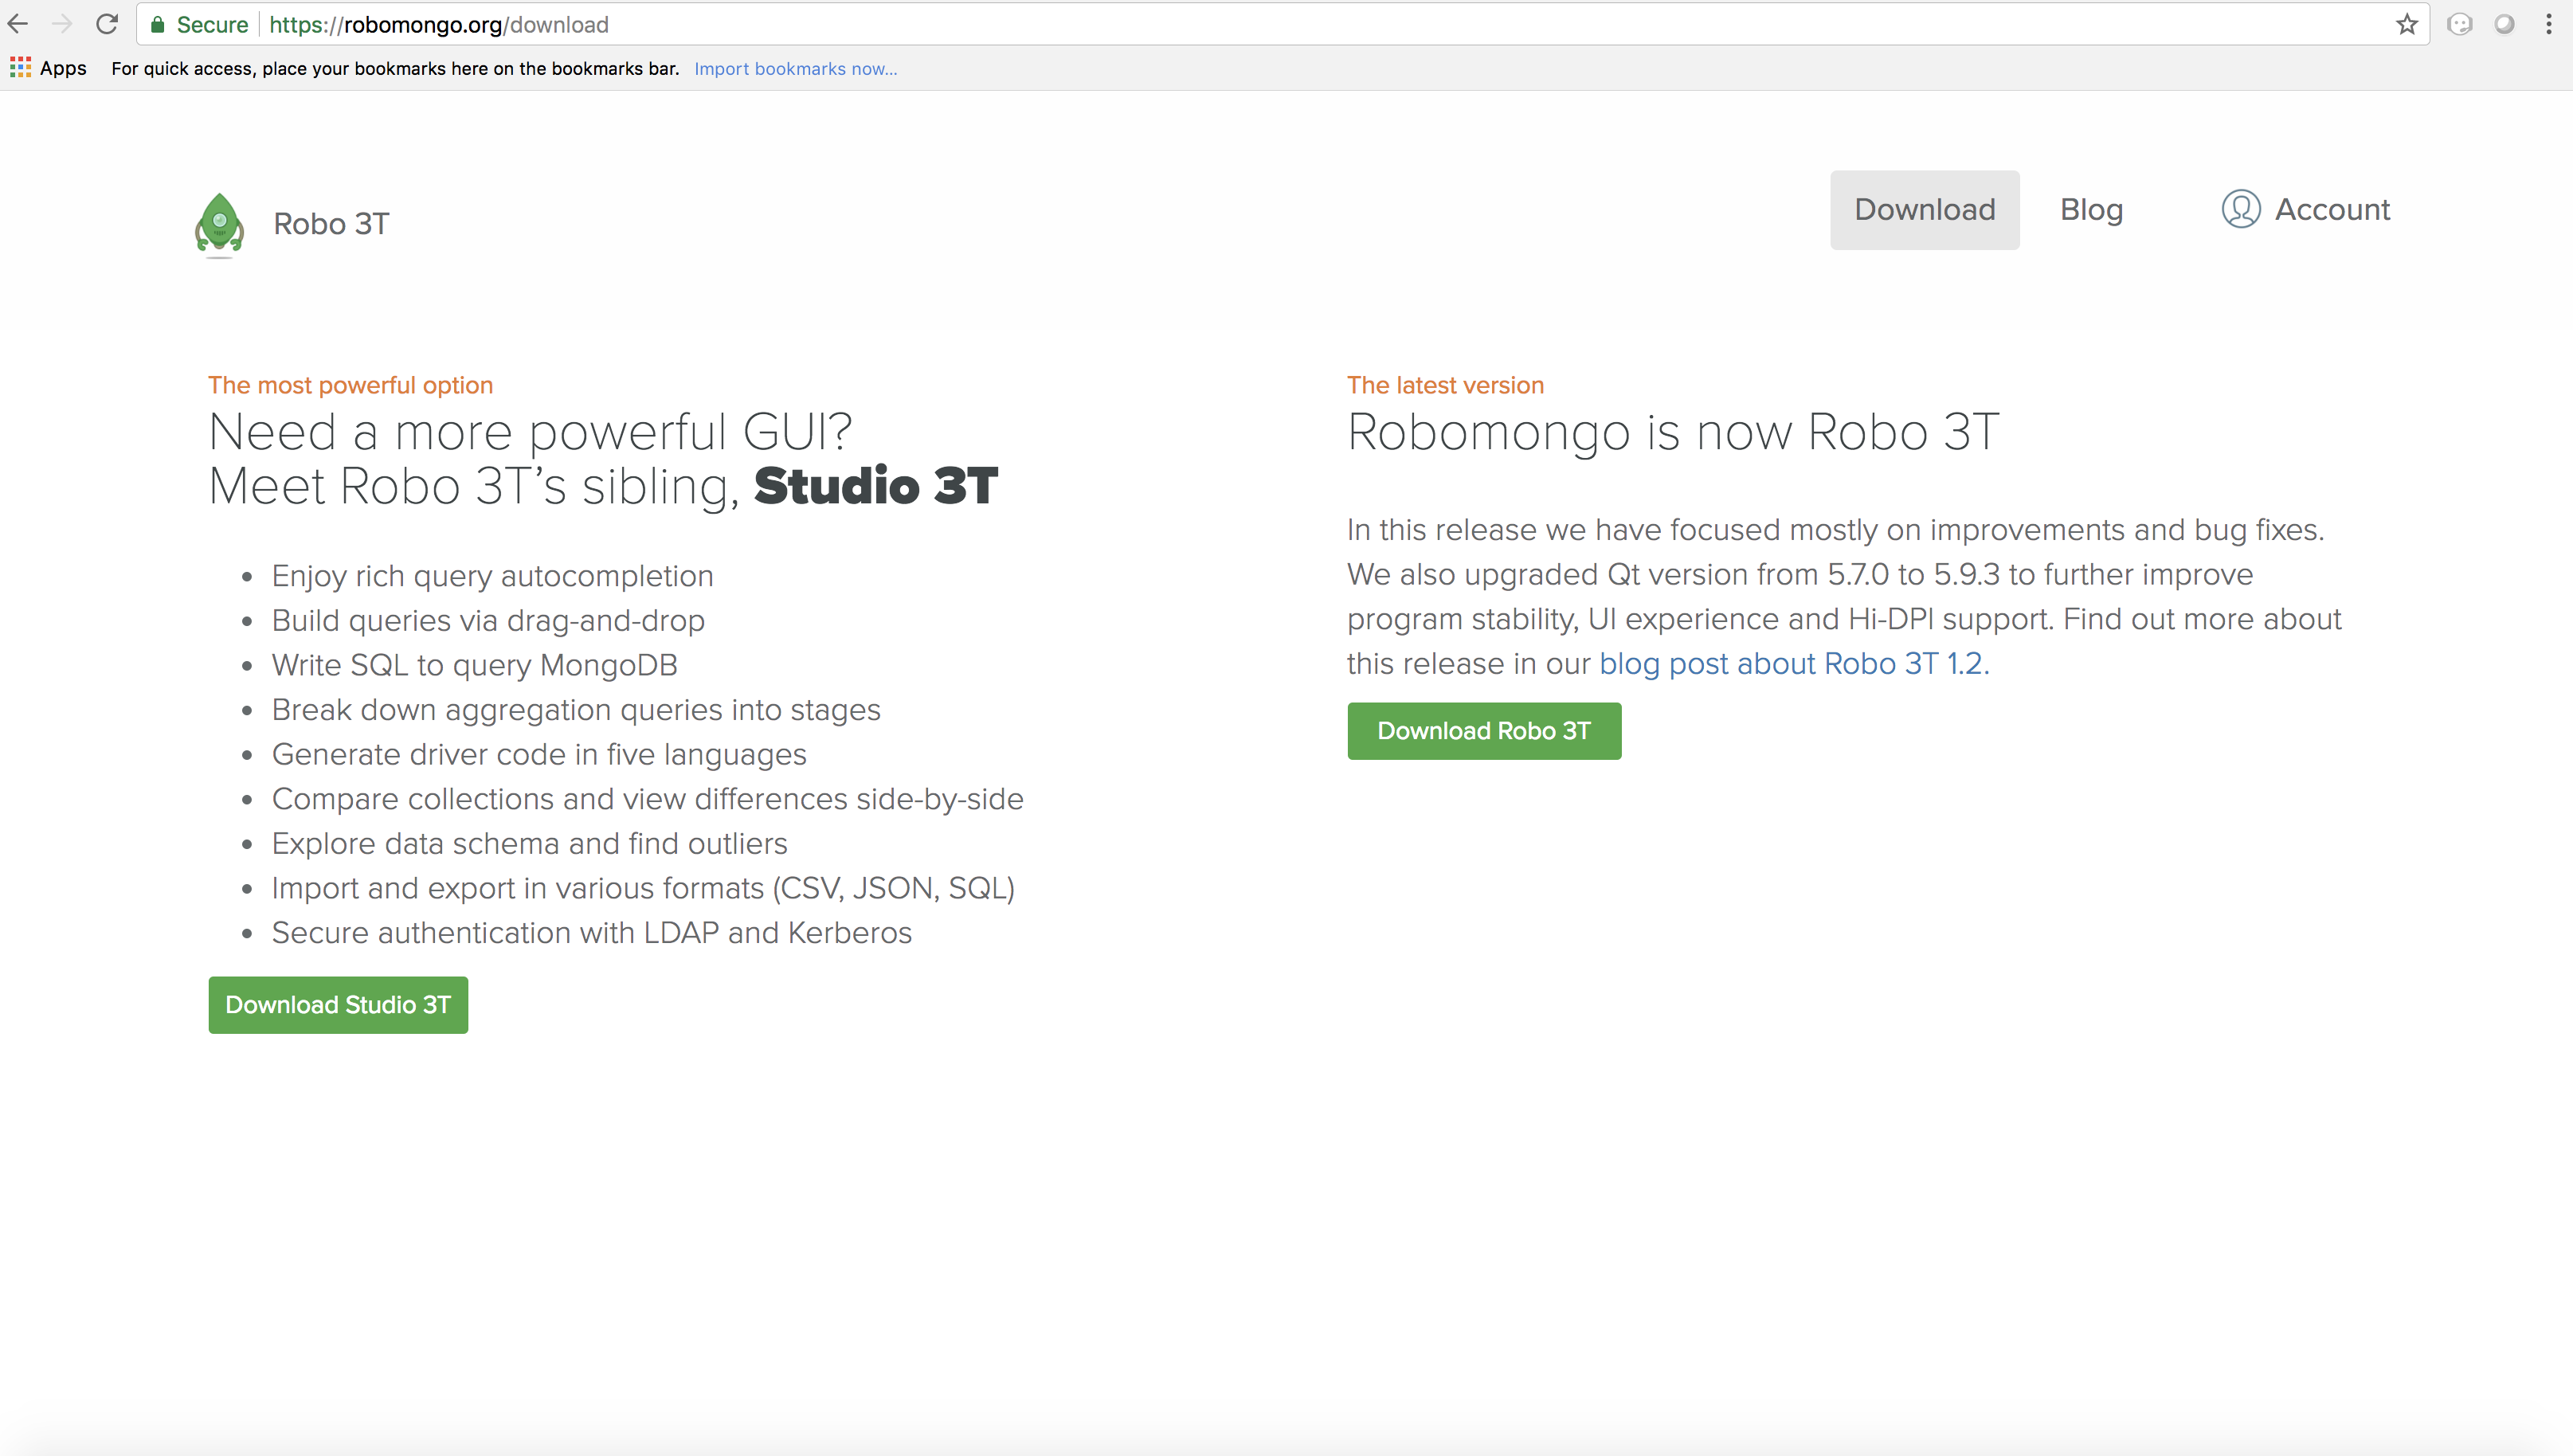
Go to https://robomongo.org/ and click Download Robo 3T
-
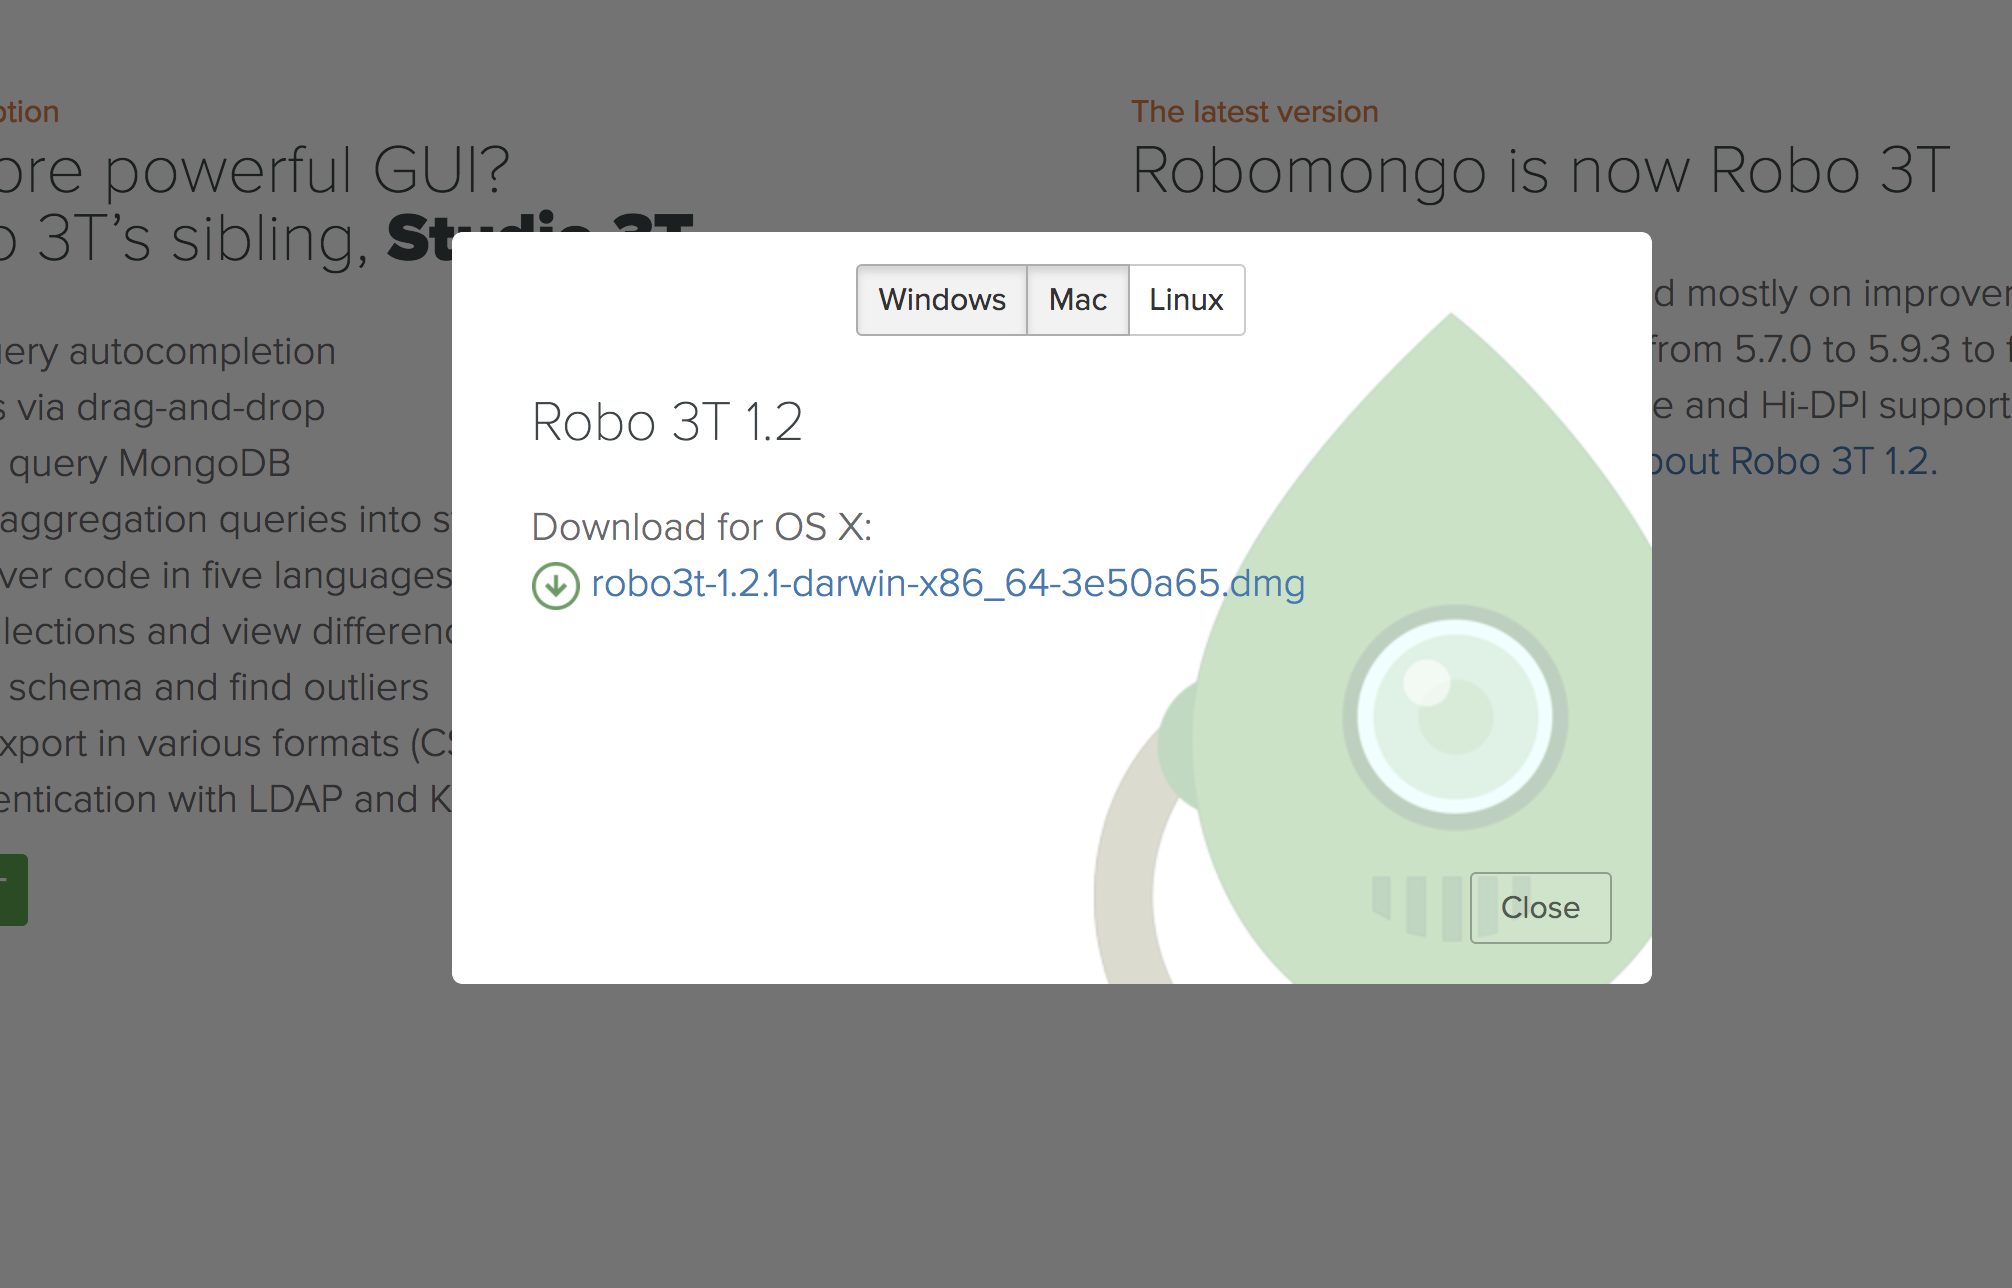
Click
-
Choose the appropriate OS and click on the dmg
-
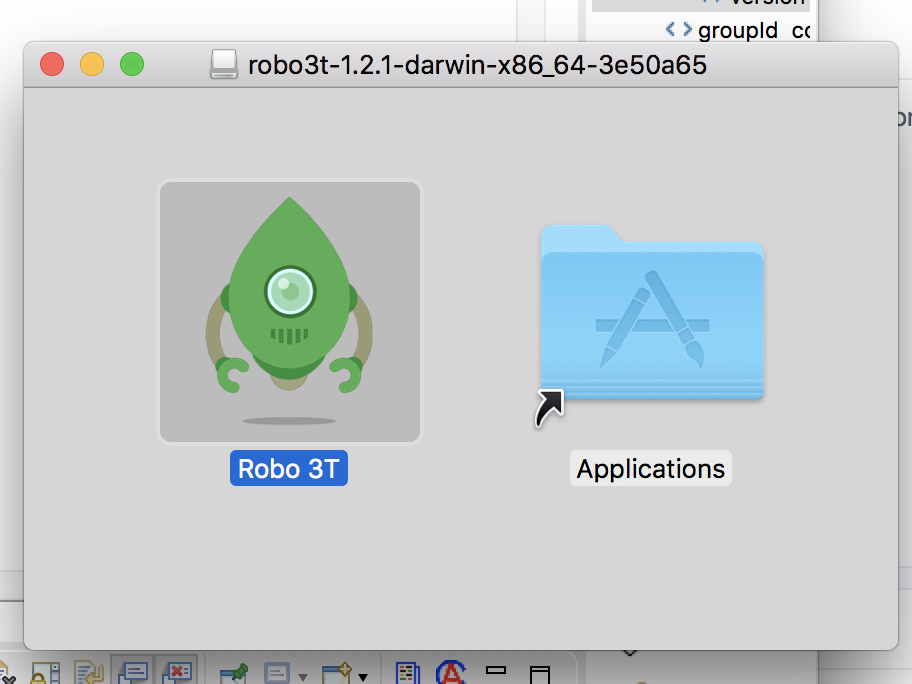
Open the downloaded dmg file . Drag and drop to "\Applications" folder
-
Open and accept the user agreement. Click

-
Click
-
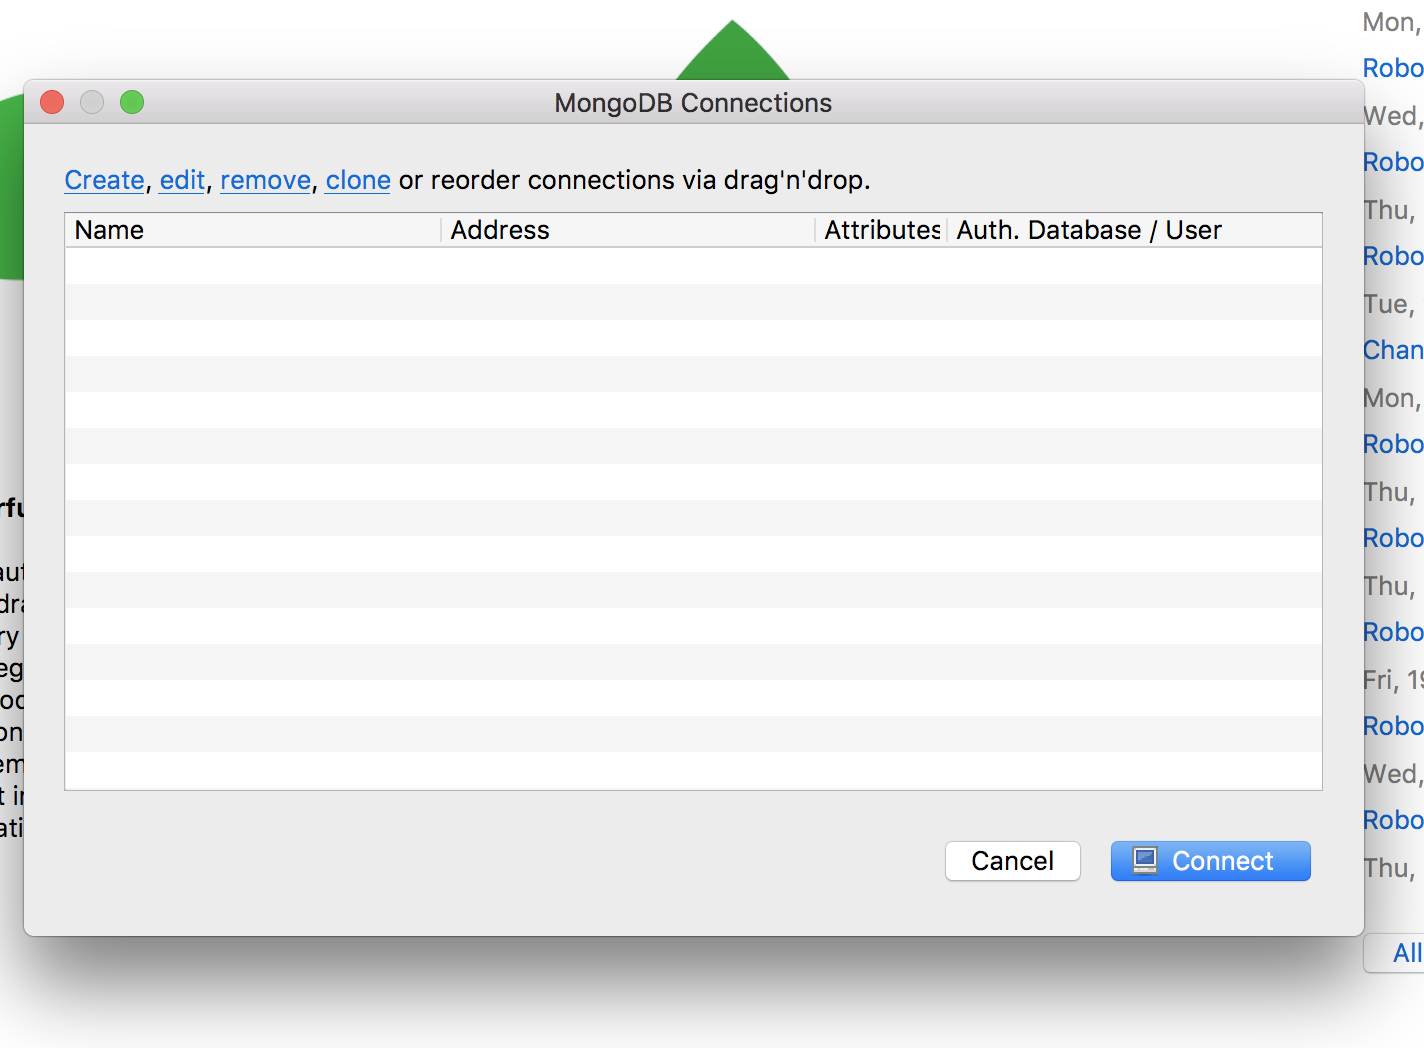
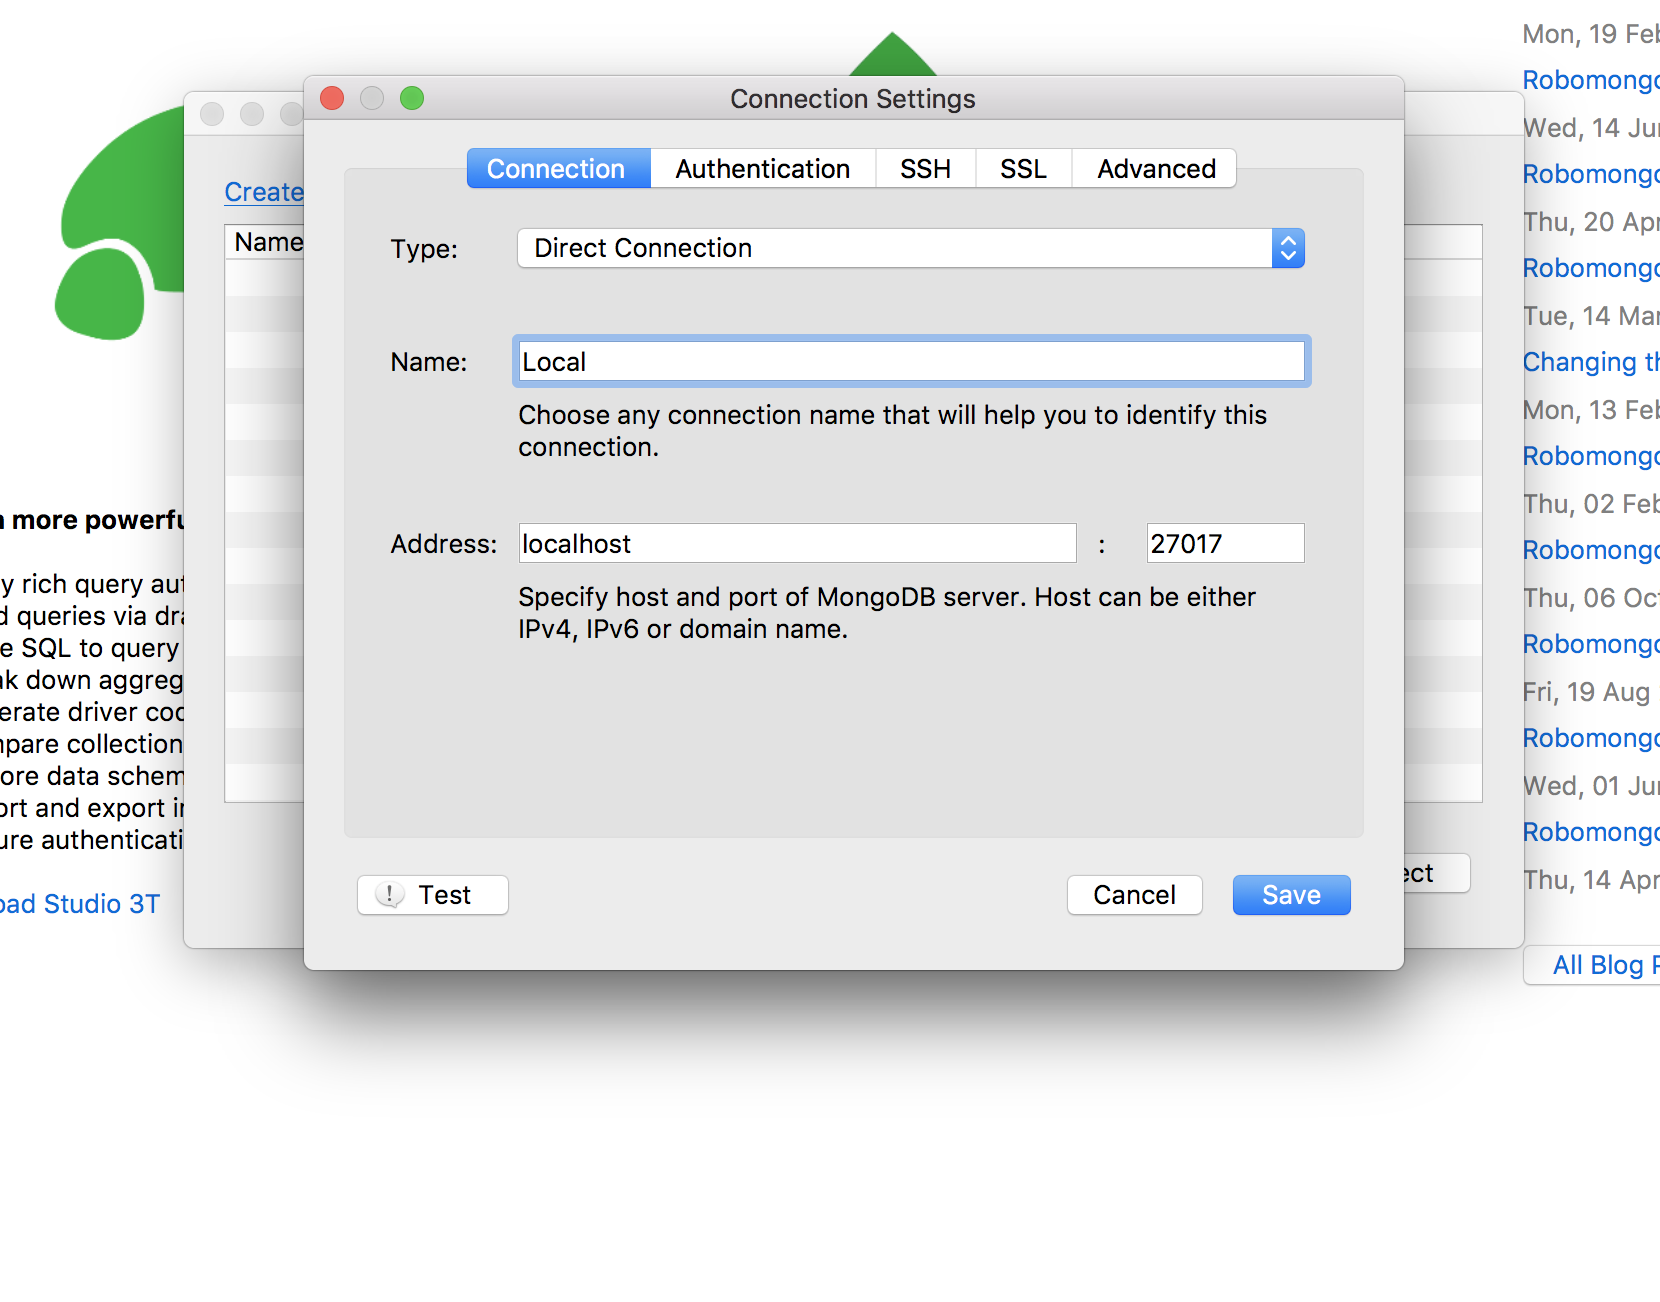
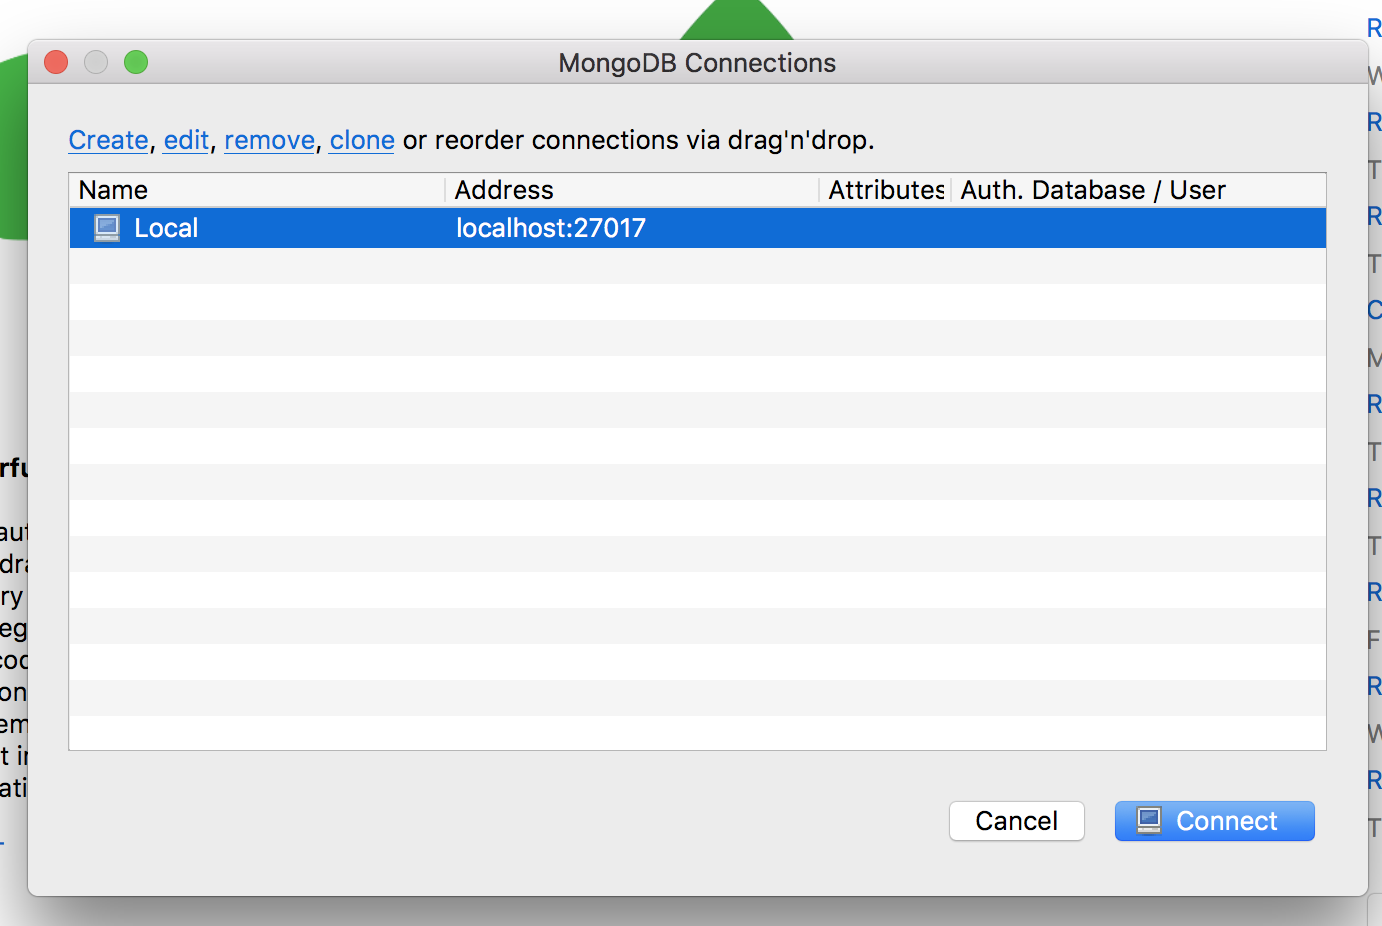
Create a new Local Connection Local and click
-
Click to establish connection with DB
-
is installed!
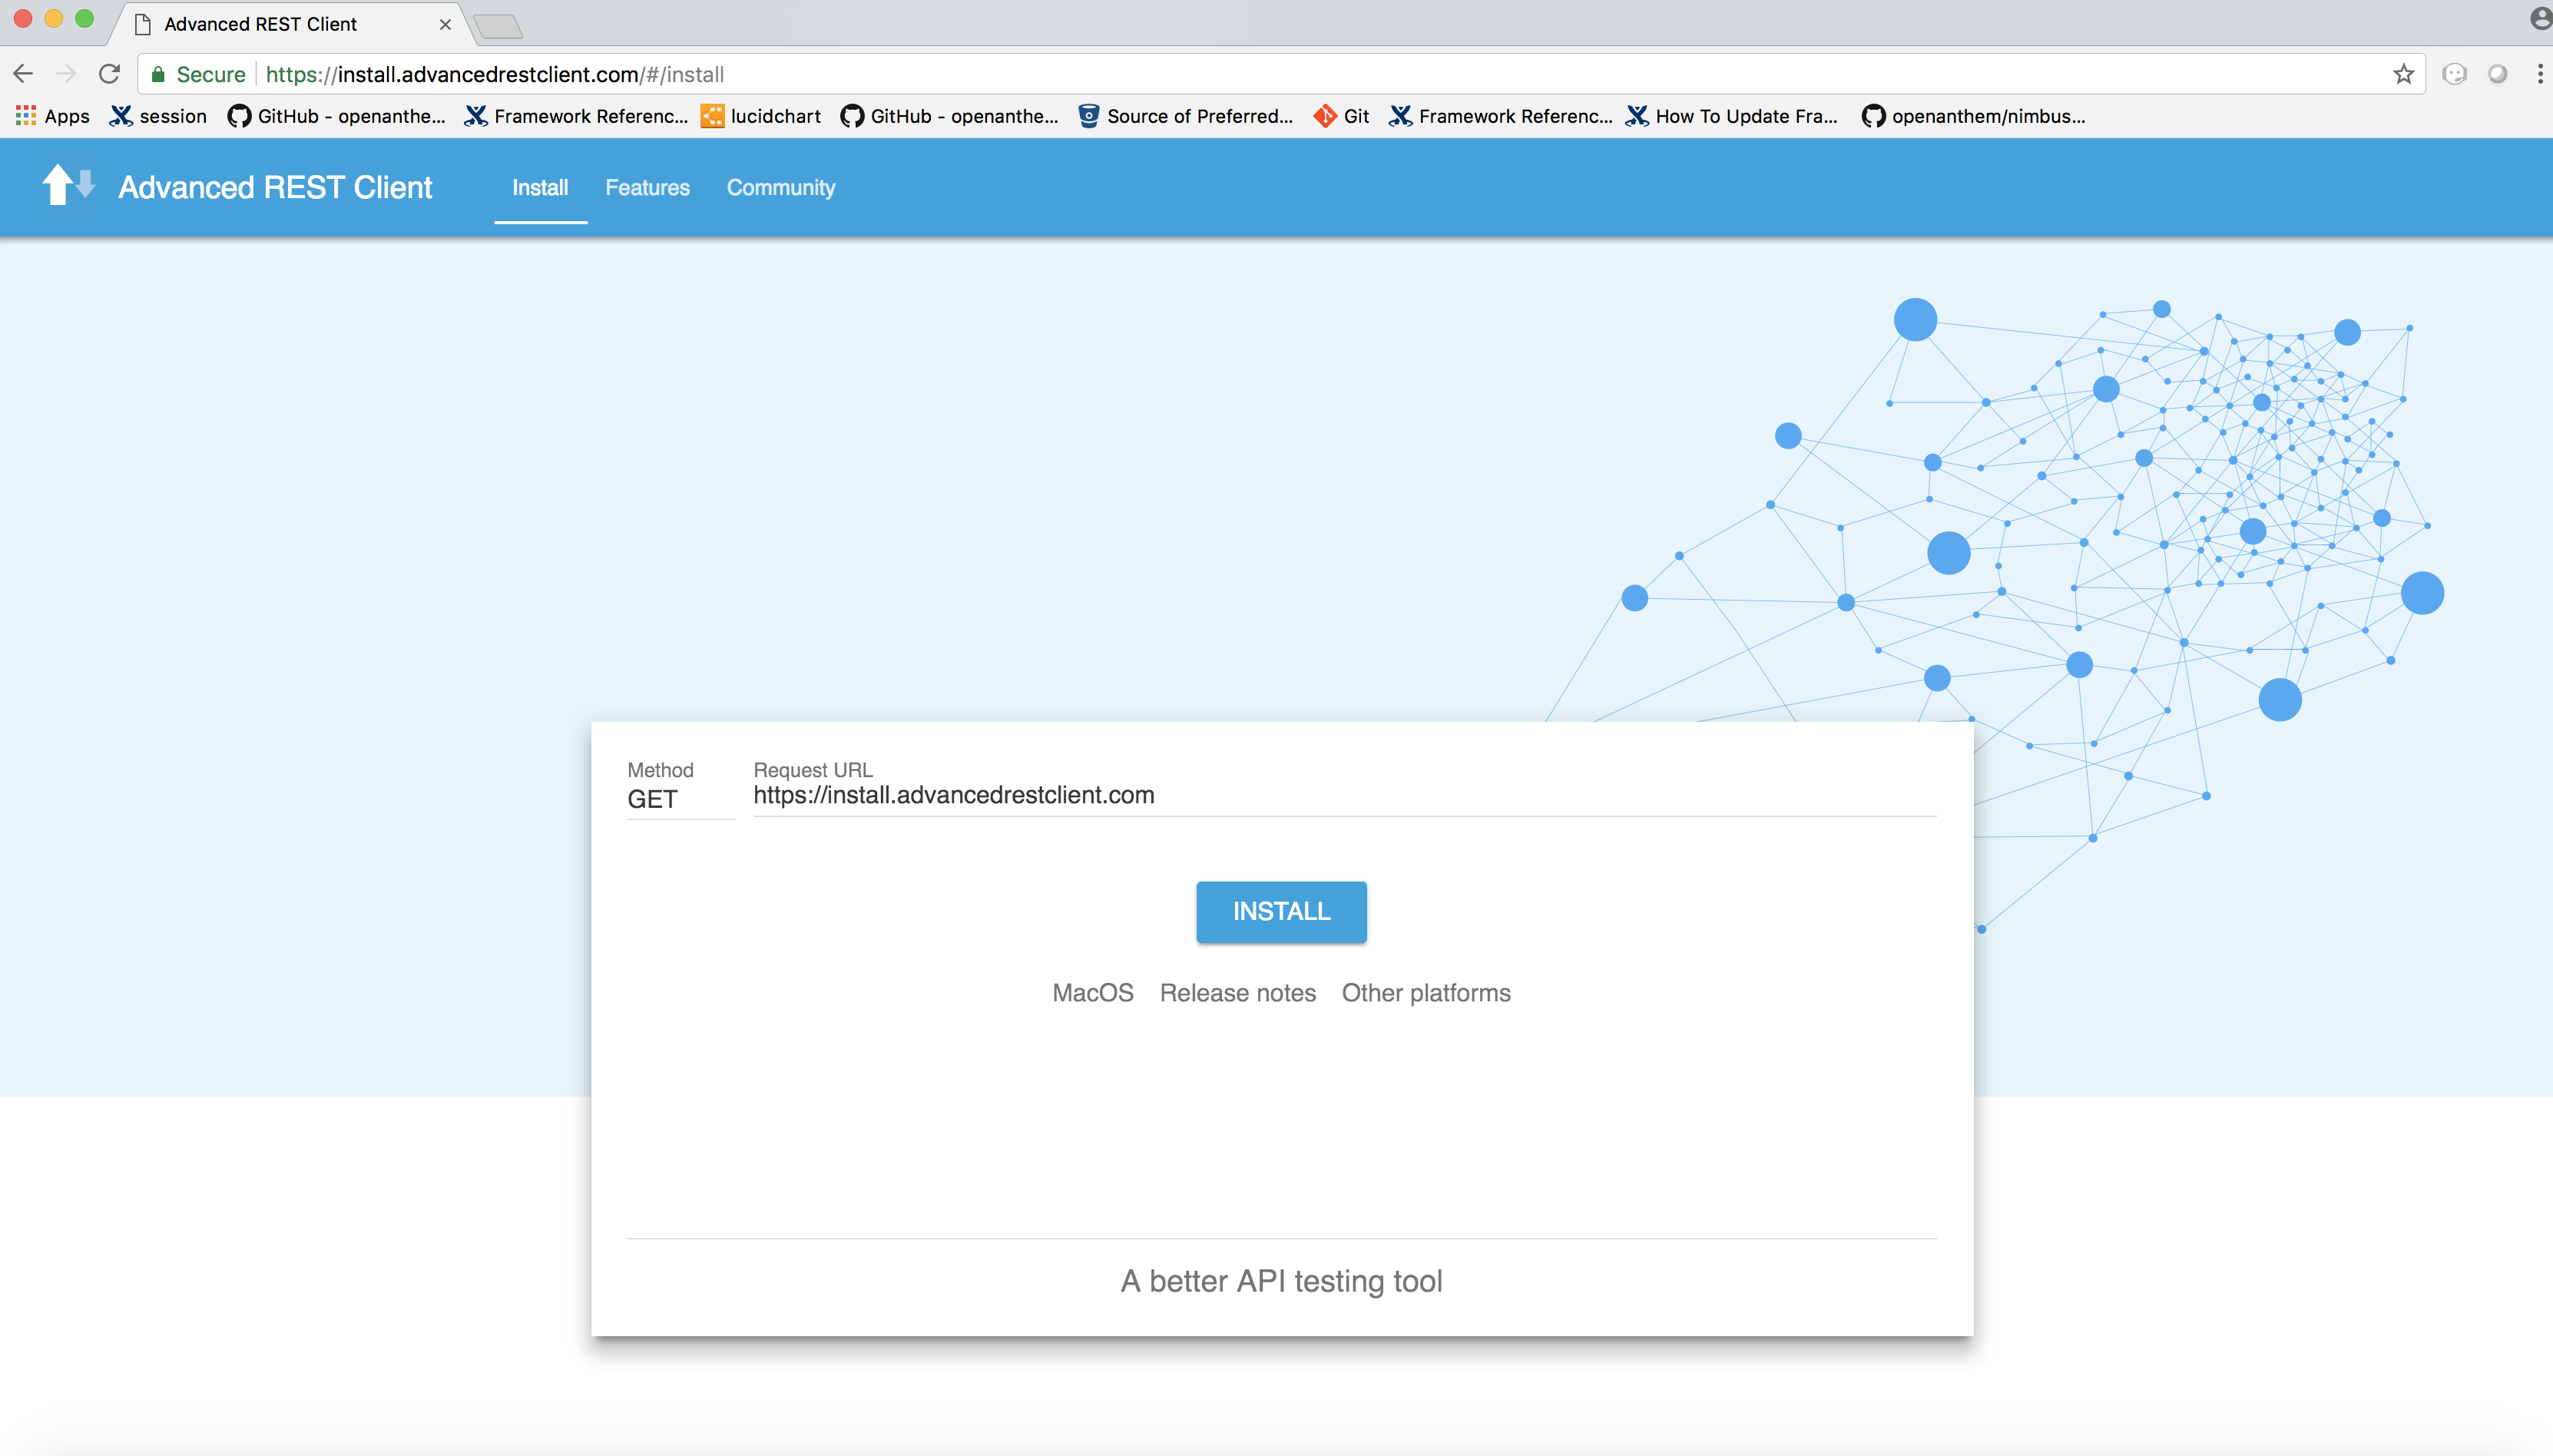
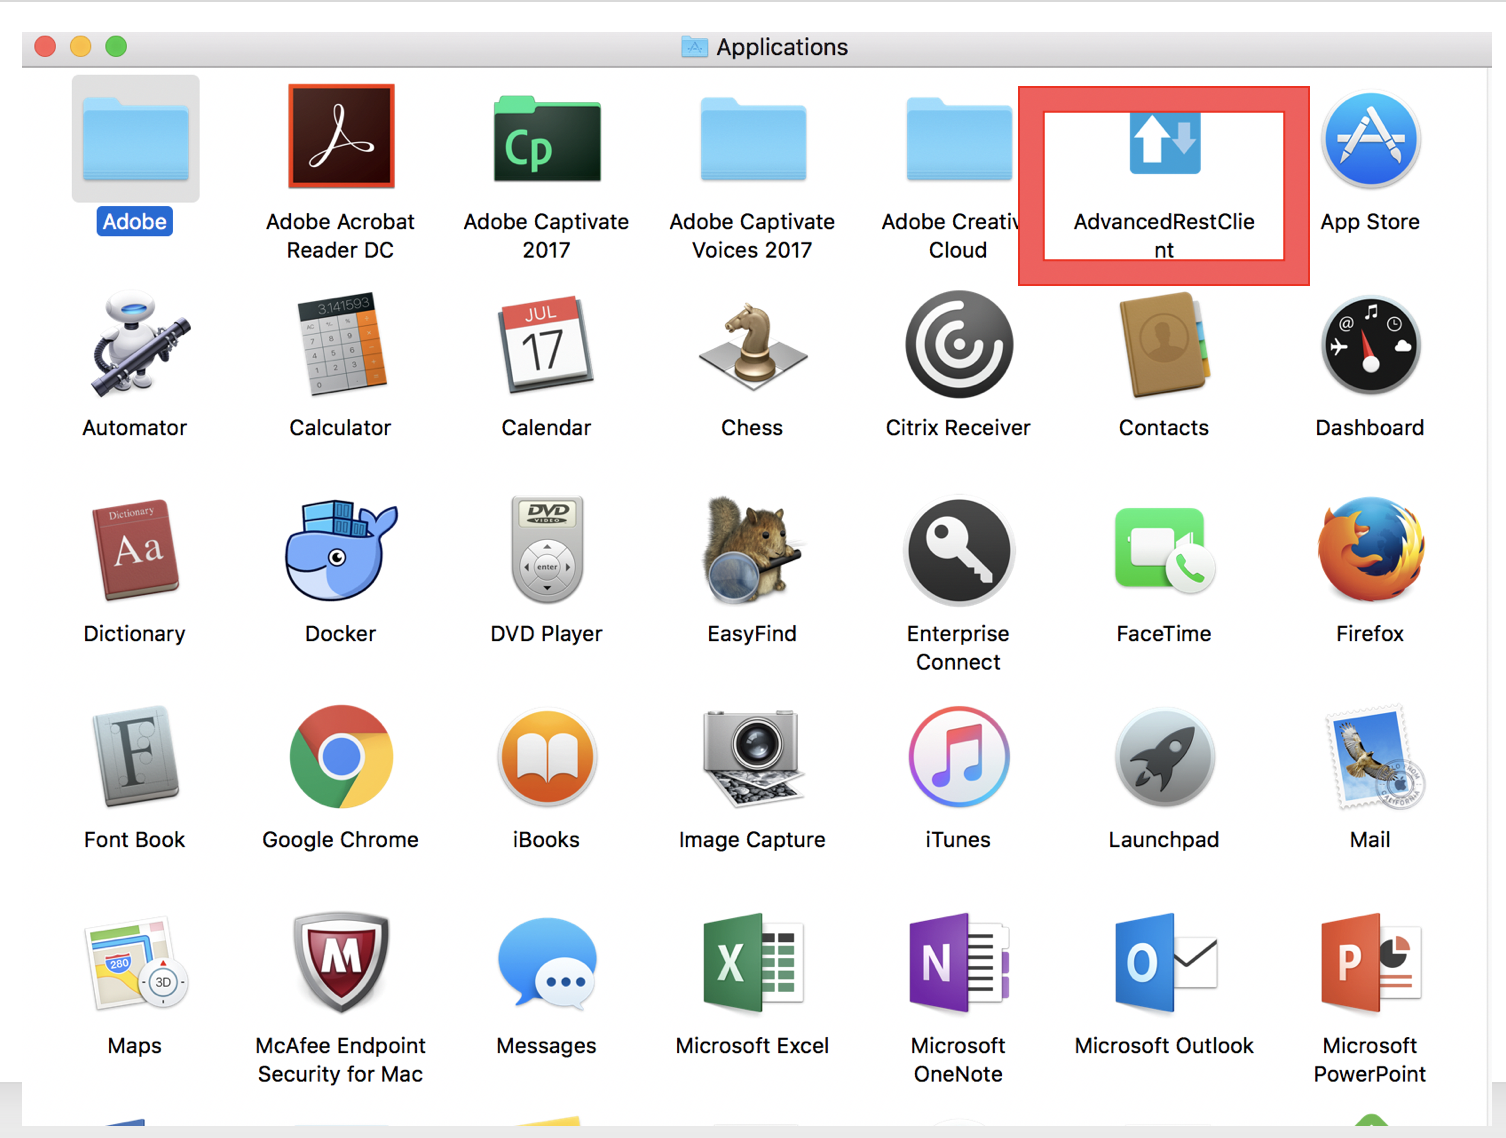
Installation of Advanced Rest Client
-
Go to https://install.advancedrestclient.com/#/install
-
will be downloaded
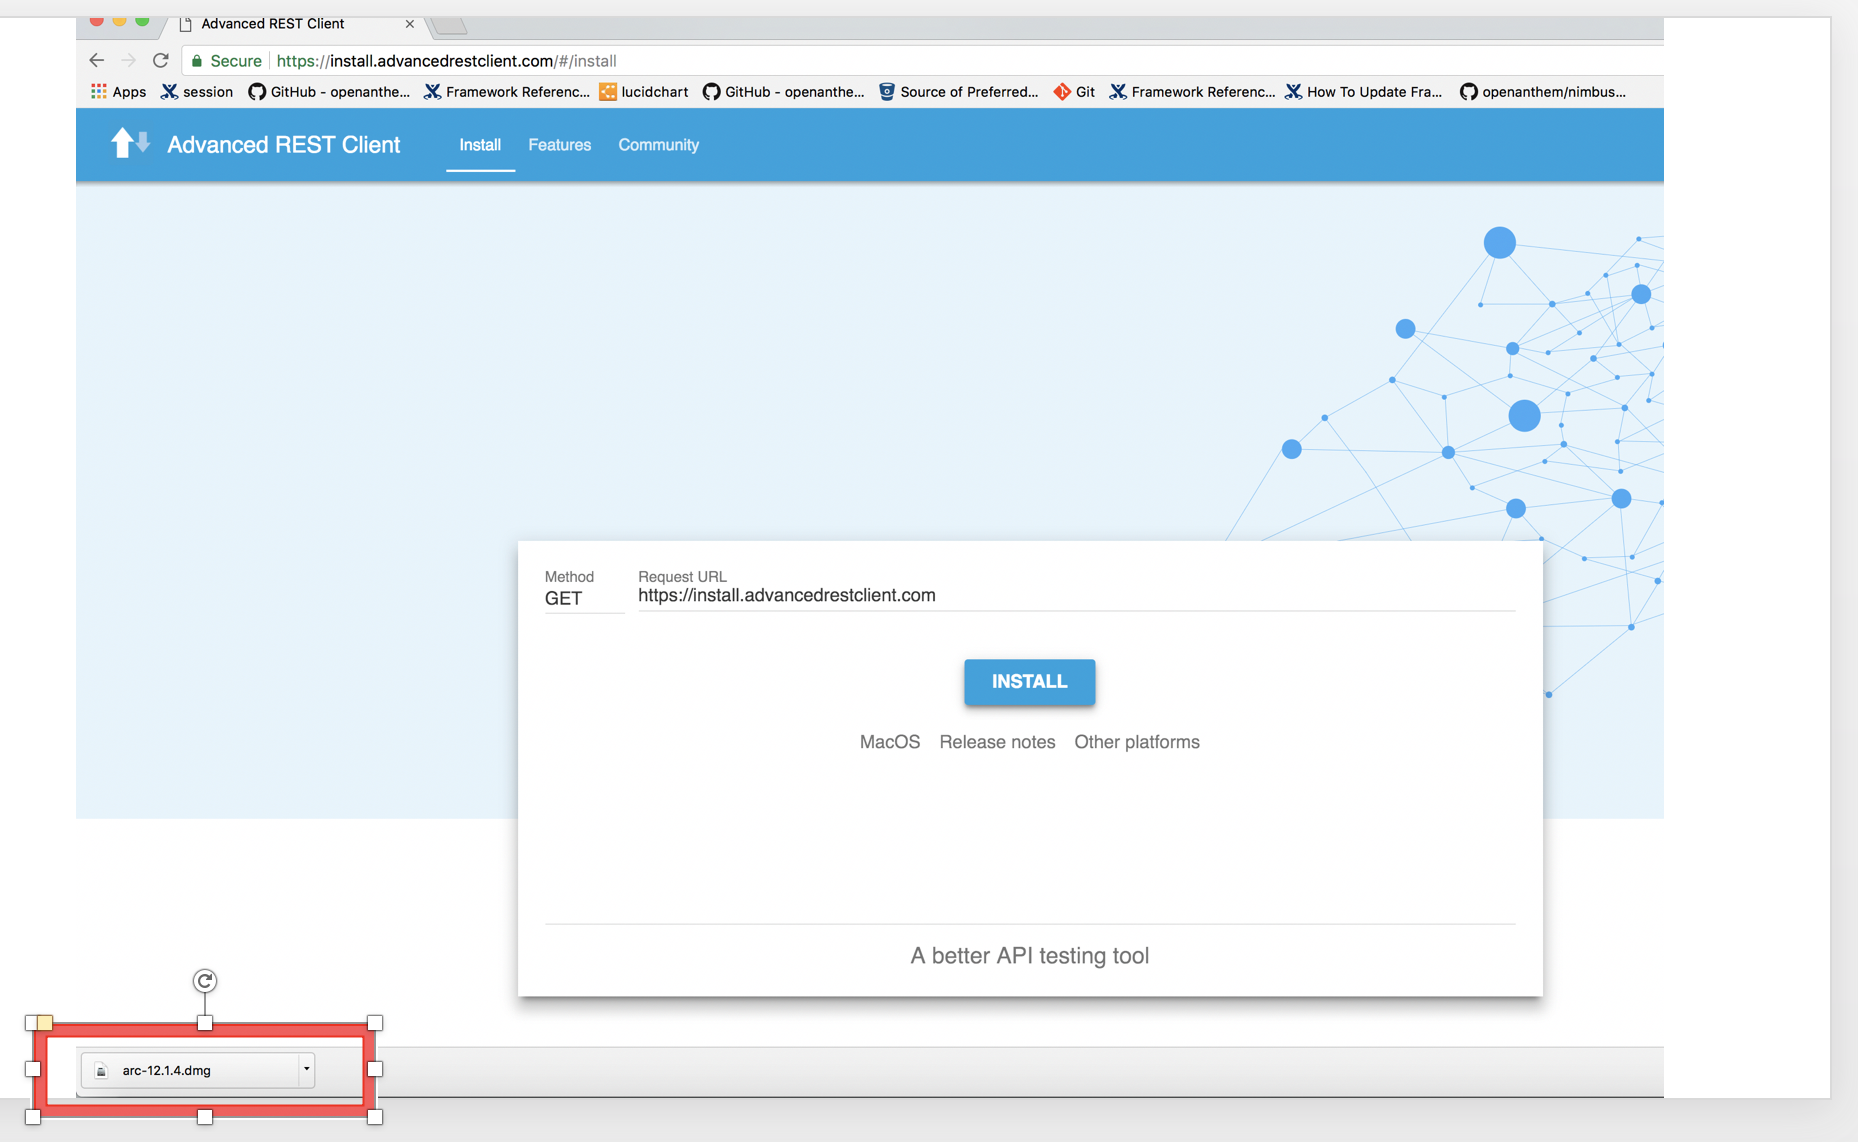
-
You can view the same inside the "\Downloads" folder
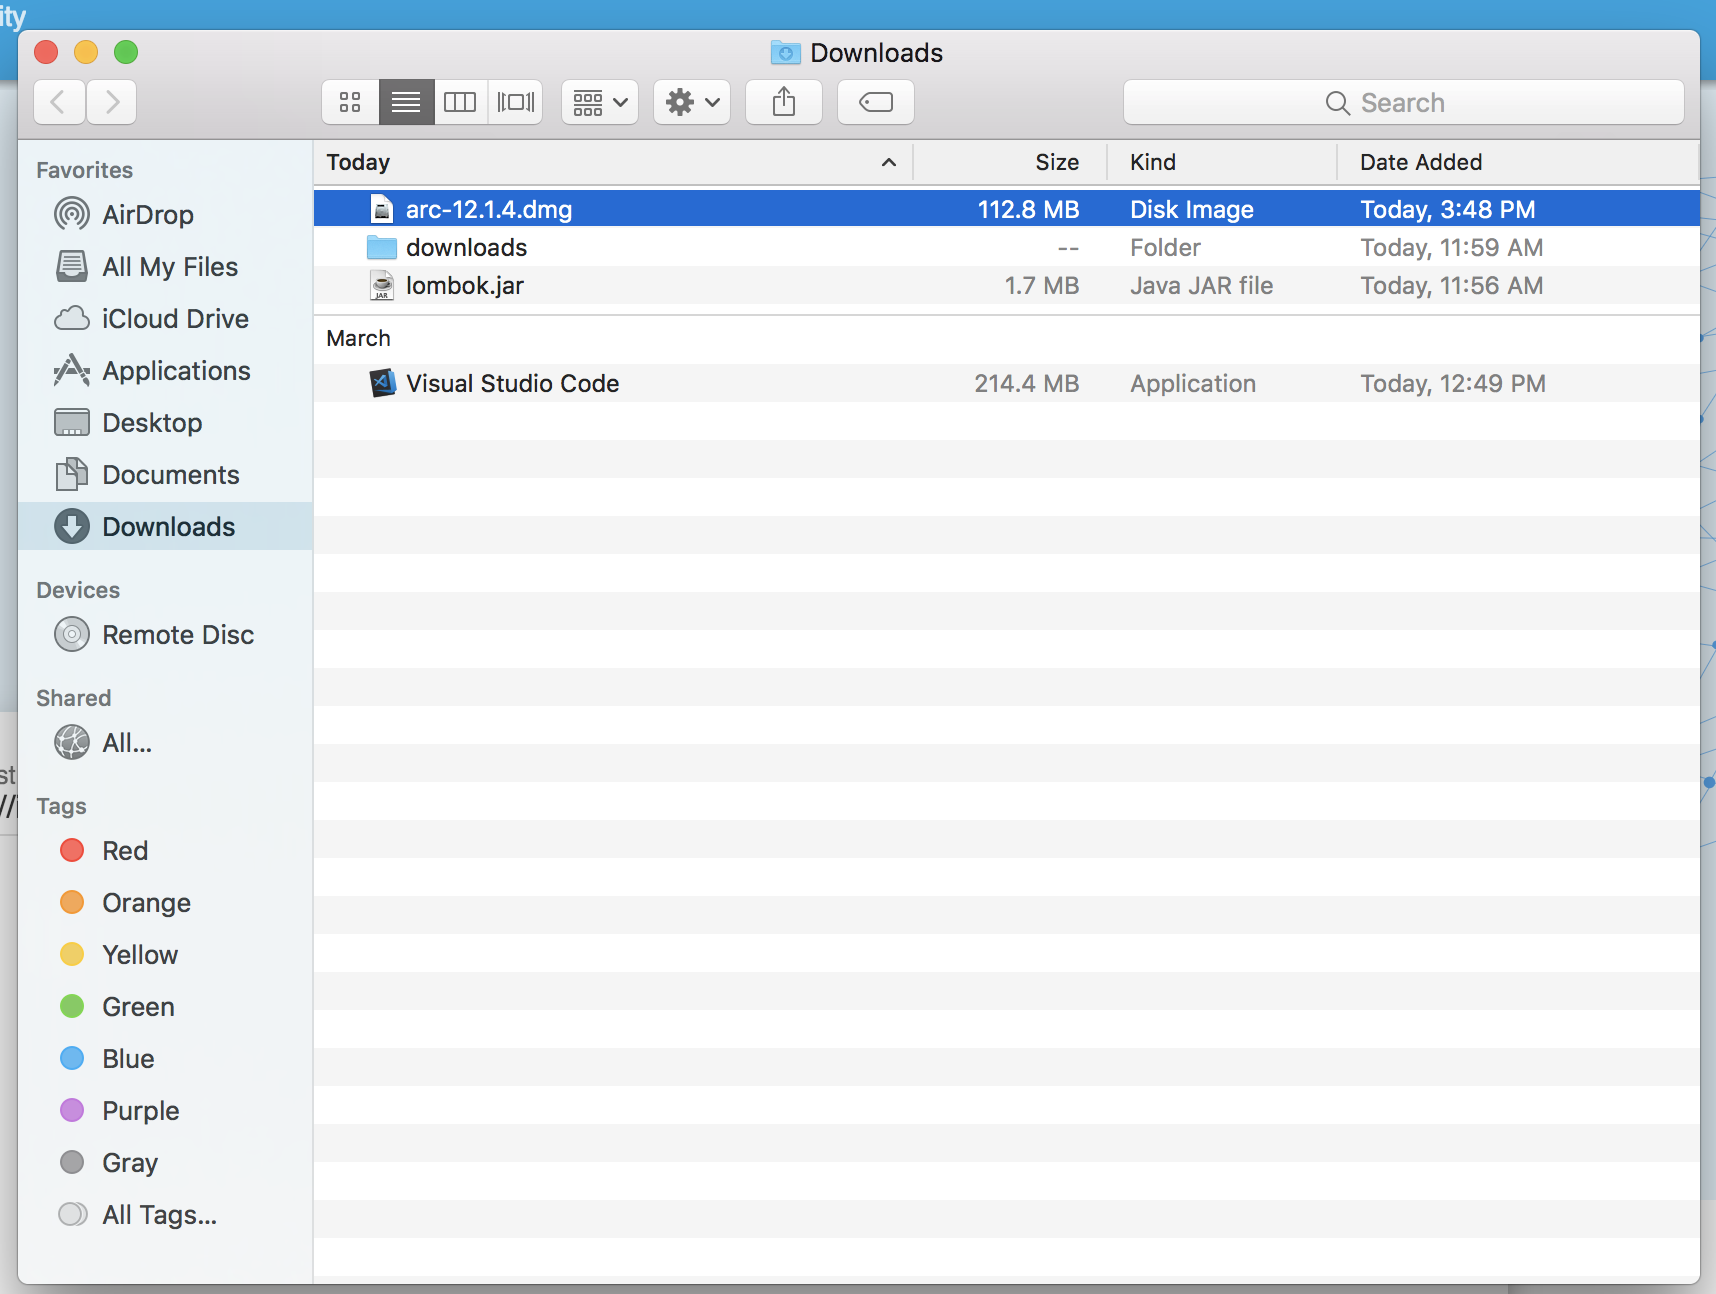
-
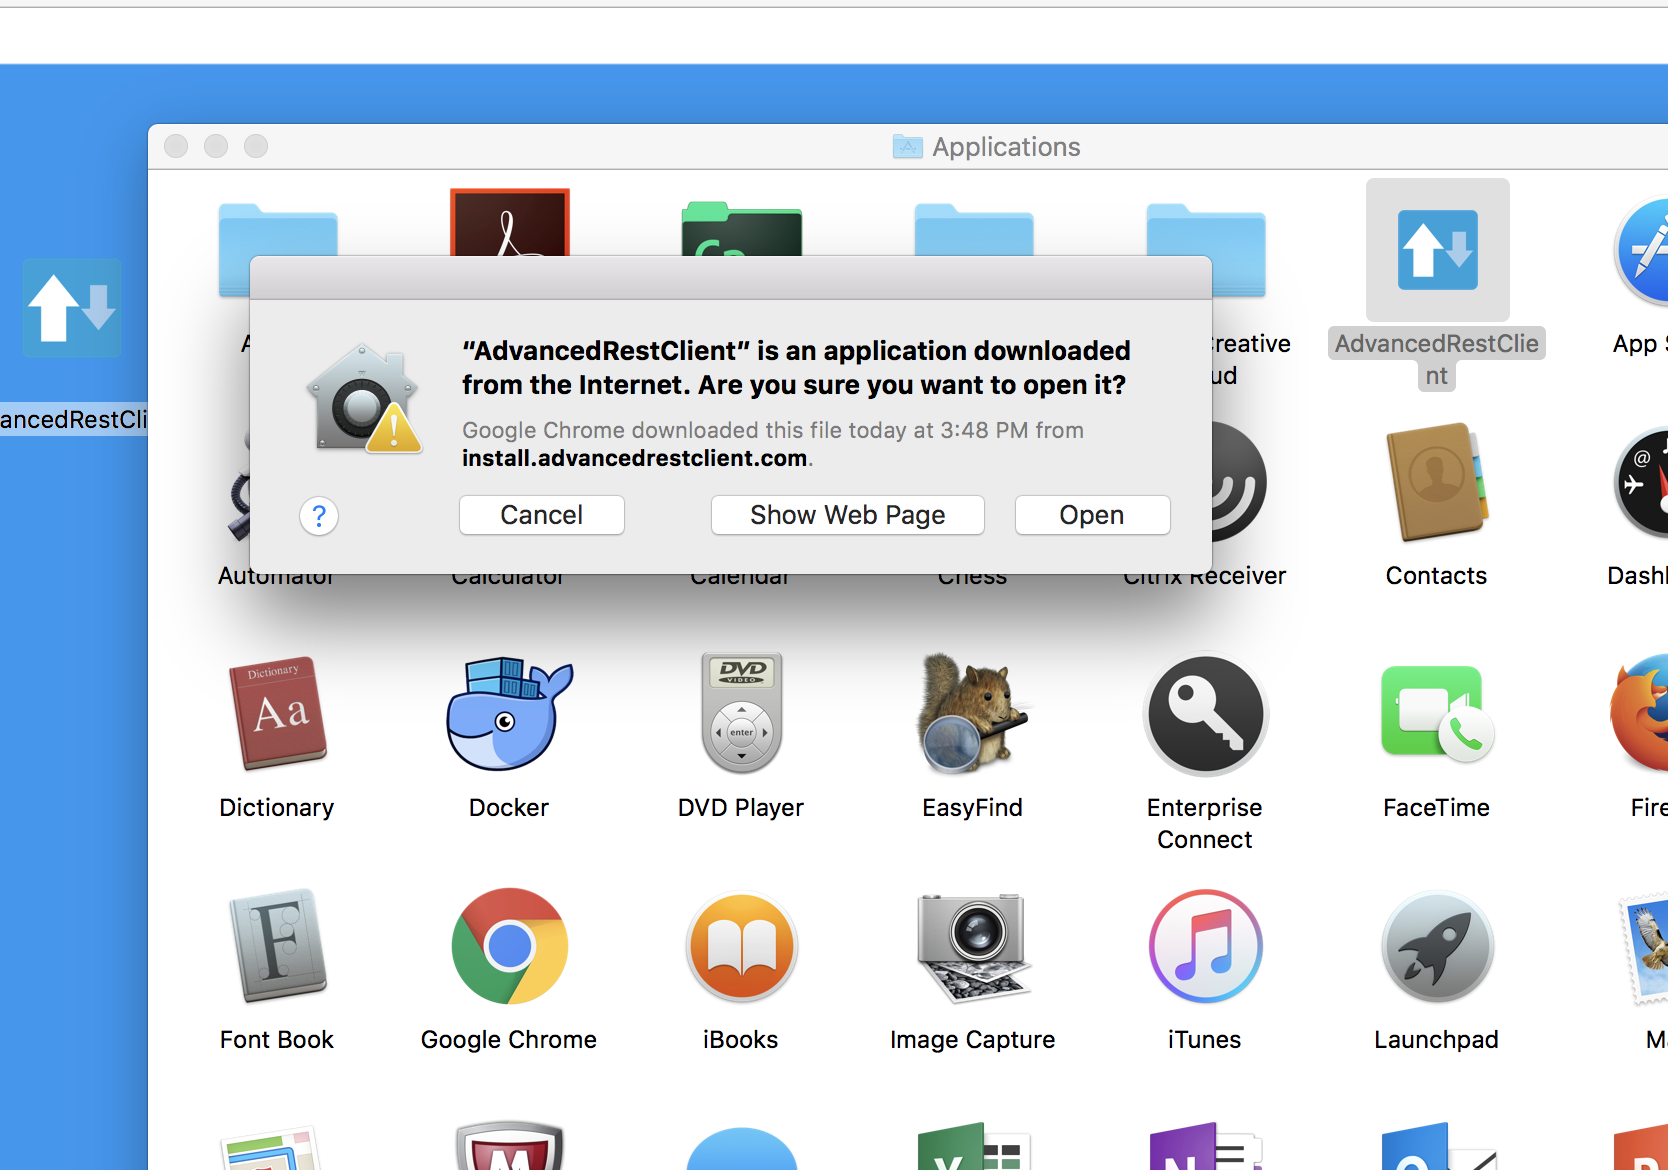
Drag and drop to "\Applications" folder
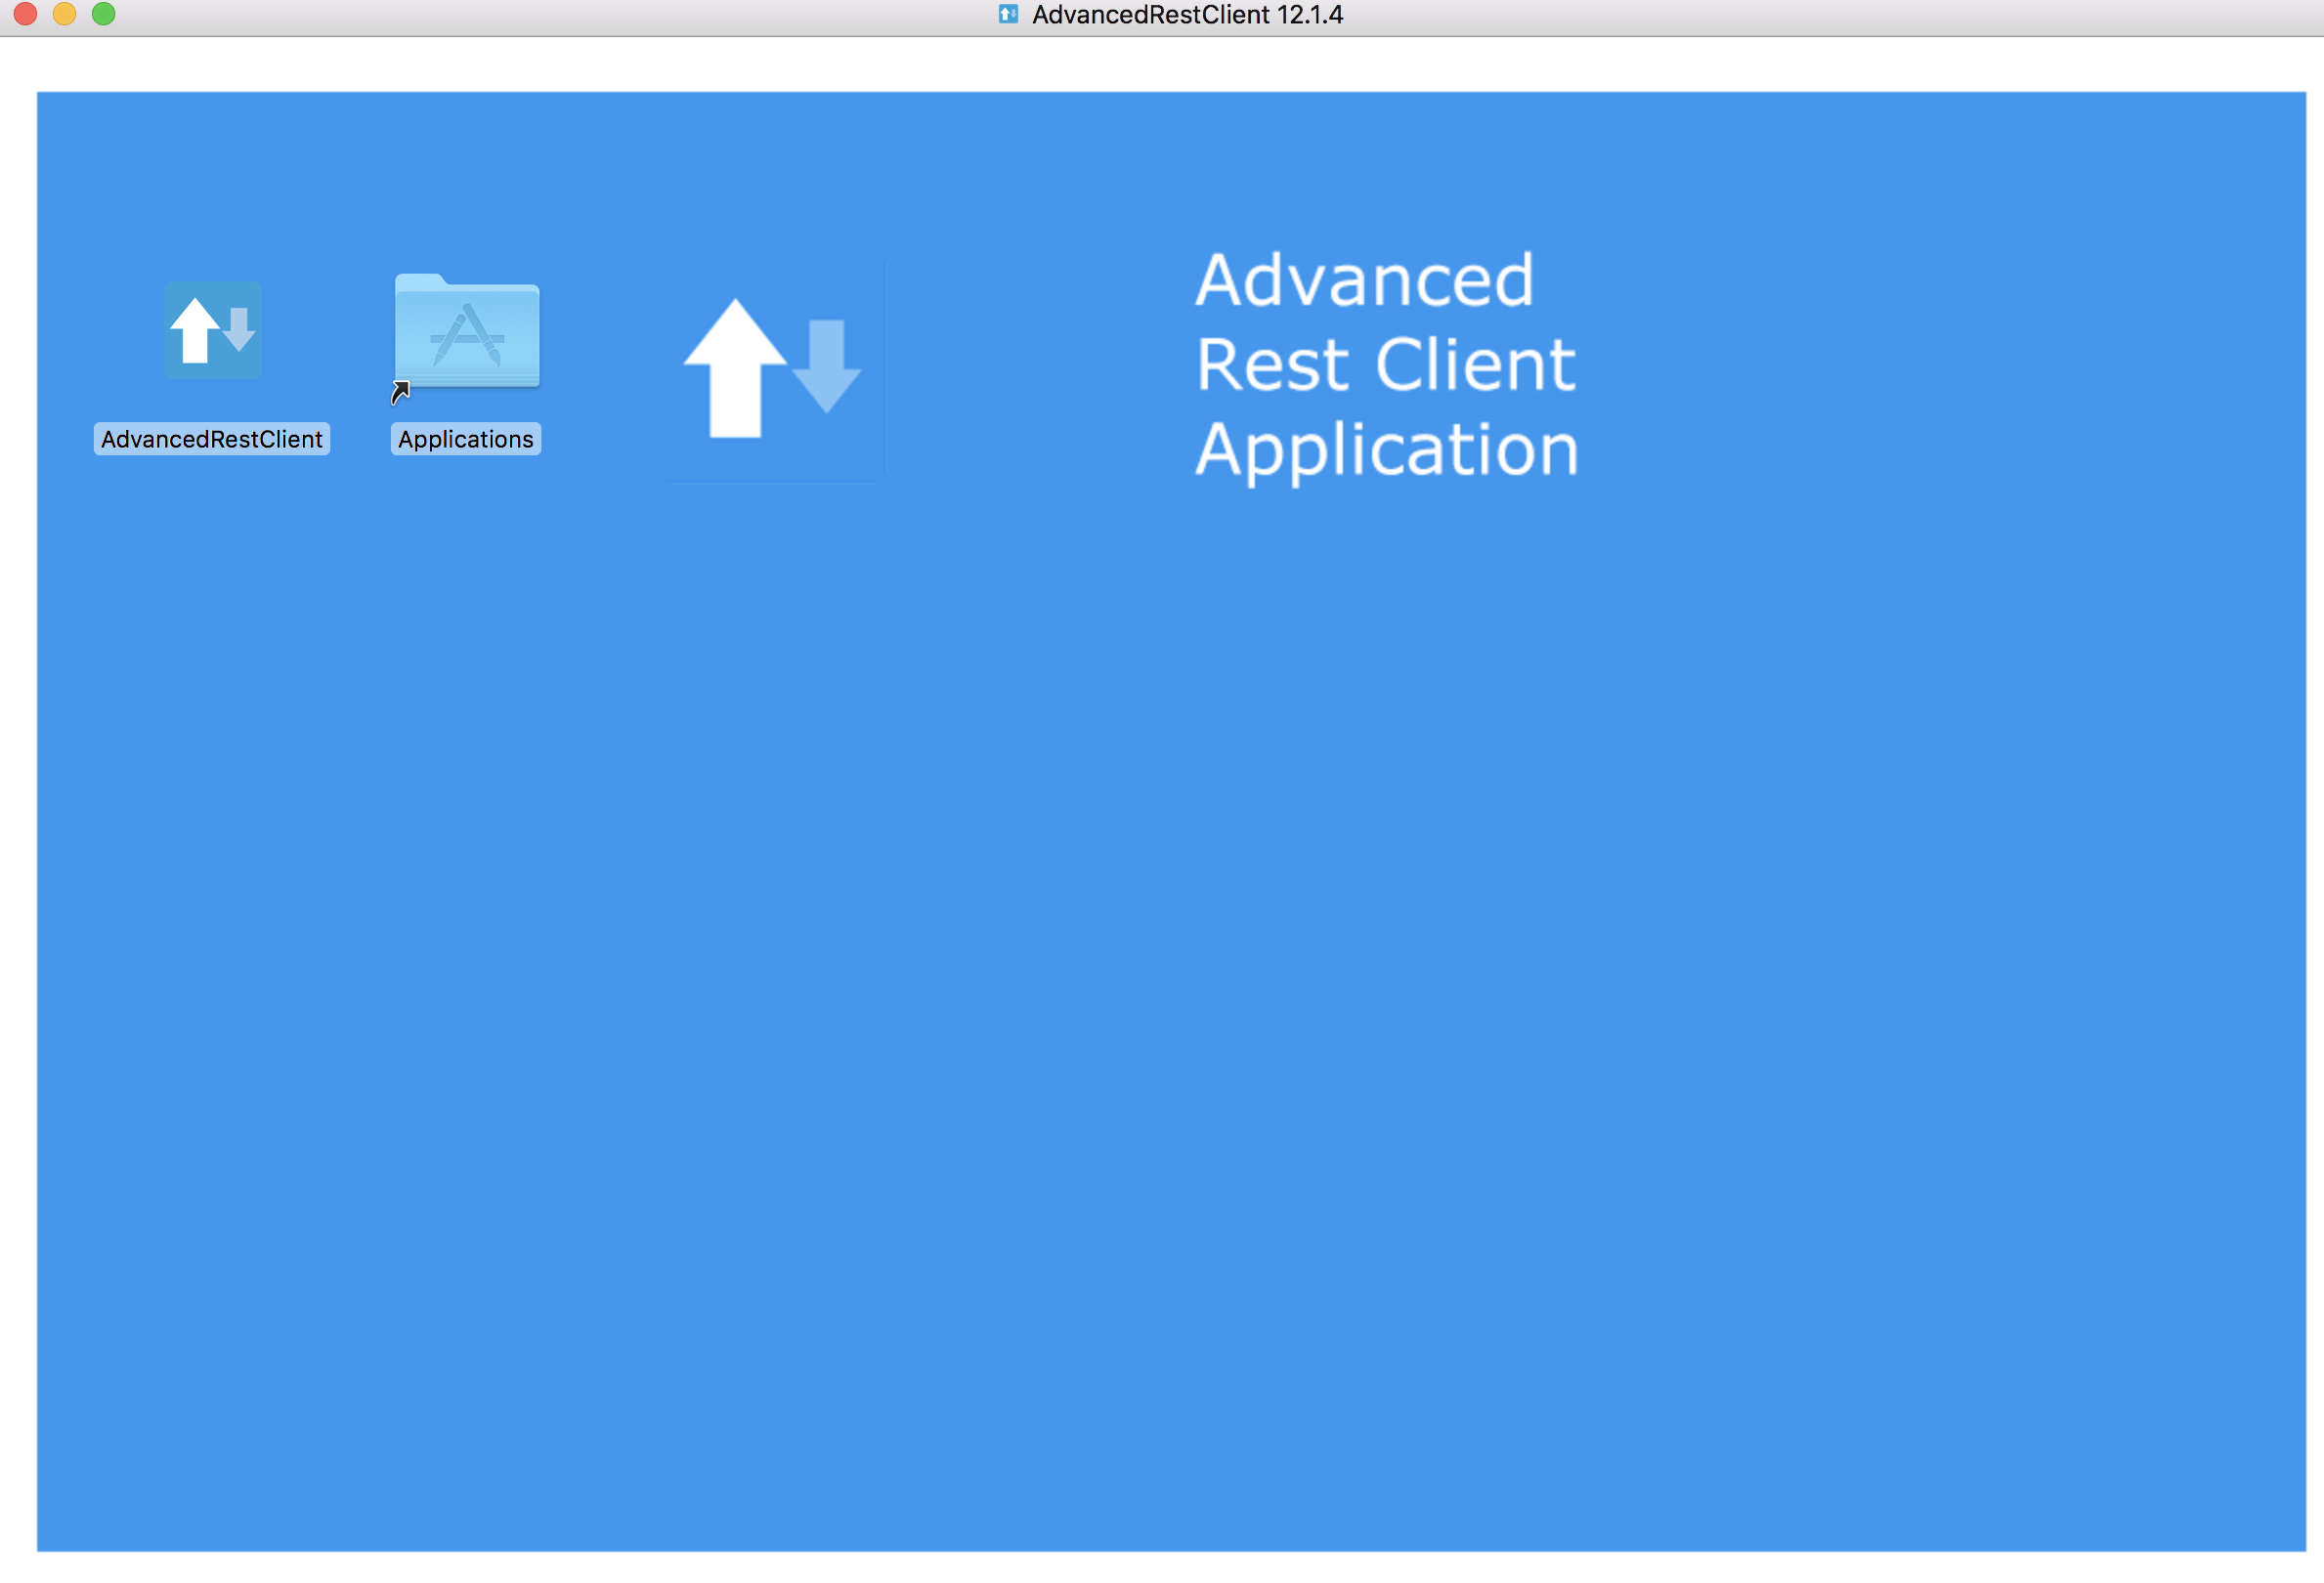
-
You can view the same inside the "\Applications" folder
-
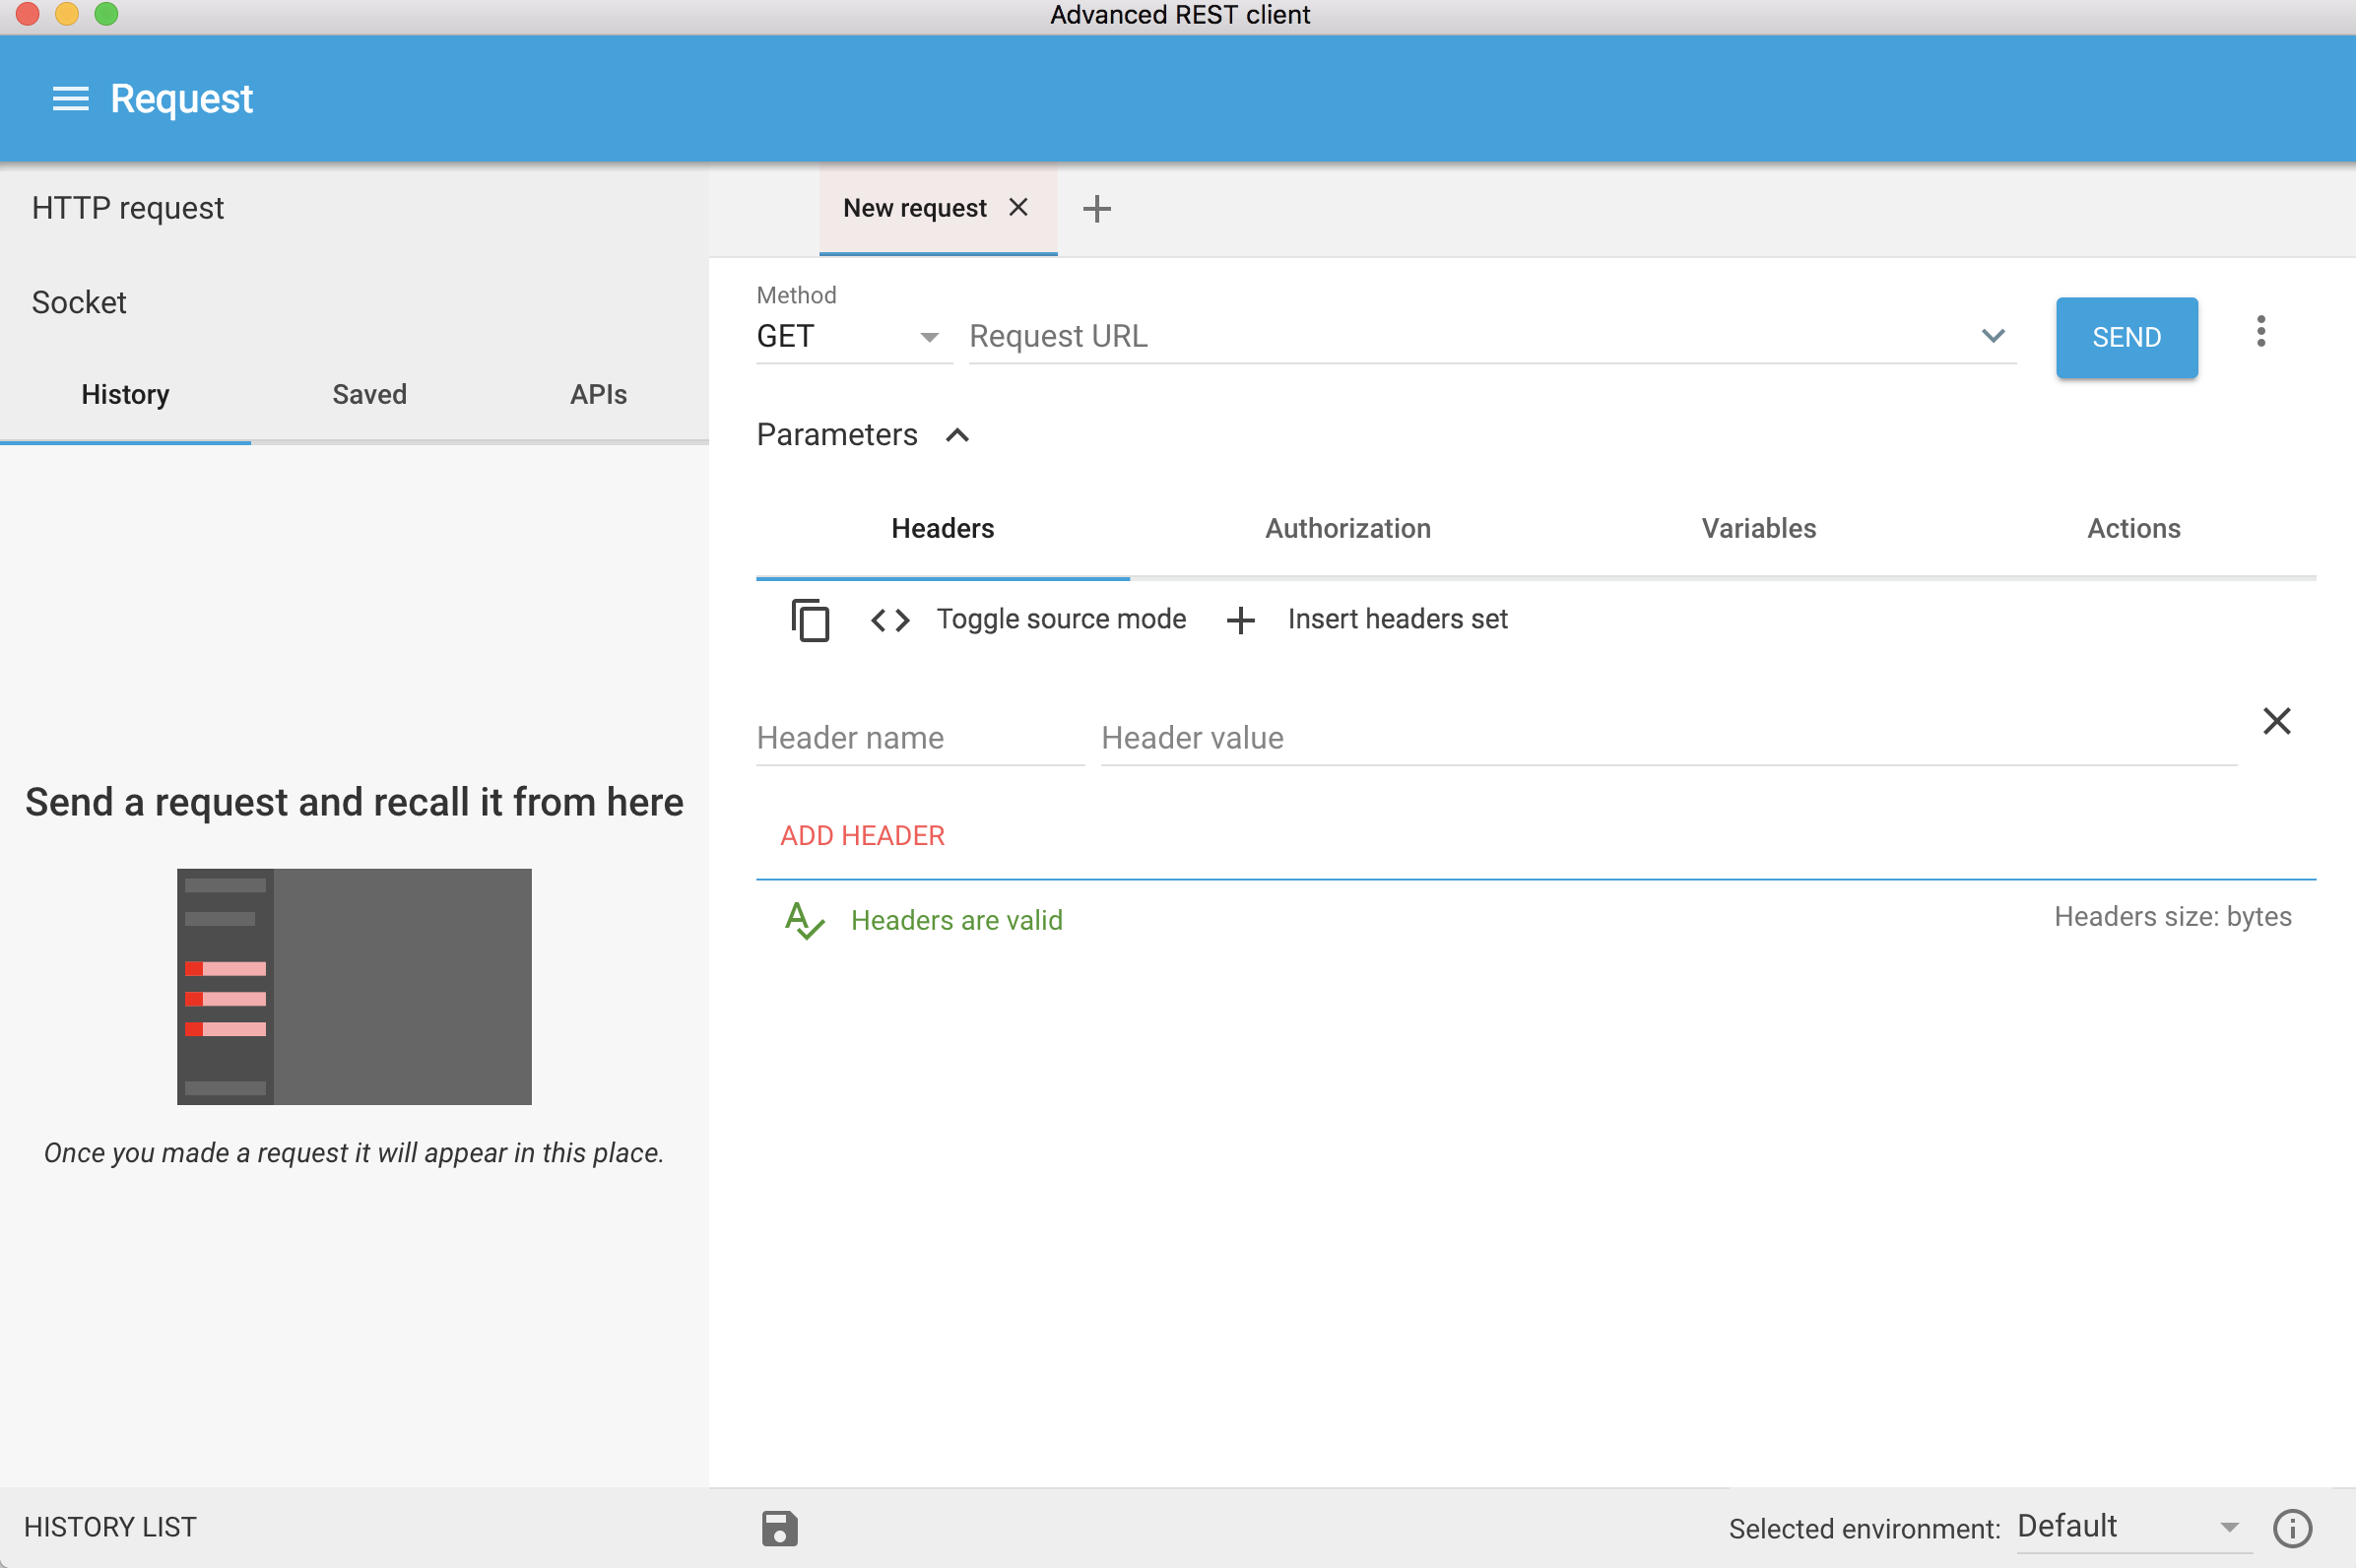
Open from "\Applications" folder
-
You can mention the required and
-
is installed!
Certificates Required for Development(For using the framework within Anthem)
-
Download the mentioned certificates:
-
These files be saved as follows in your "/Downloads" folder:
-
RootCA_WellPoint Internal Root CA.crt
-
MOM9P70123.us.ad.wellpoint.com_WellPoint Internal Issuing CA 2.crt
-
VA10P70803.us.ad.wellpoint.com_WellPoint Internal Issuing CA 1.crt
-
-
Rename the extensions from “.crt” to “.der” and replace the spaces with underscore Example: RootCA_WellPoint Internal Root CA.der should be changed as RootCA_WellPoint_Internal_Root_CA.der
-
Copy these certificates to "/tmp" folder by running the command in terminal
-
Run these in your command line to add the certificates to your keychain
-
Appendix
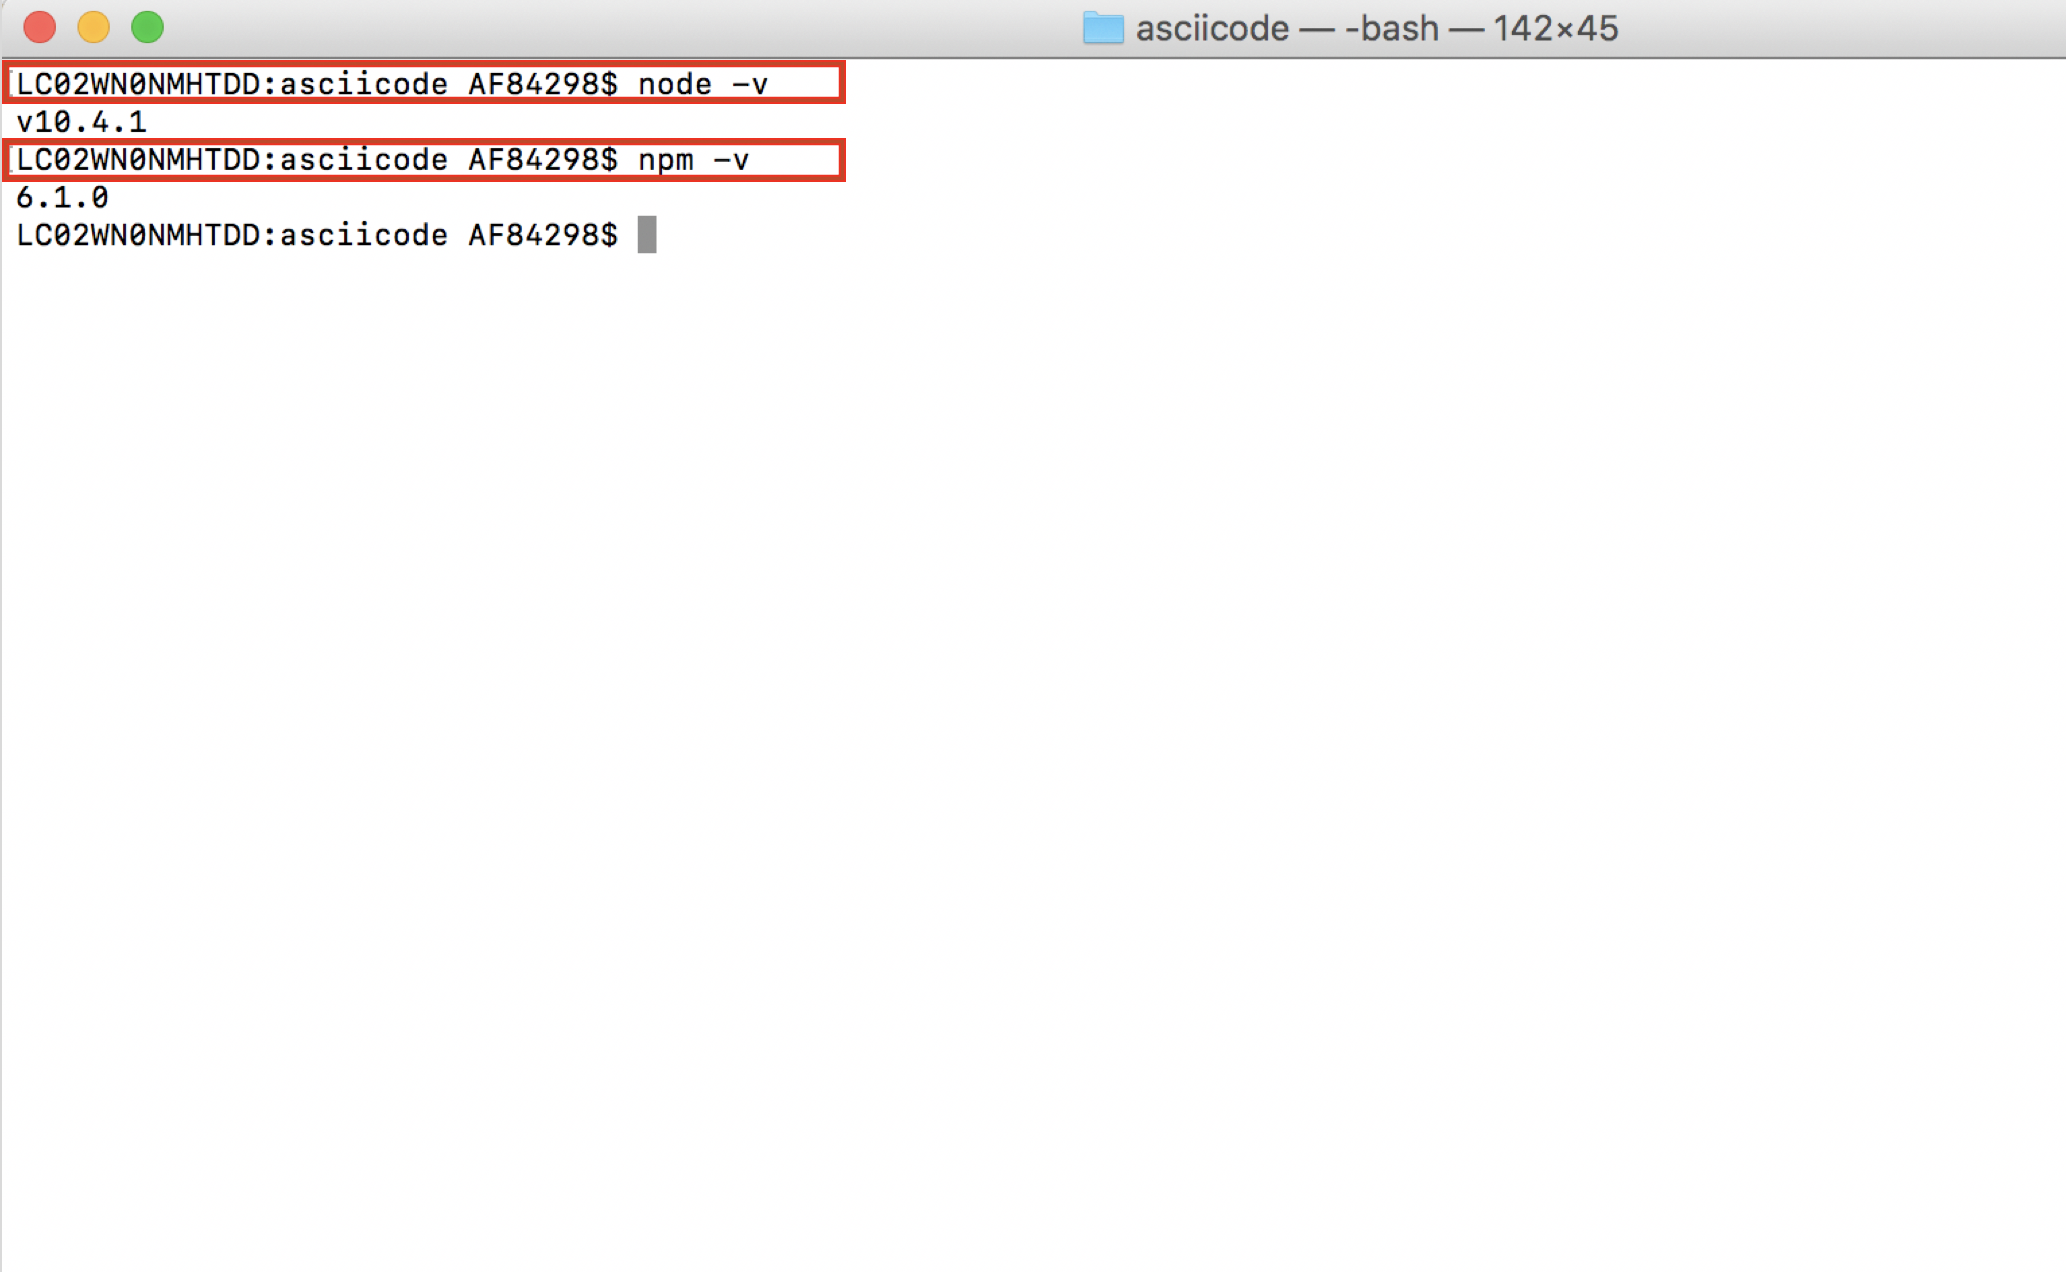
Installation of Node.js
-
Open Terminal
-
Run the following brew formula on your terminal
-
Once installed, we can check the installation by running the below formulae on your terminal
-
The terminal shows the following output:
-
is installed!
How to work with MongoDB through Docker
Installation of Docker
-
Go to https://docs.docker.com/v17.12/docker-for-mac/install/#download-docker-for-mac
-
Prefer Stable Docker version over Edge.
-
Double click and open the installer
-
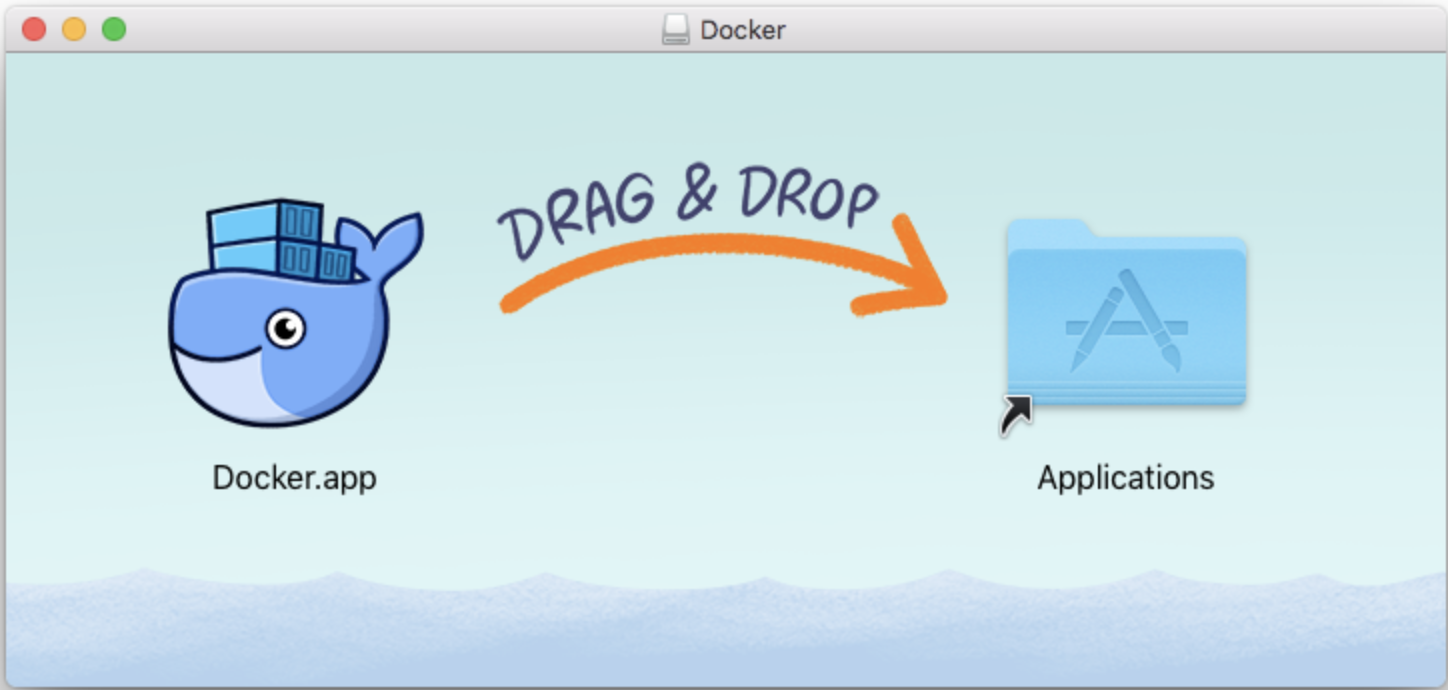
Drag Moby the whale to your "/Applications" folder
-
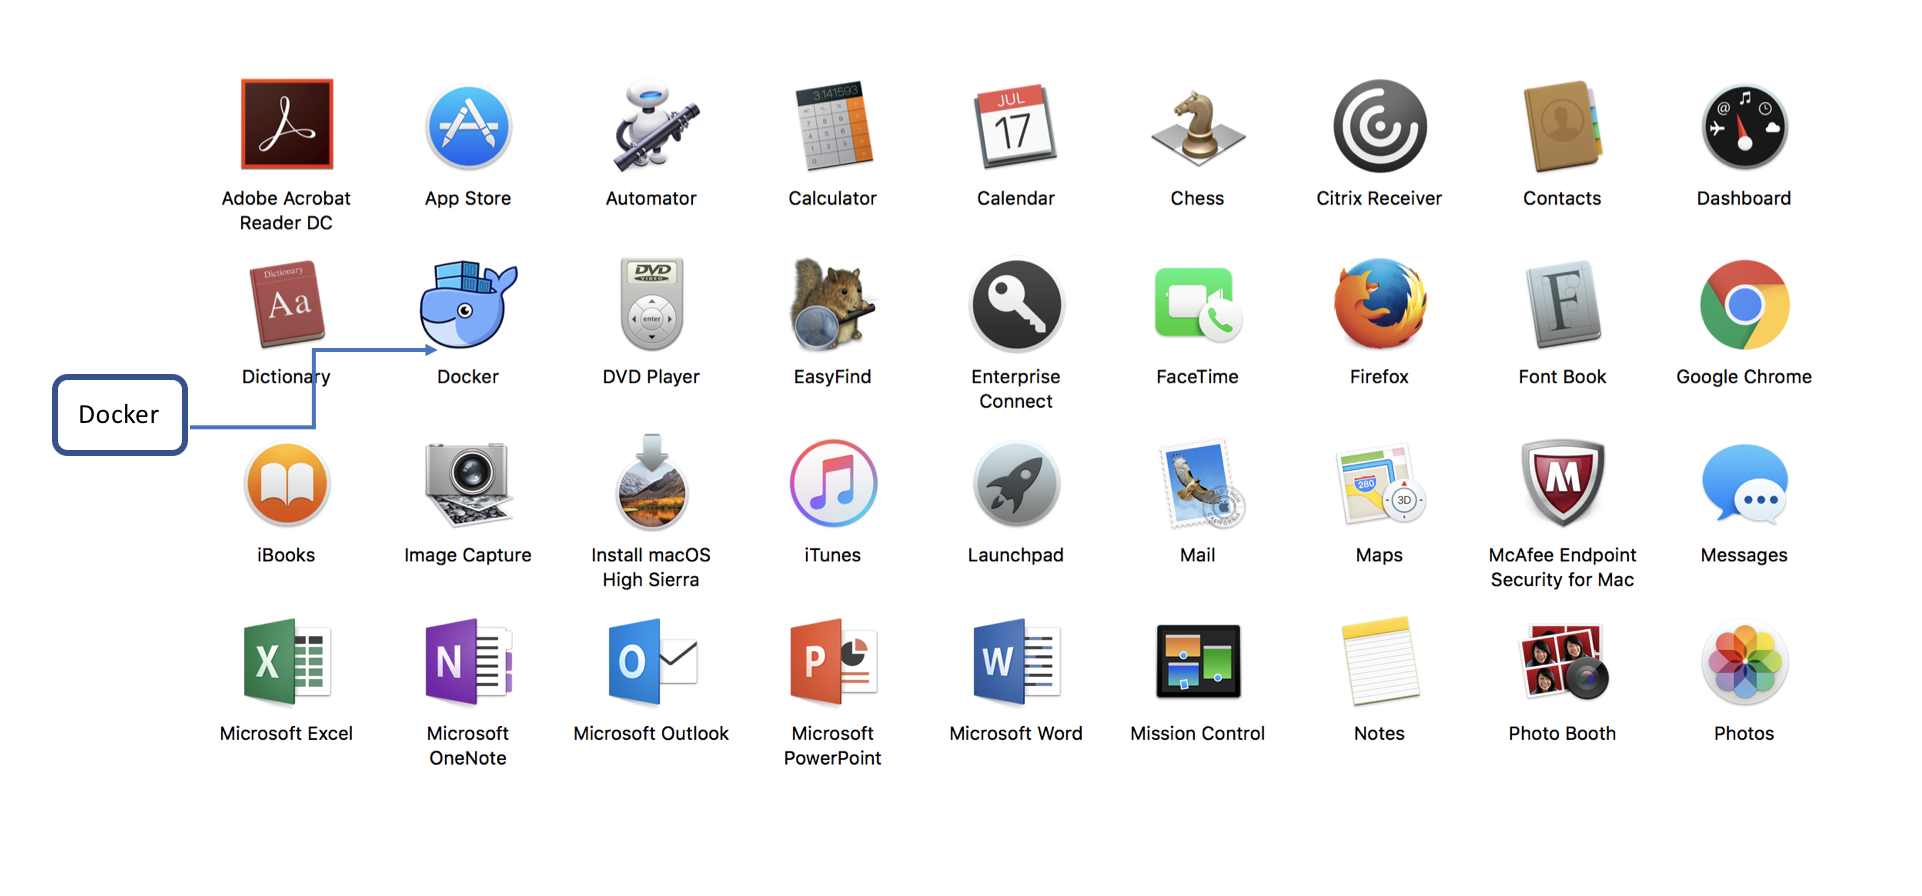
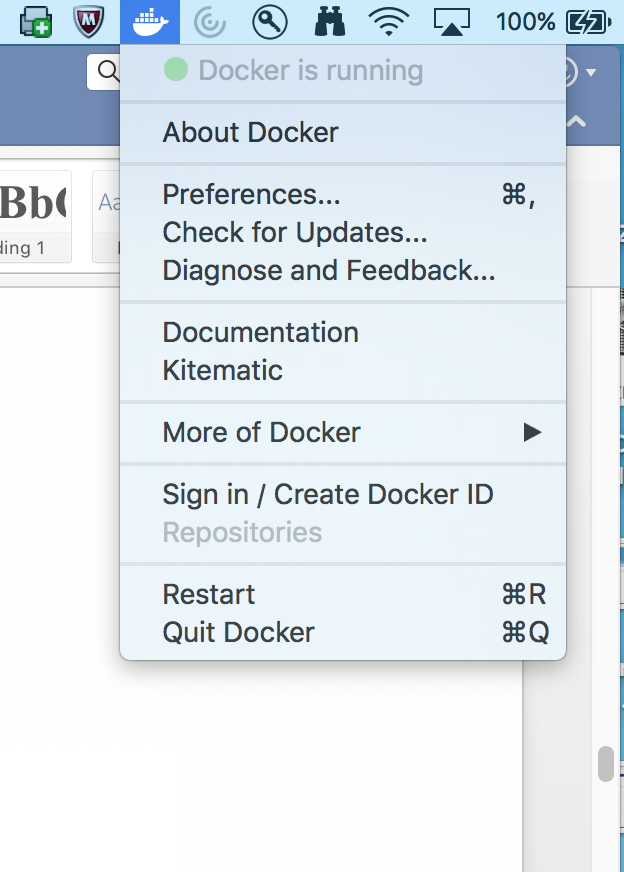
Go to "/Applications" folder and double-click Docker.app to start Docker
-
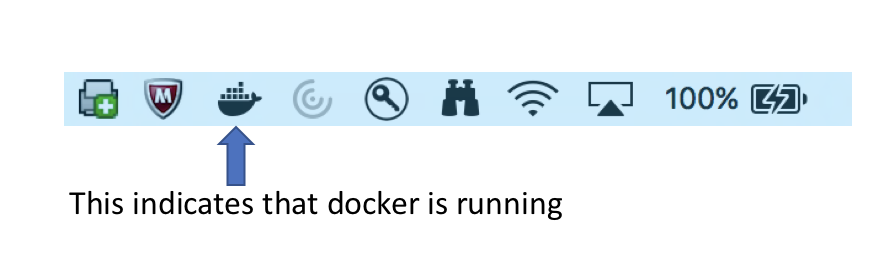
The docker app(the whale icon) would be shown in your status bar. You can also access the same from your terminal
-
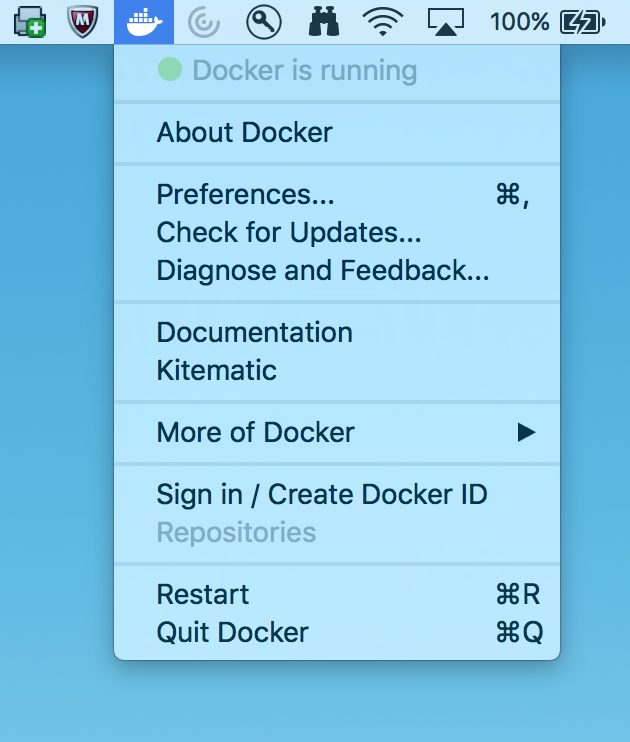
Click the whale icon to see that it is running
-
Check the version from your terminal

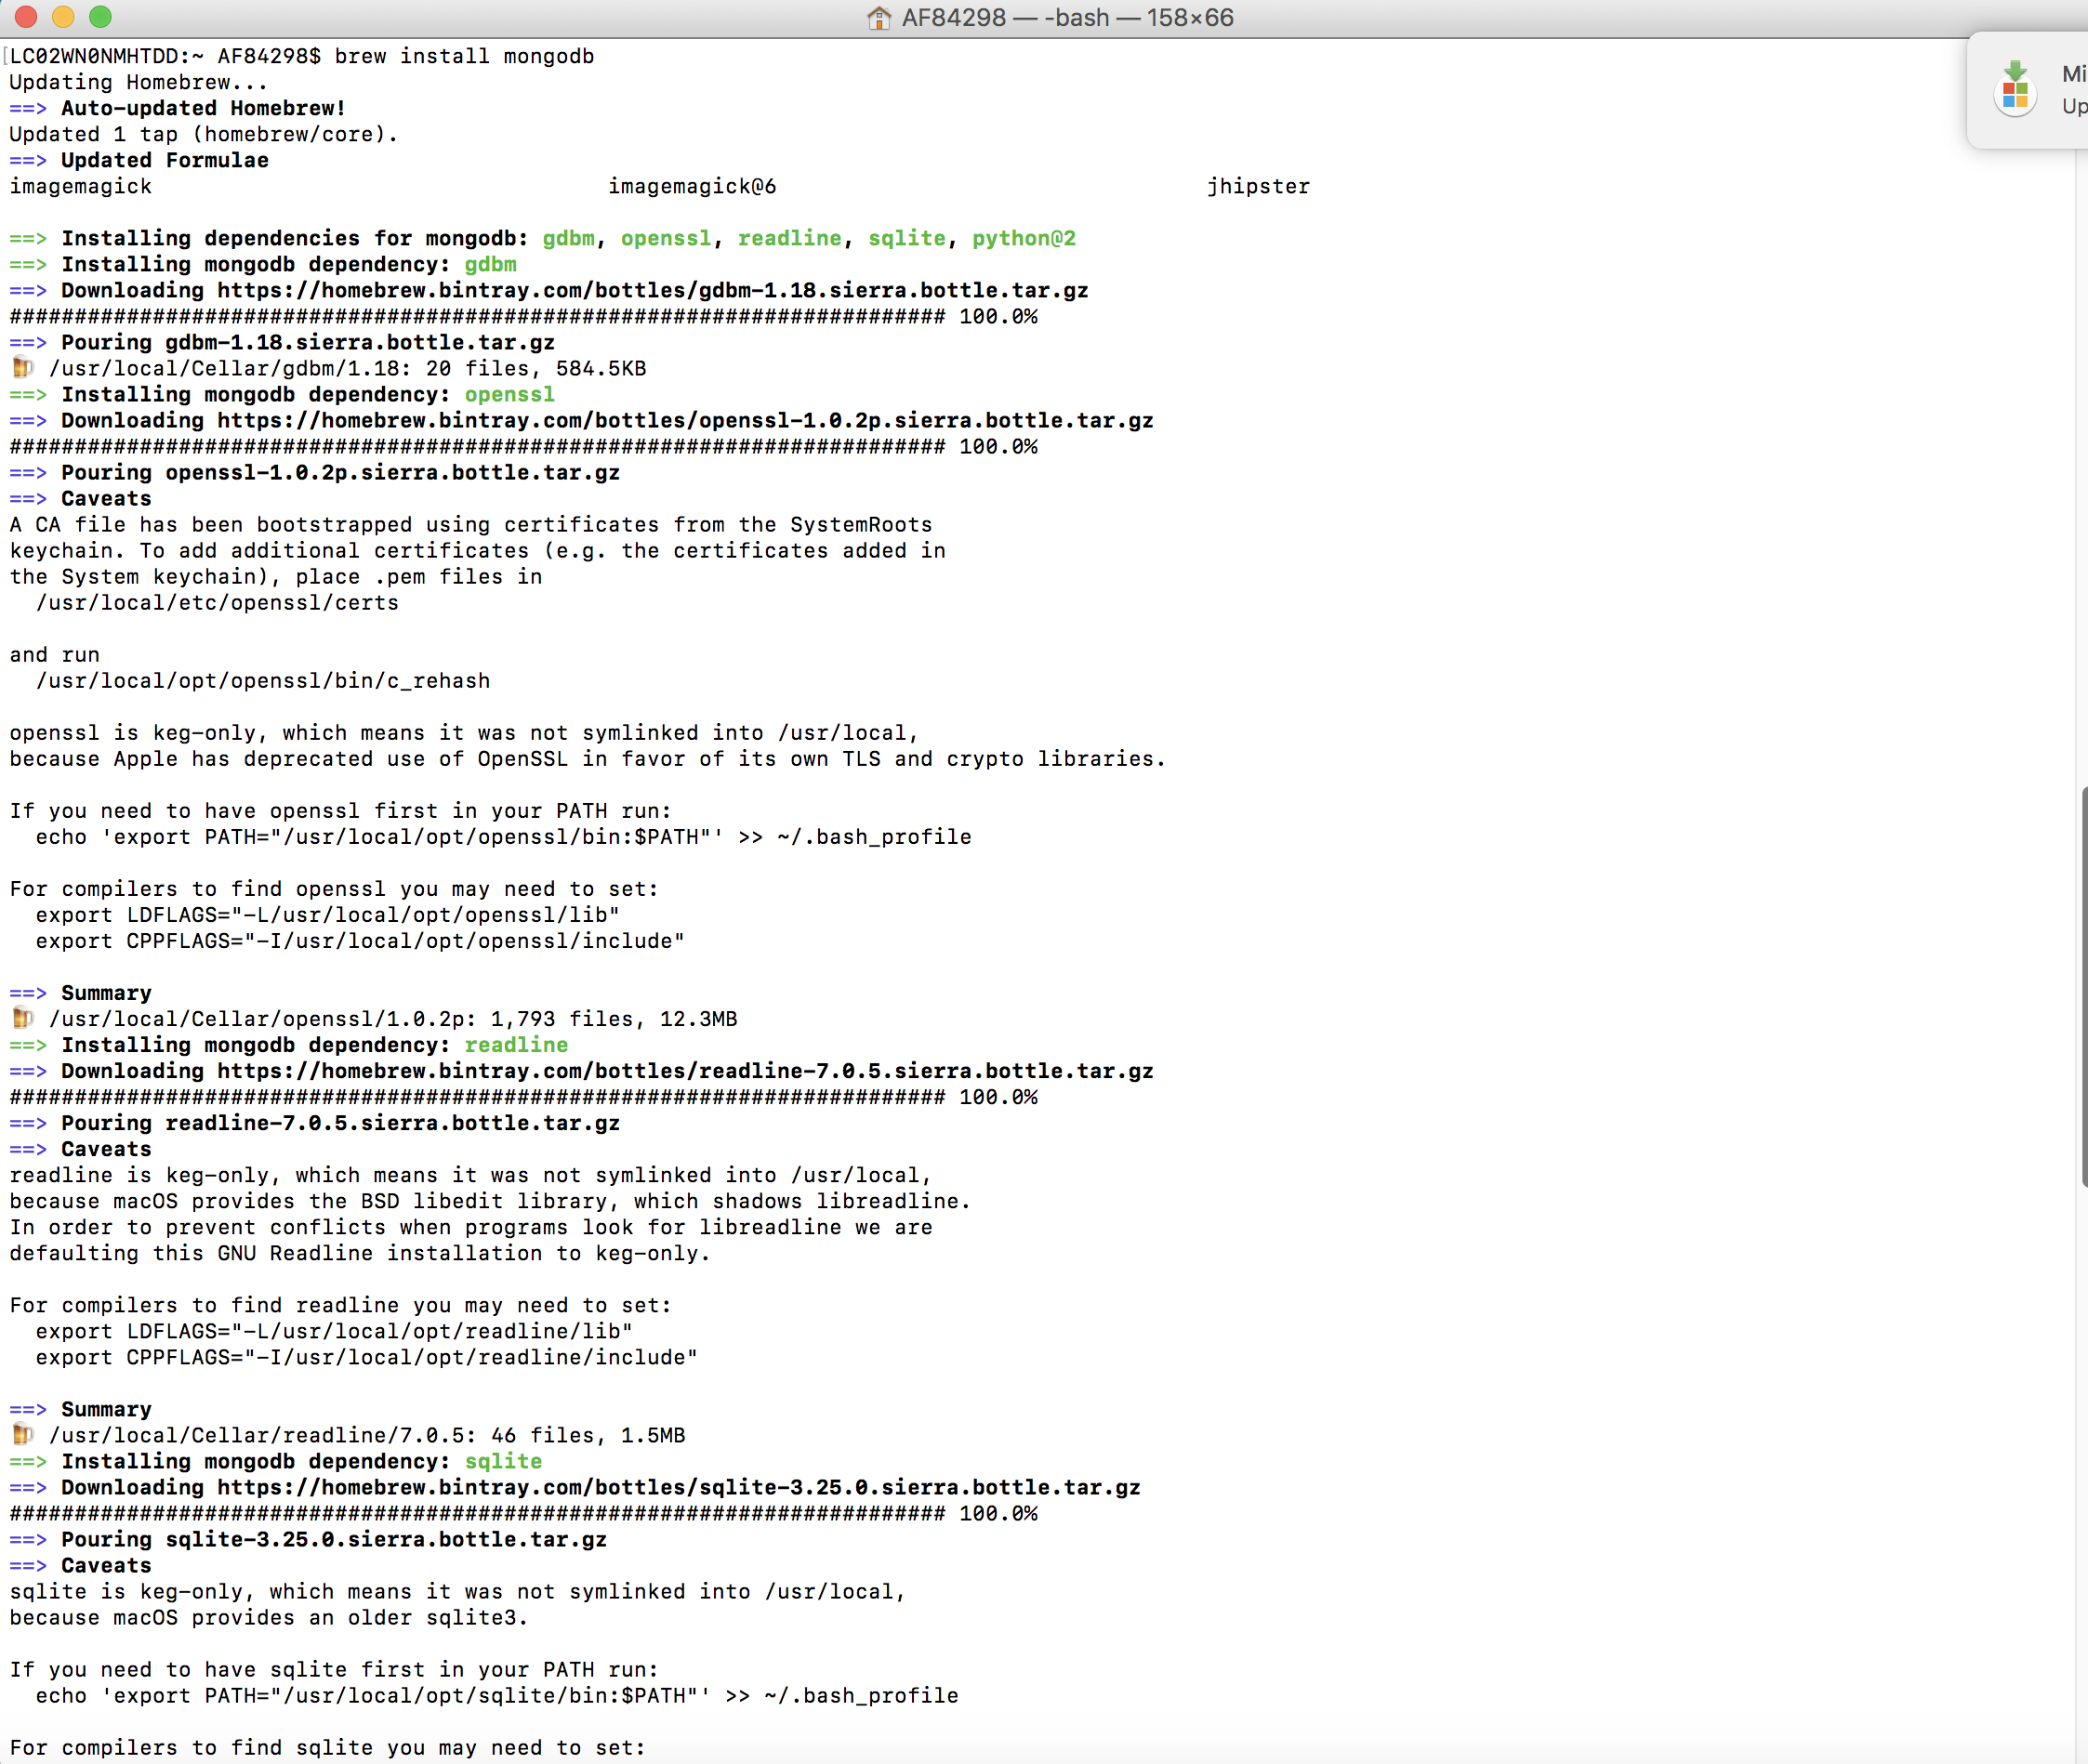
Installation of MongoDB
-
Run the following brew formula in your terminal
-
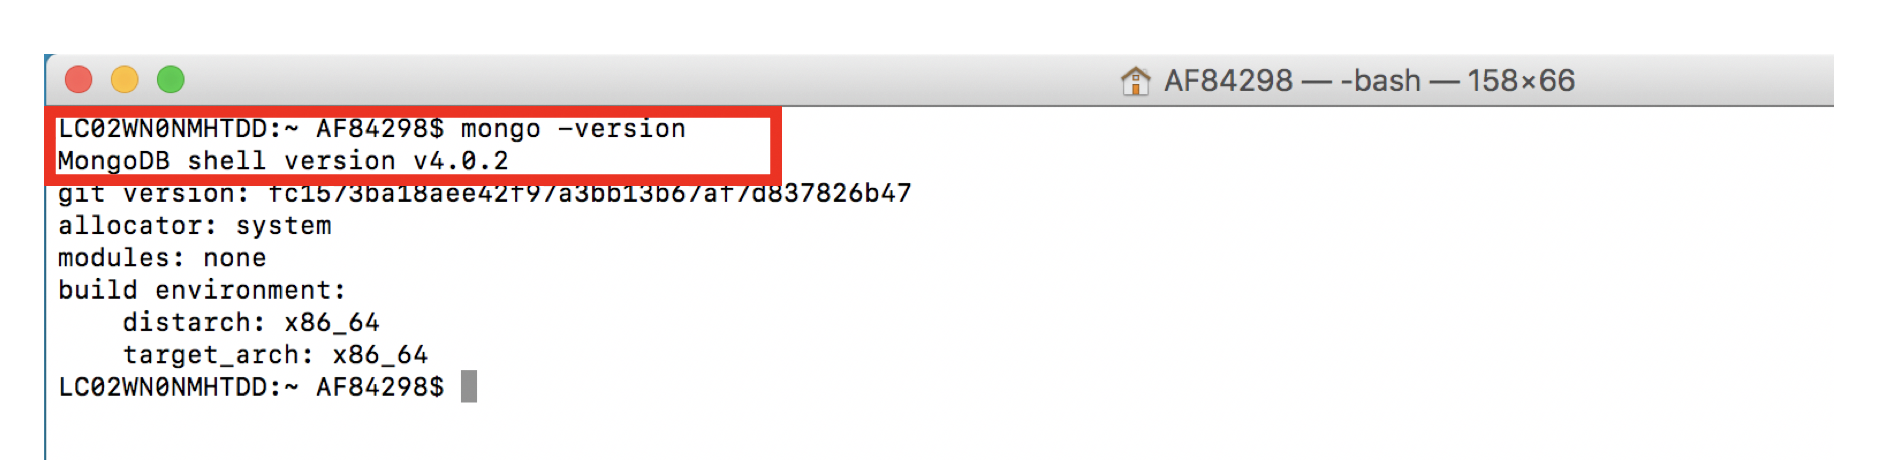
Once installed, let us check the version by running the following brew formula on your terminal
-
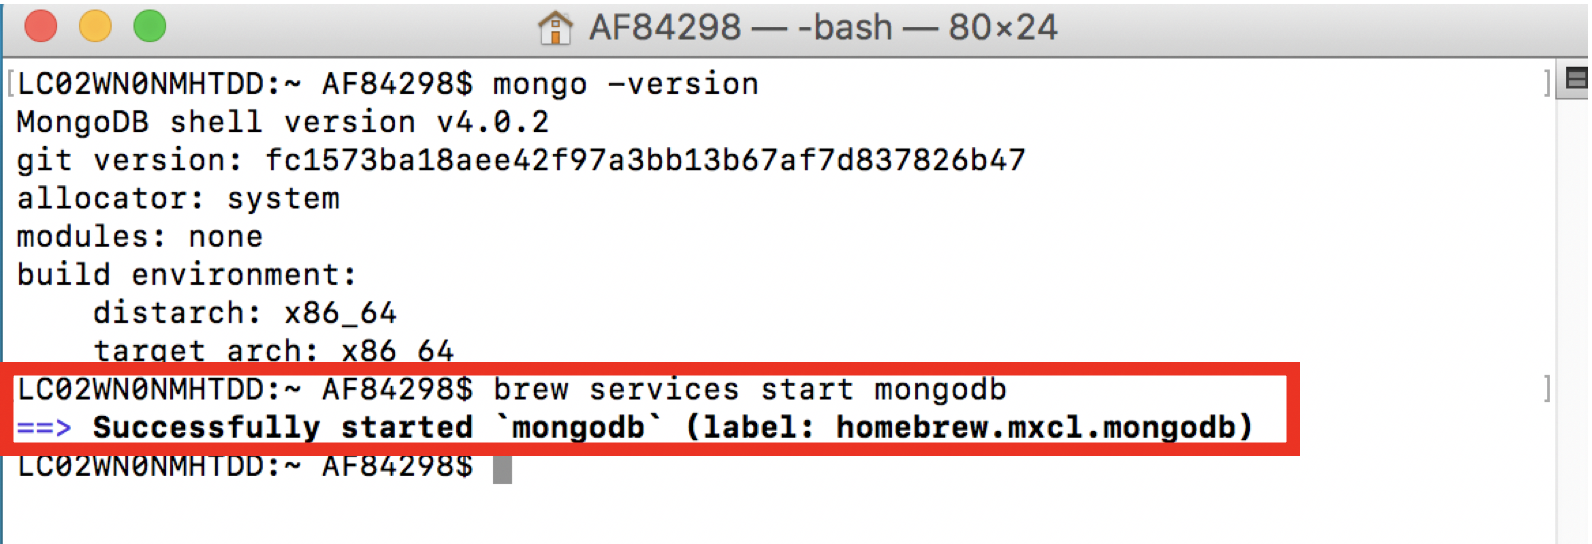
Let us start the mongodb by running the following brew formula
-
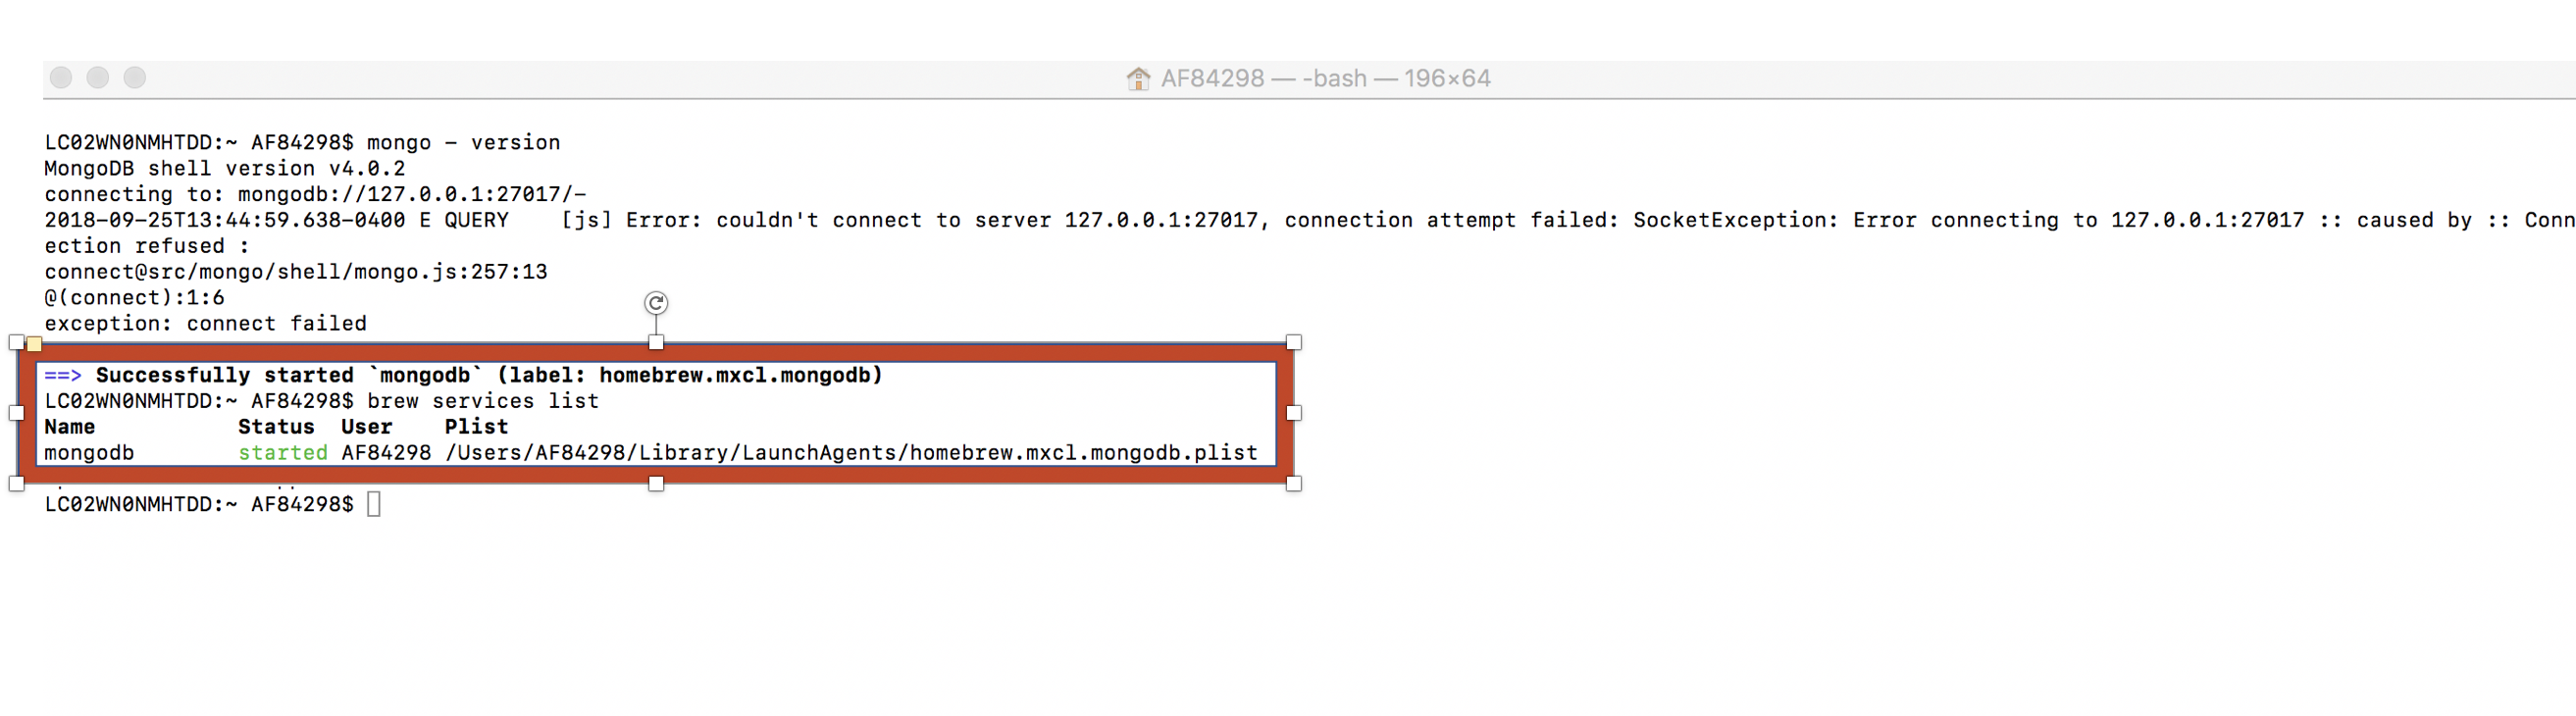
Let us check if the mongodb is running by running the following brew formula
-
is installed!
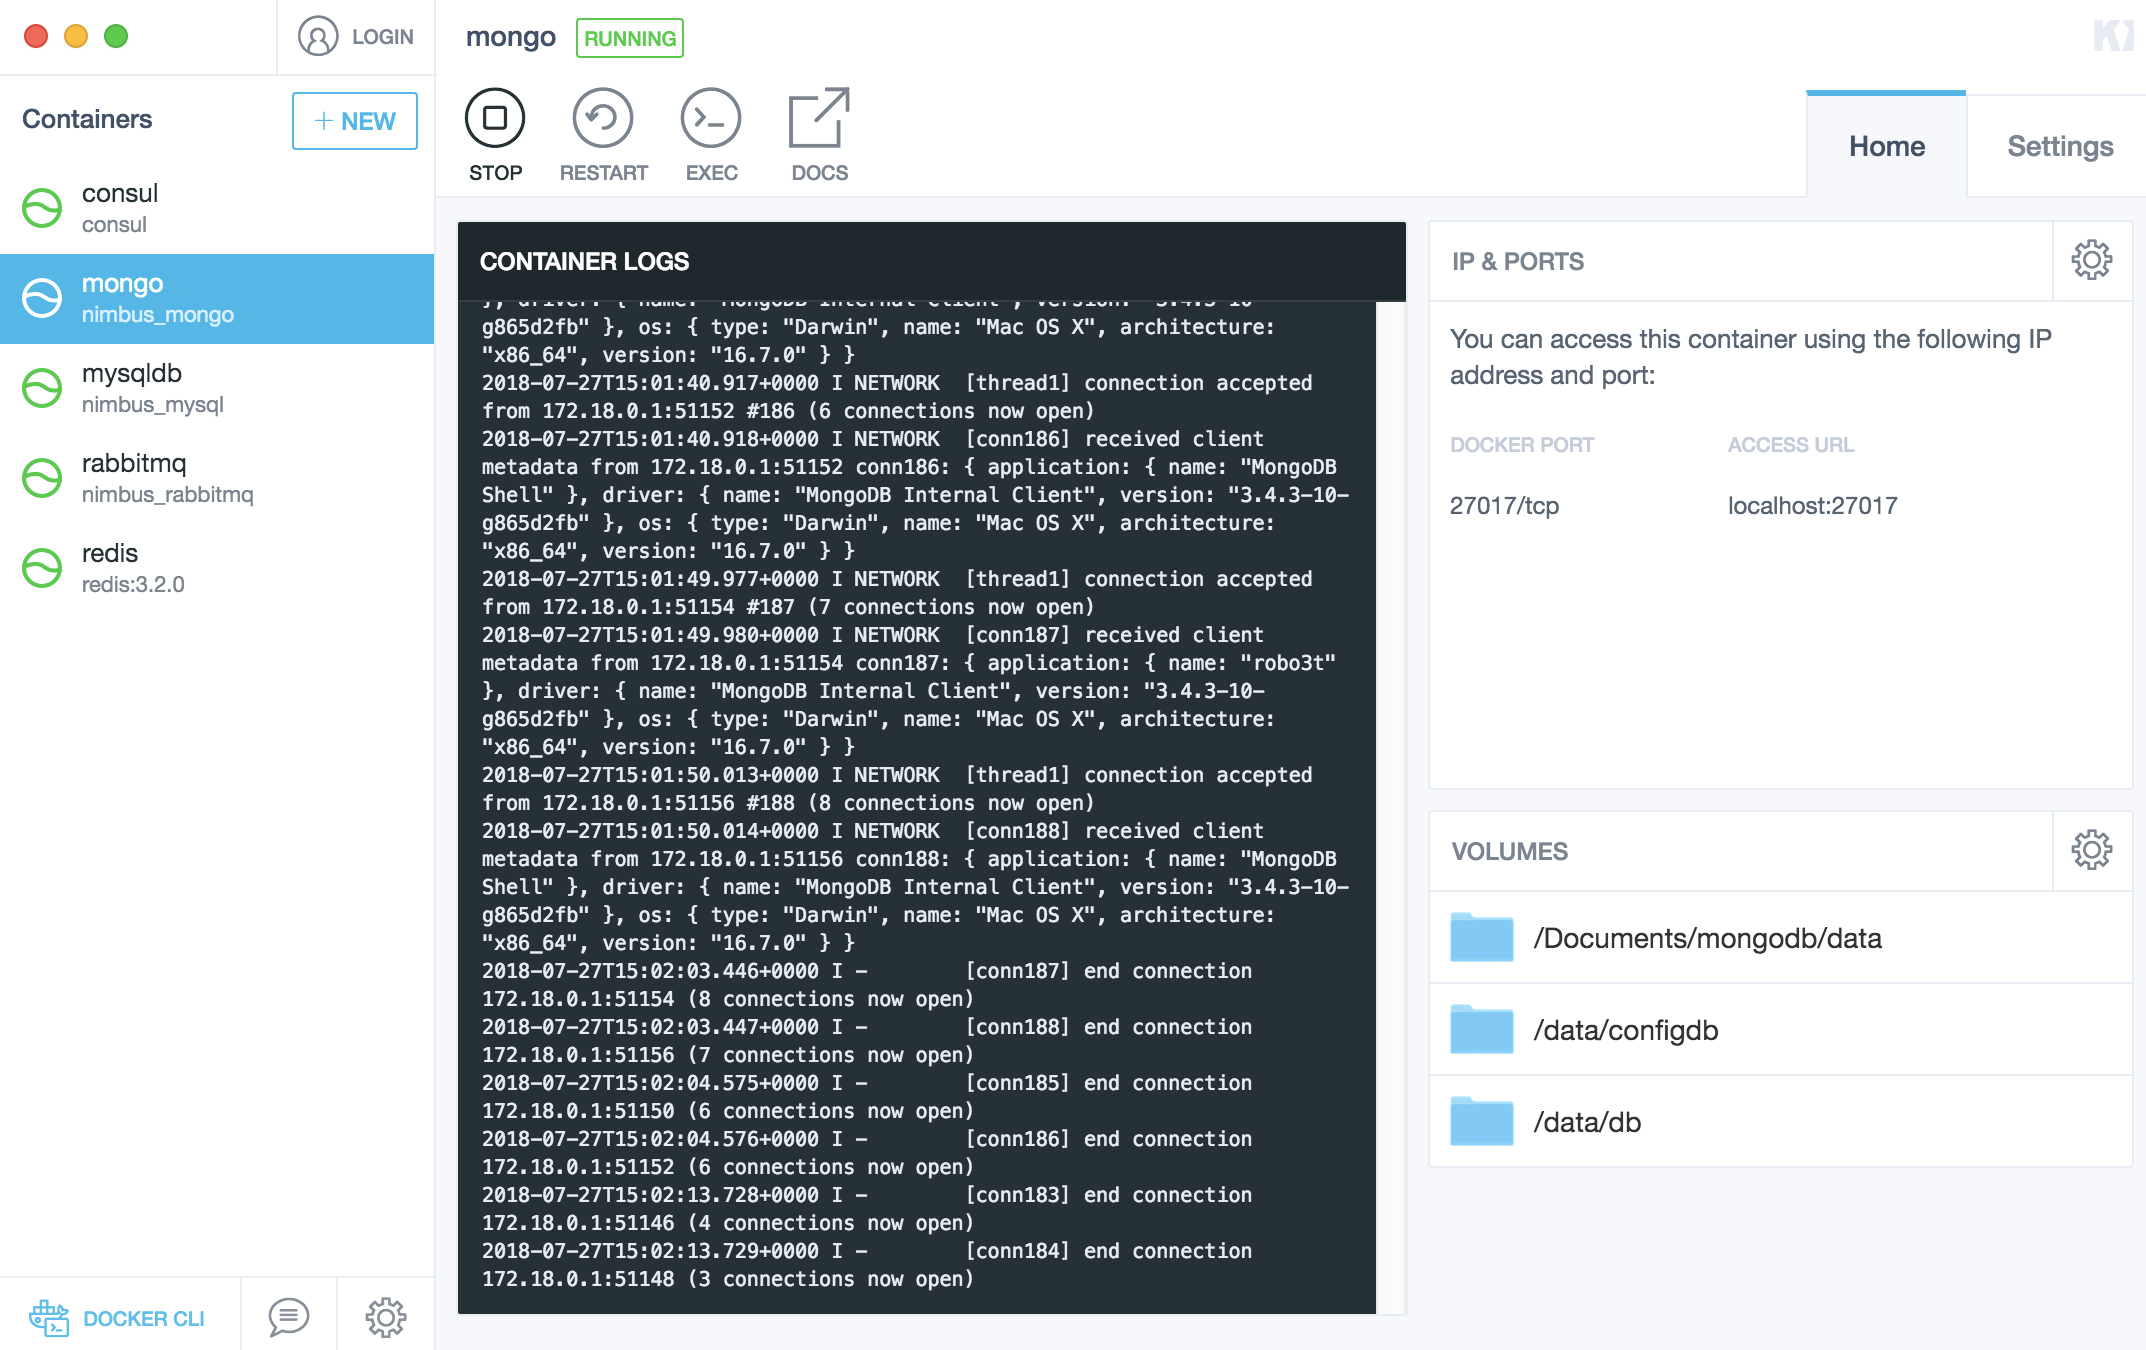
Working with MongoDb through Docker
-
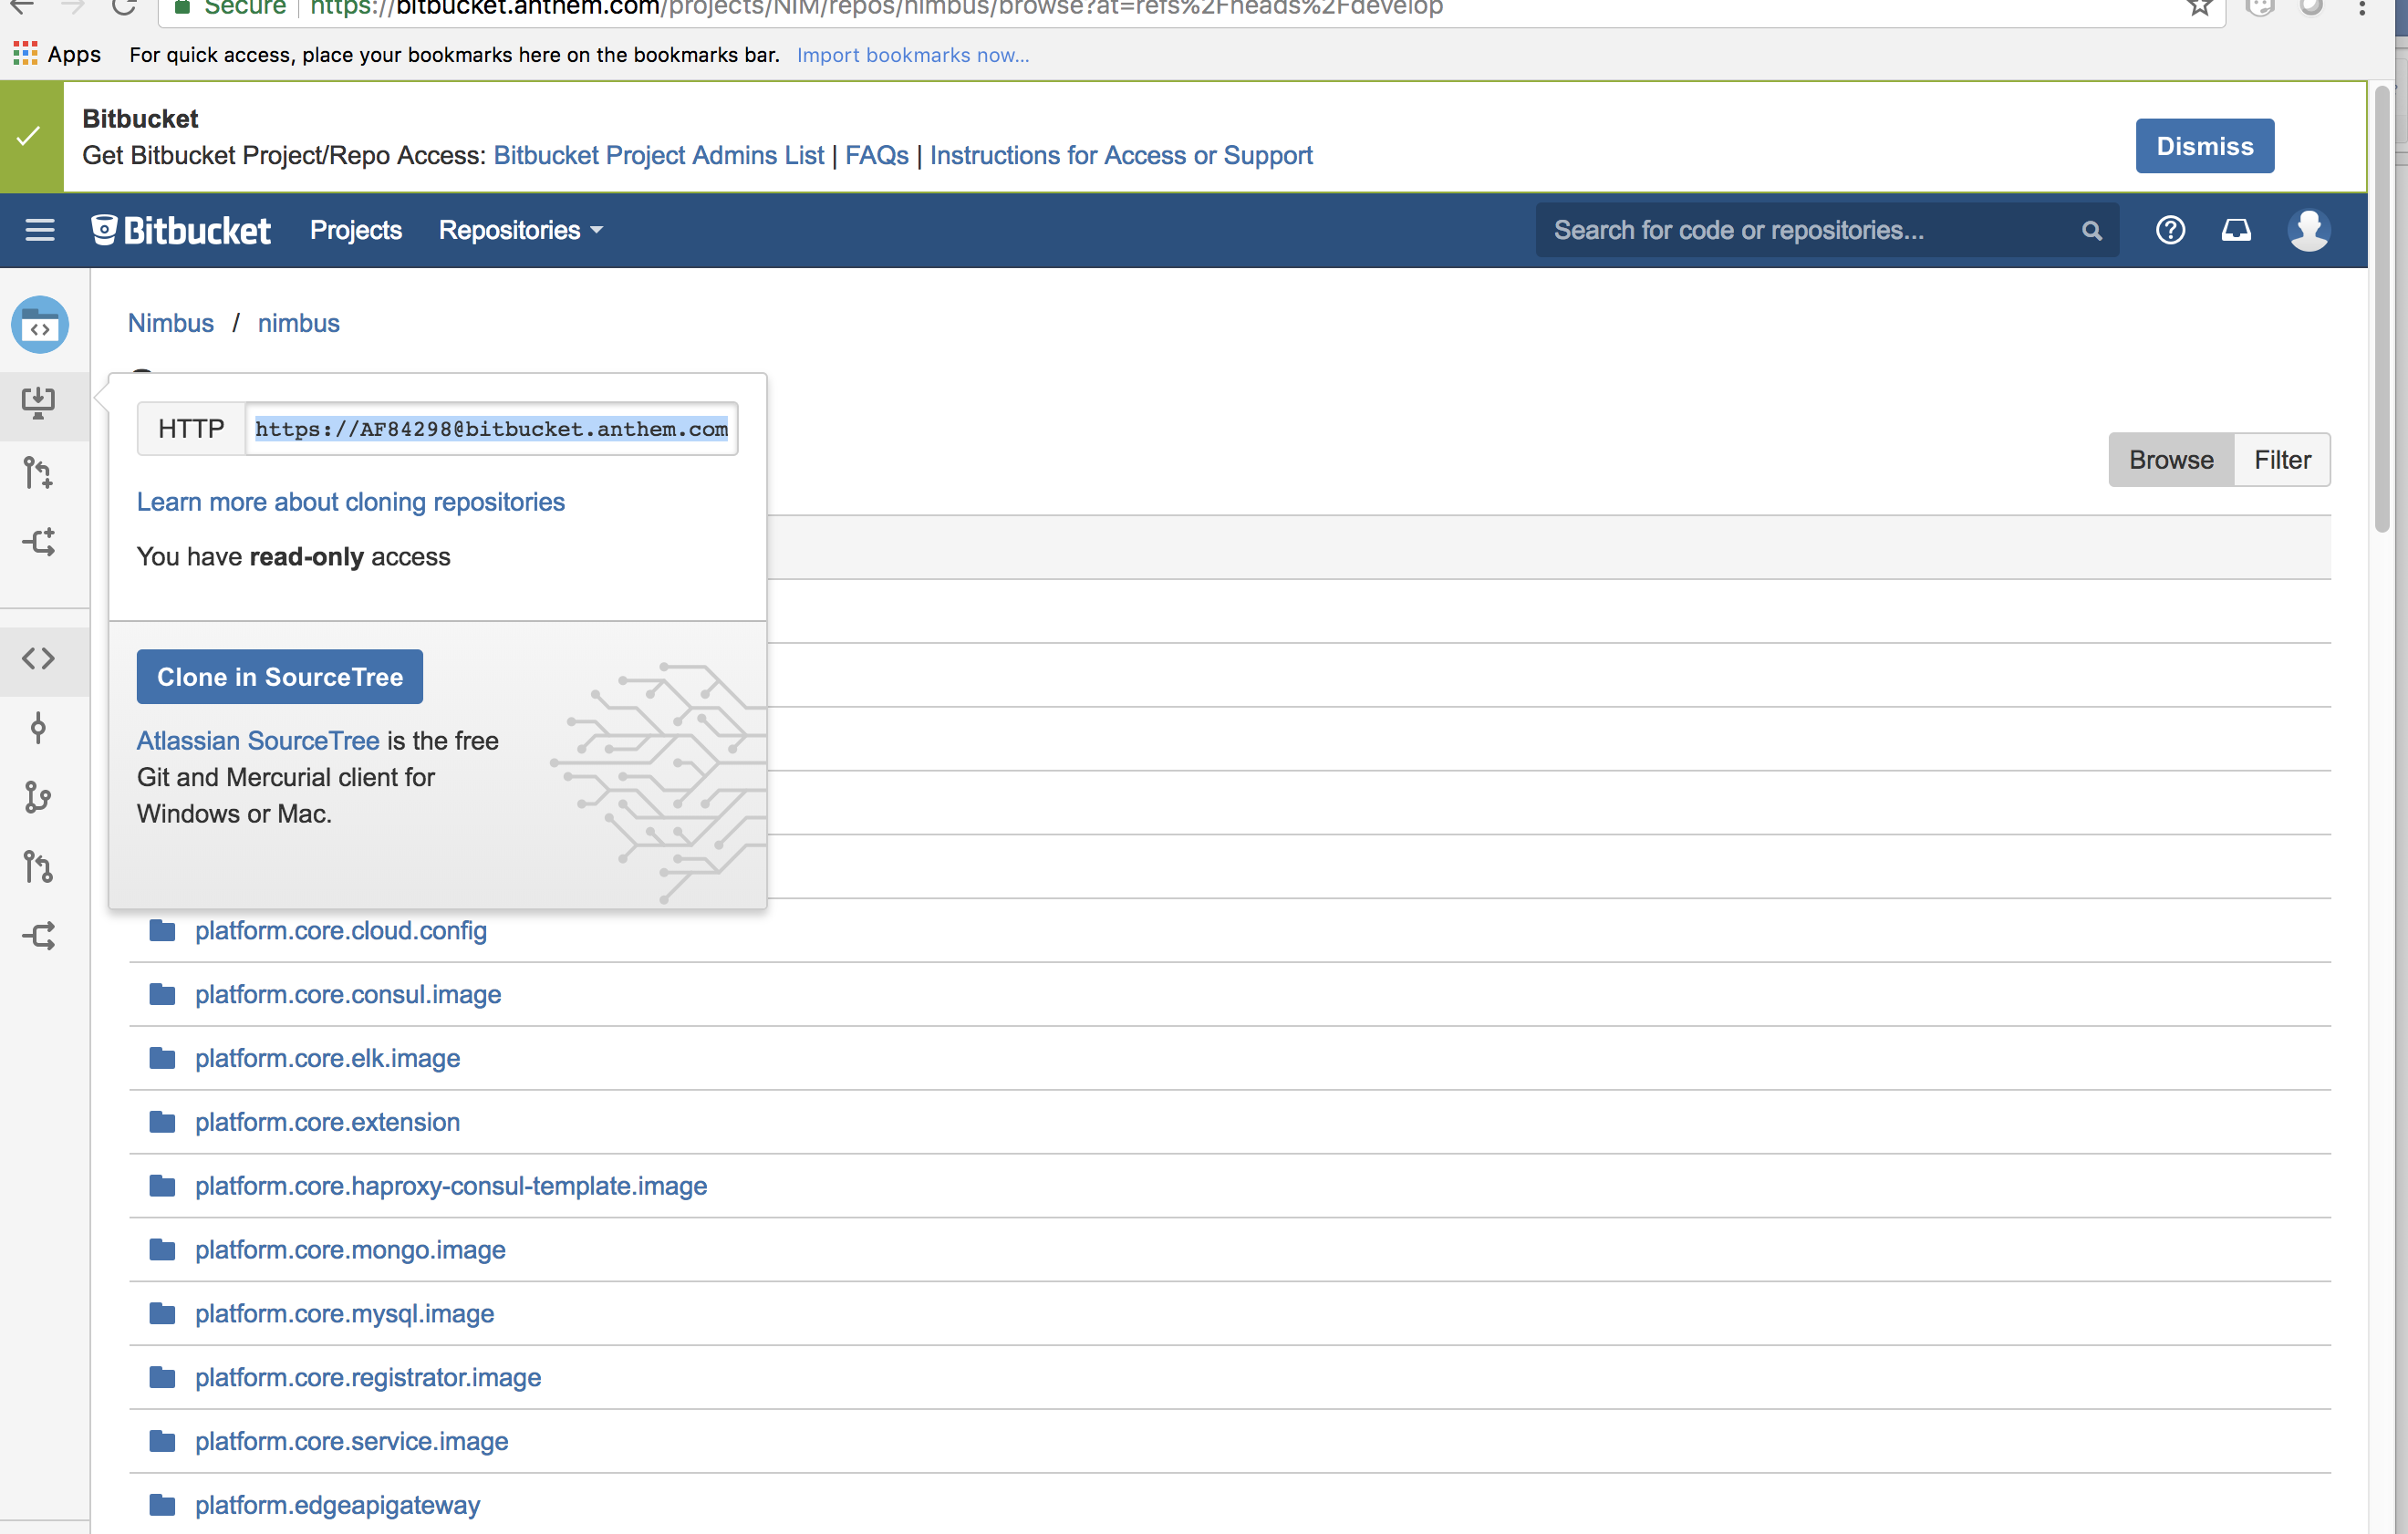
Go to : https://bitbucket.anthem.com/projects/NIM/repos/nimbus/browse?at=refs%2Fheads%2Fdevelop and click on

-
Copy the link
-
Create a temporary folder on the Desktop named "Temp"
-
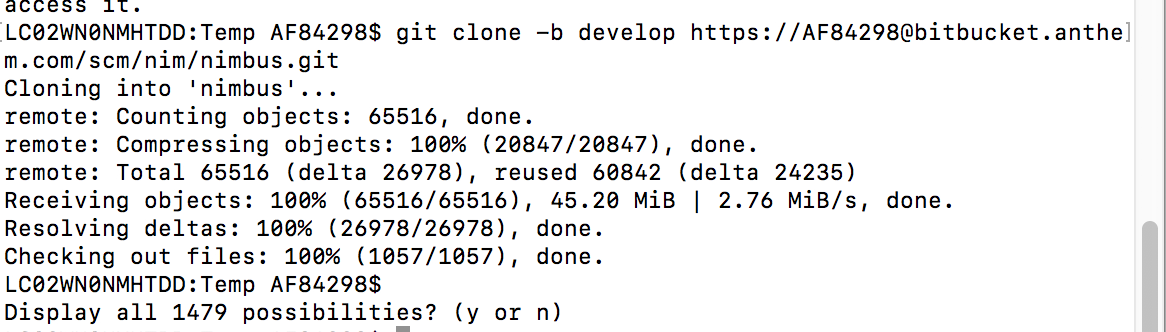
Open terminal, go to the Temp location and paste the following command
git clone -b develop https://AF12345@bitbucket.anthem.com/scm/nim/nimbus.git
-
We will get the cloning to ‘nimbus’ message on the terminal. We are doing this activity to get the script file which is required to pull the docker images.
-
Once we are done with cloning, let’s check the contents by going to "nimbus" folder and listing the files in it
LC02WN0NMHTDD:Temp AF12345$ cd nimbus/
LC02WN0NMHTDD:Temp AF12345$ ls
-
Let’s pull the docker images using the sh dev command
sh dev-script-p-dep-all-start.sh
-
The script will run with successful output on the terminal

-
Now we can delete the "Temp" folder. Go to in
-
Click and click
Conclusion
Your are all set! Have a happy coding !
Deployment Setup
Local
TODO
Monolithic
TODO
Cloud
TODO